Reviewed by Tara Sullivan · Updated August 2026 · 11 min read
Every layer you put into fine hair is a trade — you shorten strands to buy movement, and the strands you shortened are the ones that used to reach the ends and make your perimeter look solid. Face-framing is the one exception, and it's an exception because of geometry rather than fashion.
It works on a narrow panel at the front of your head, about as wide as your temples, and leaves the entire interior of the haircut alone. So you get the visible half of what layering does — shape, movement, something happening around your face — for almost none of the density it usually costs. It's also the only layering you look straight at every morning, which is why a small amount of it does so much.
What decides whether it works is one measurement nobody publishes: where the shortest piece lands, and whether it's connected to the length below it or sitting on top of it as a step. Below: 16 versions grouped by where they start, the face-shape logic, the salon script, and two pieces of extremely standard advice — razoring, and "face-framing and curtain bangs are basically the same" — that will cost you if you accept them.
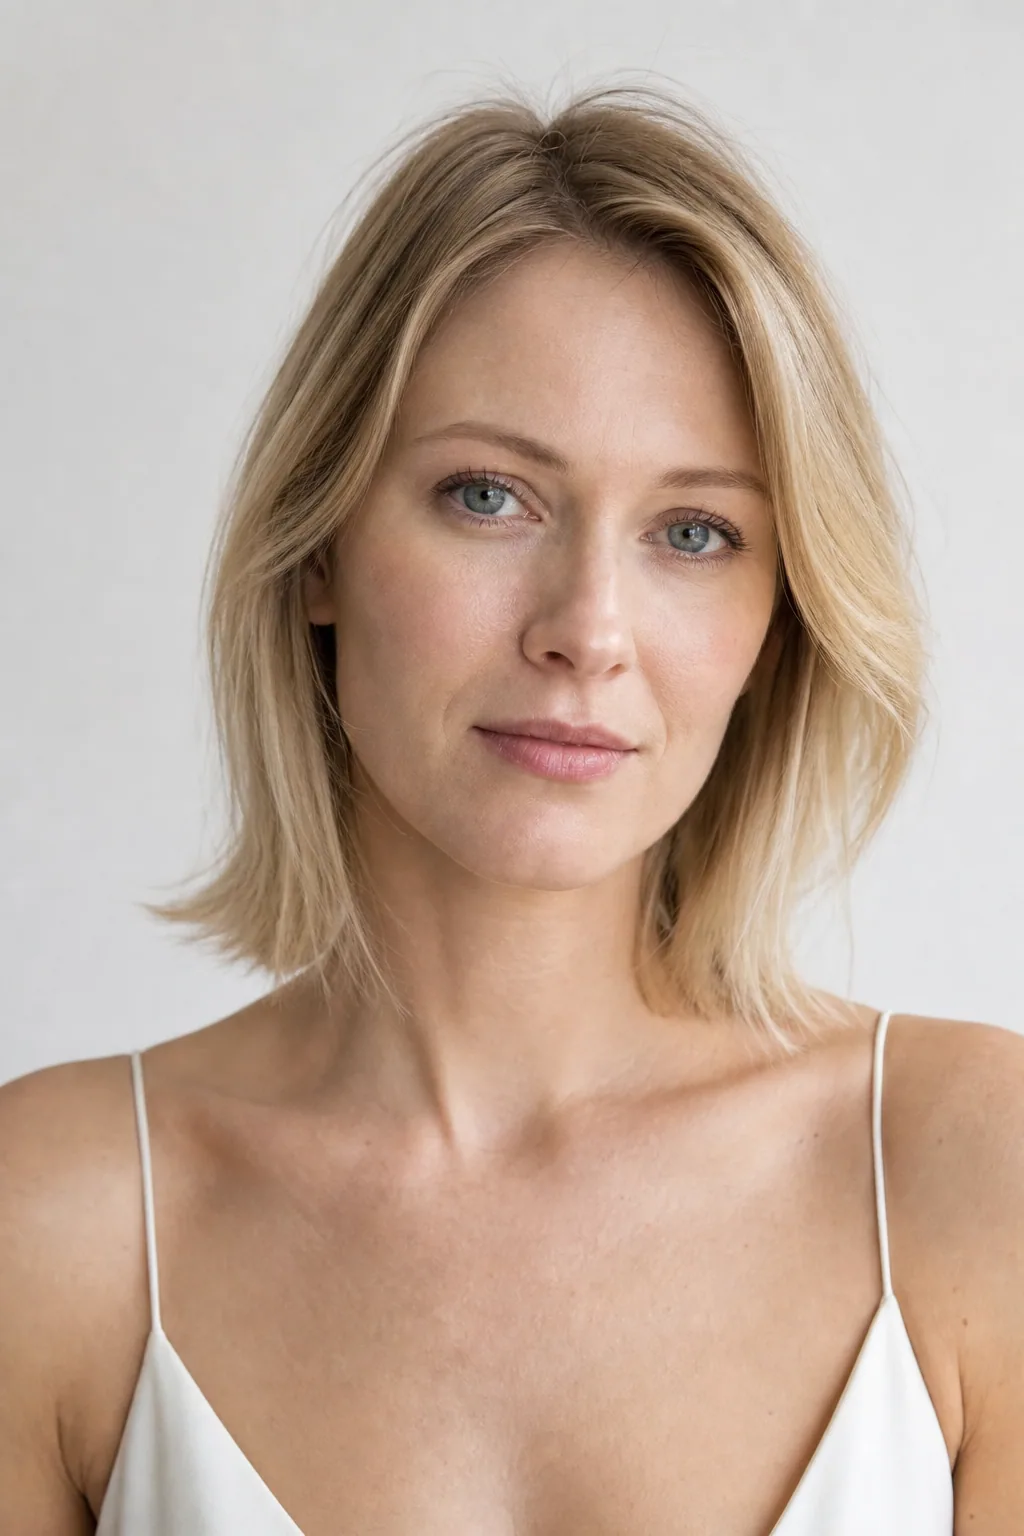
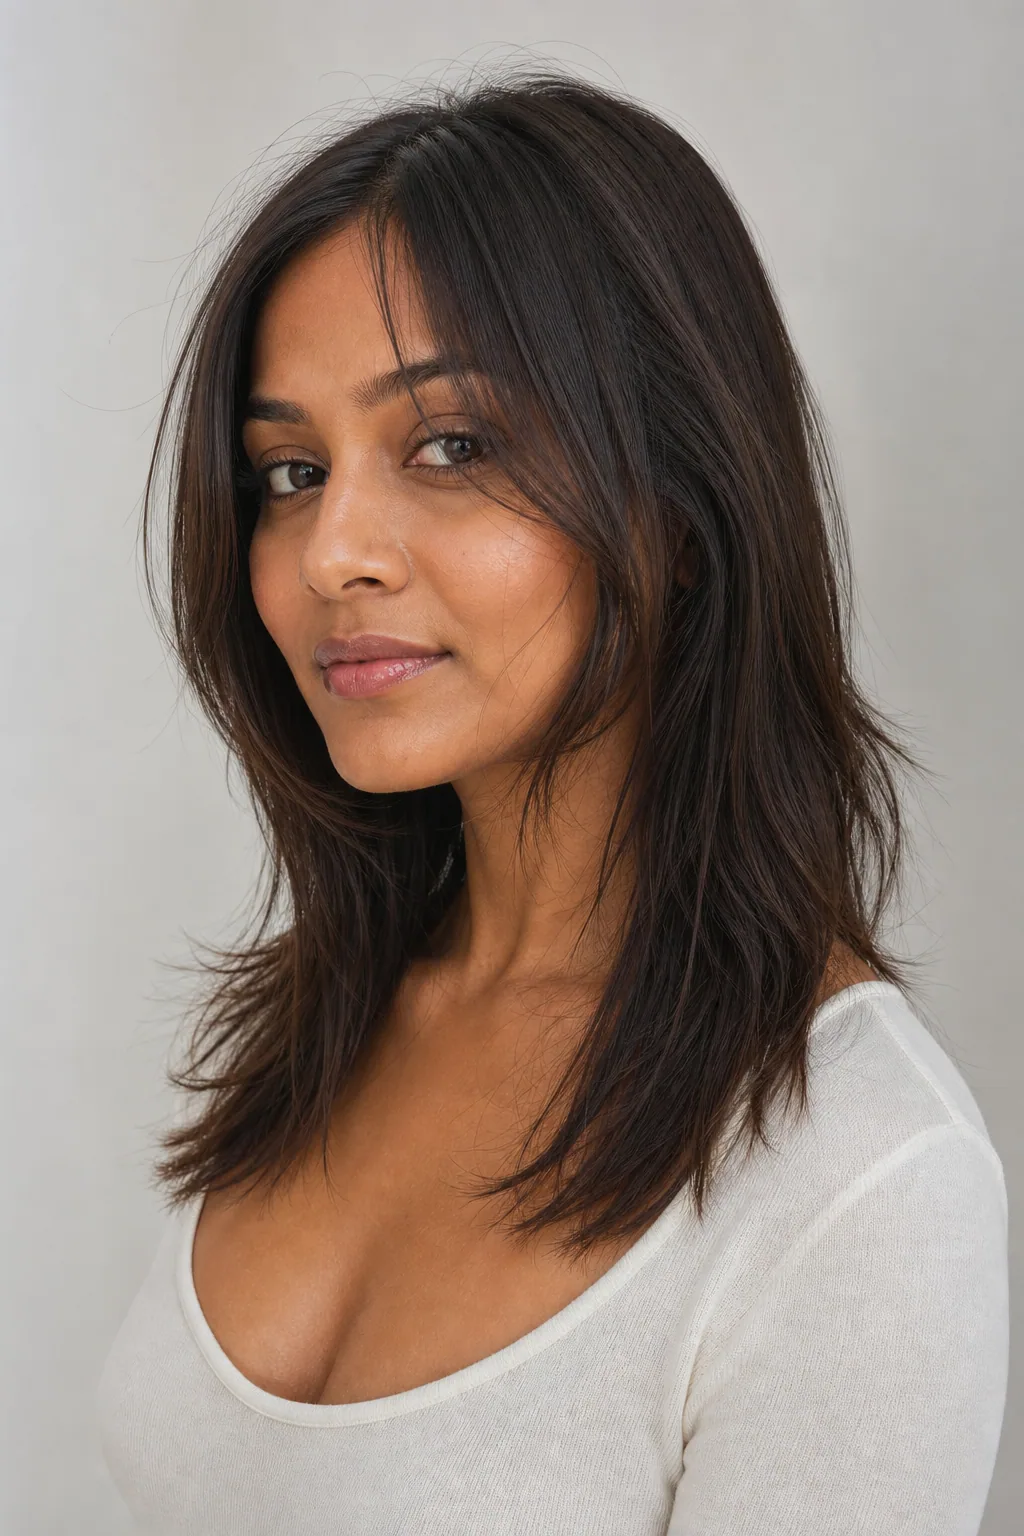
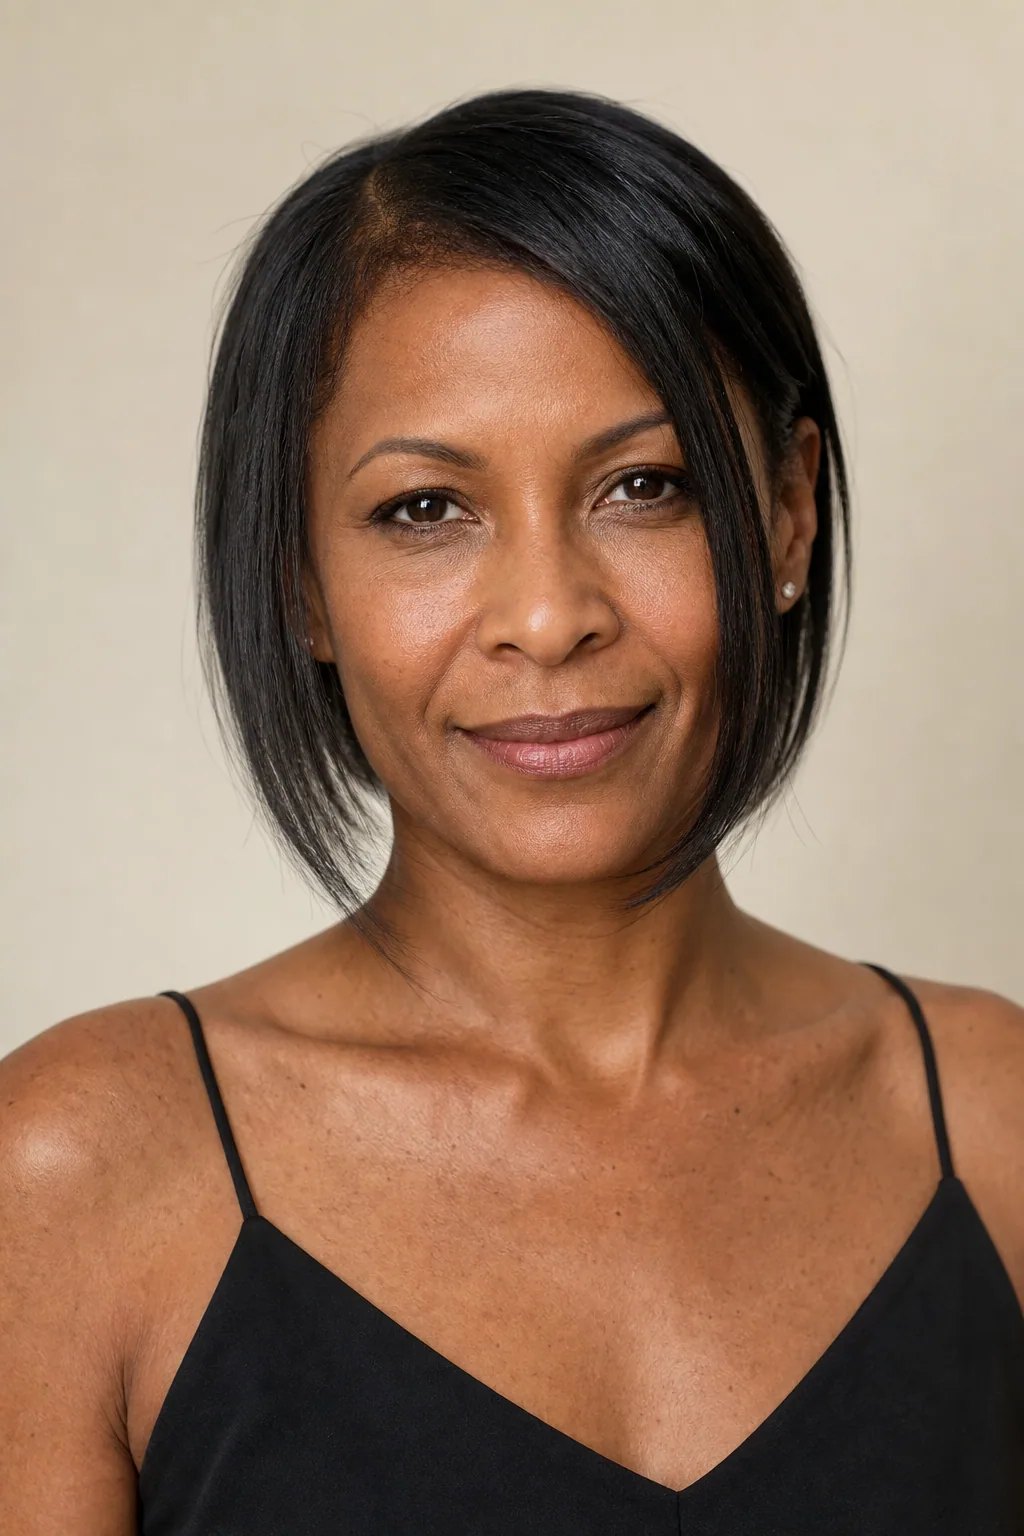
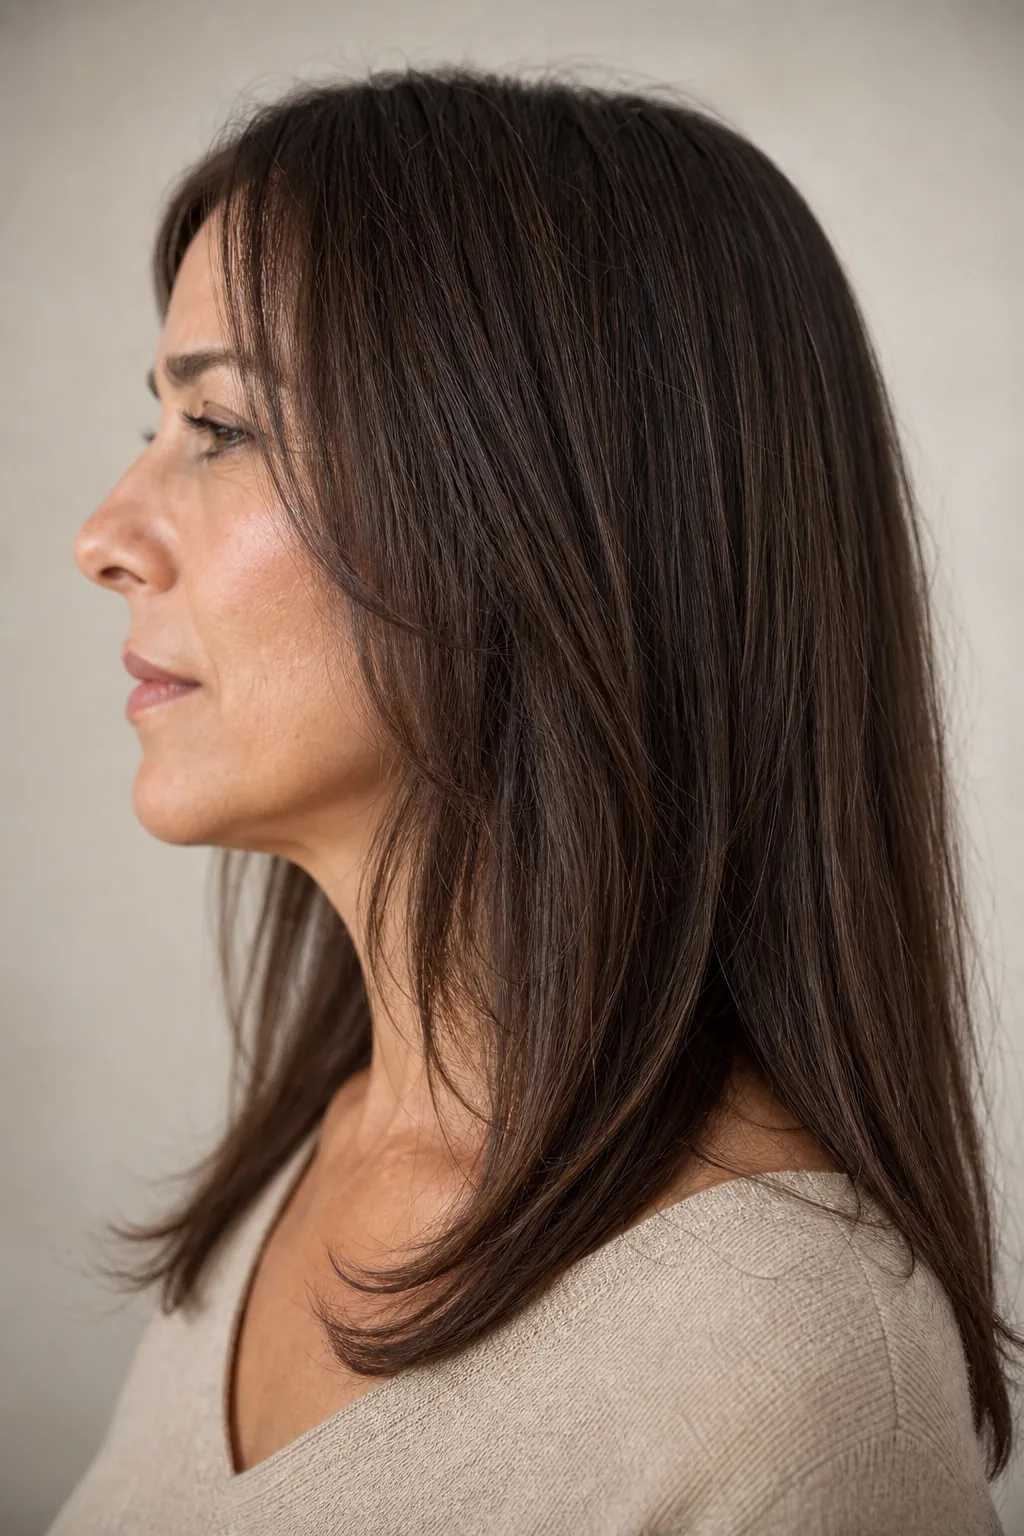
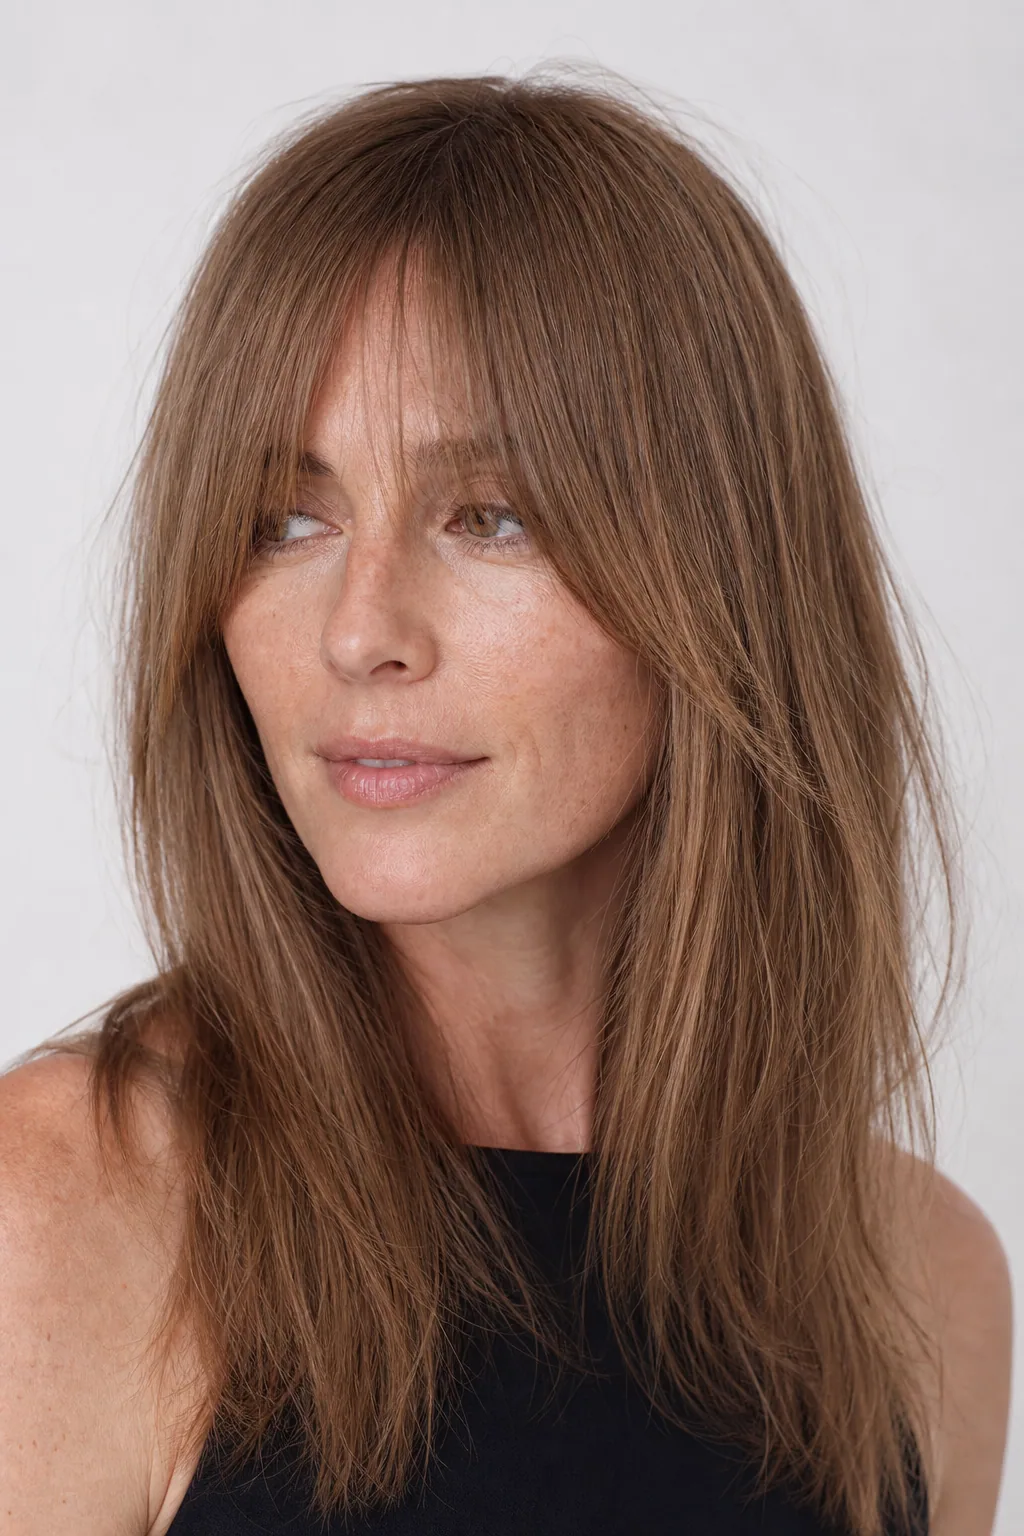
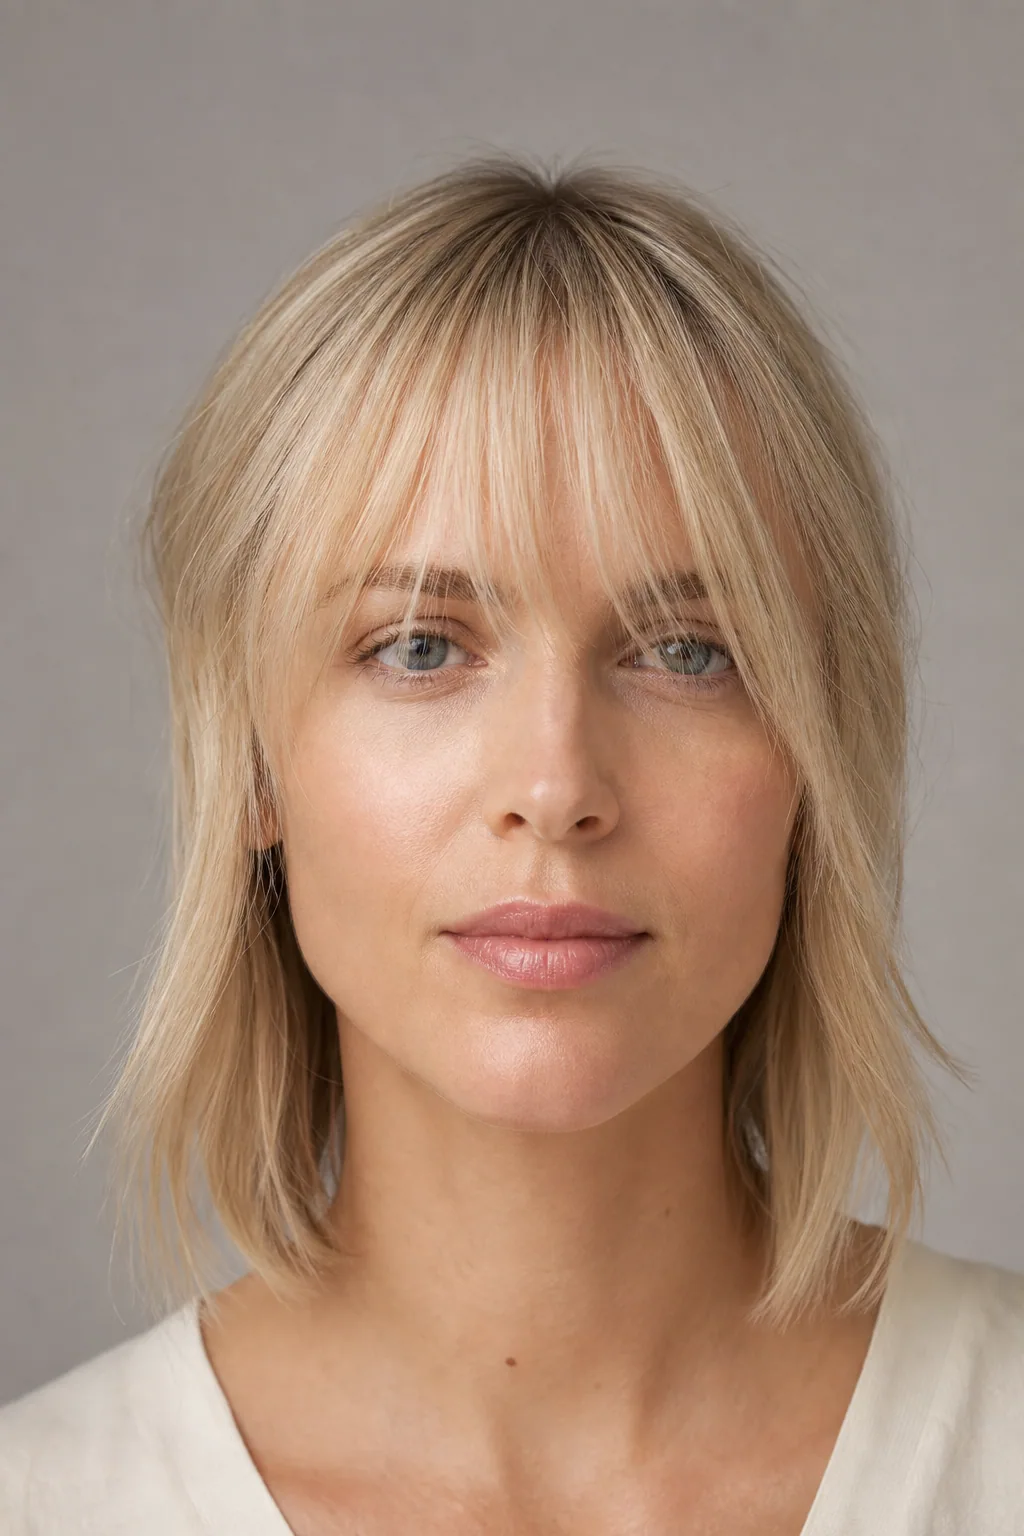
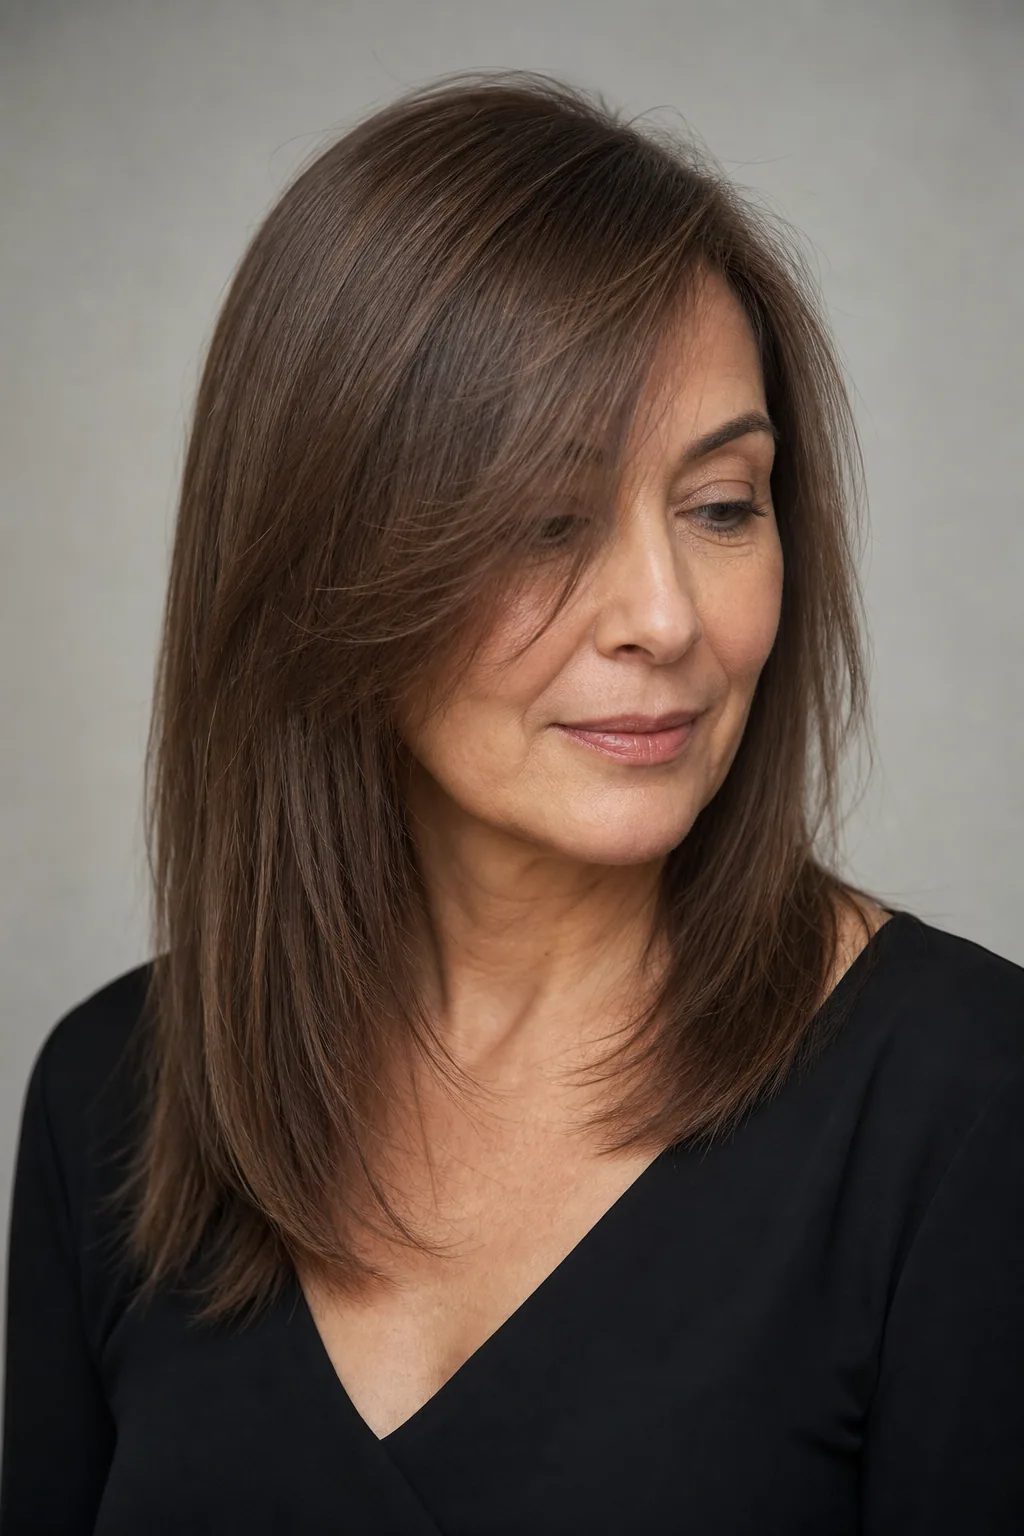
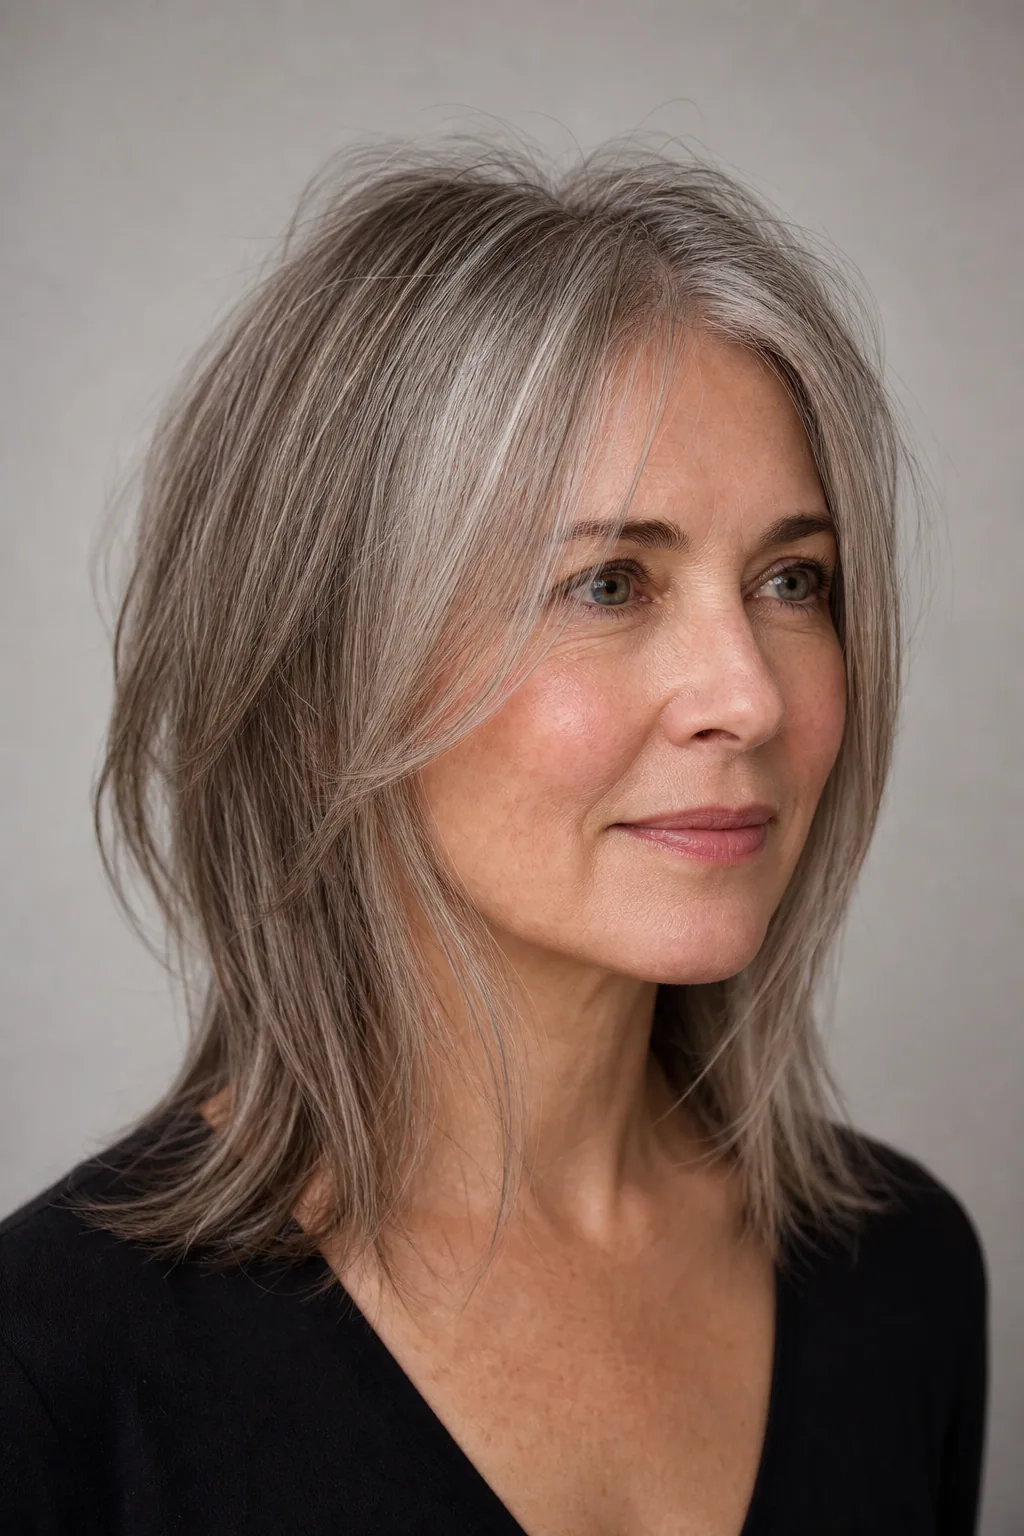
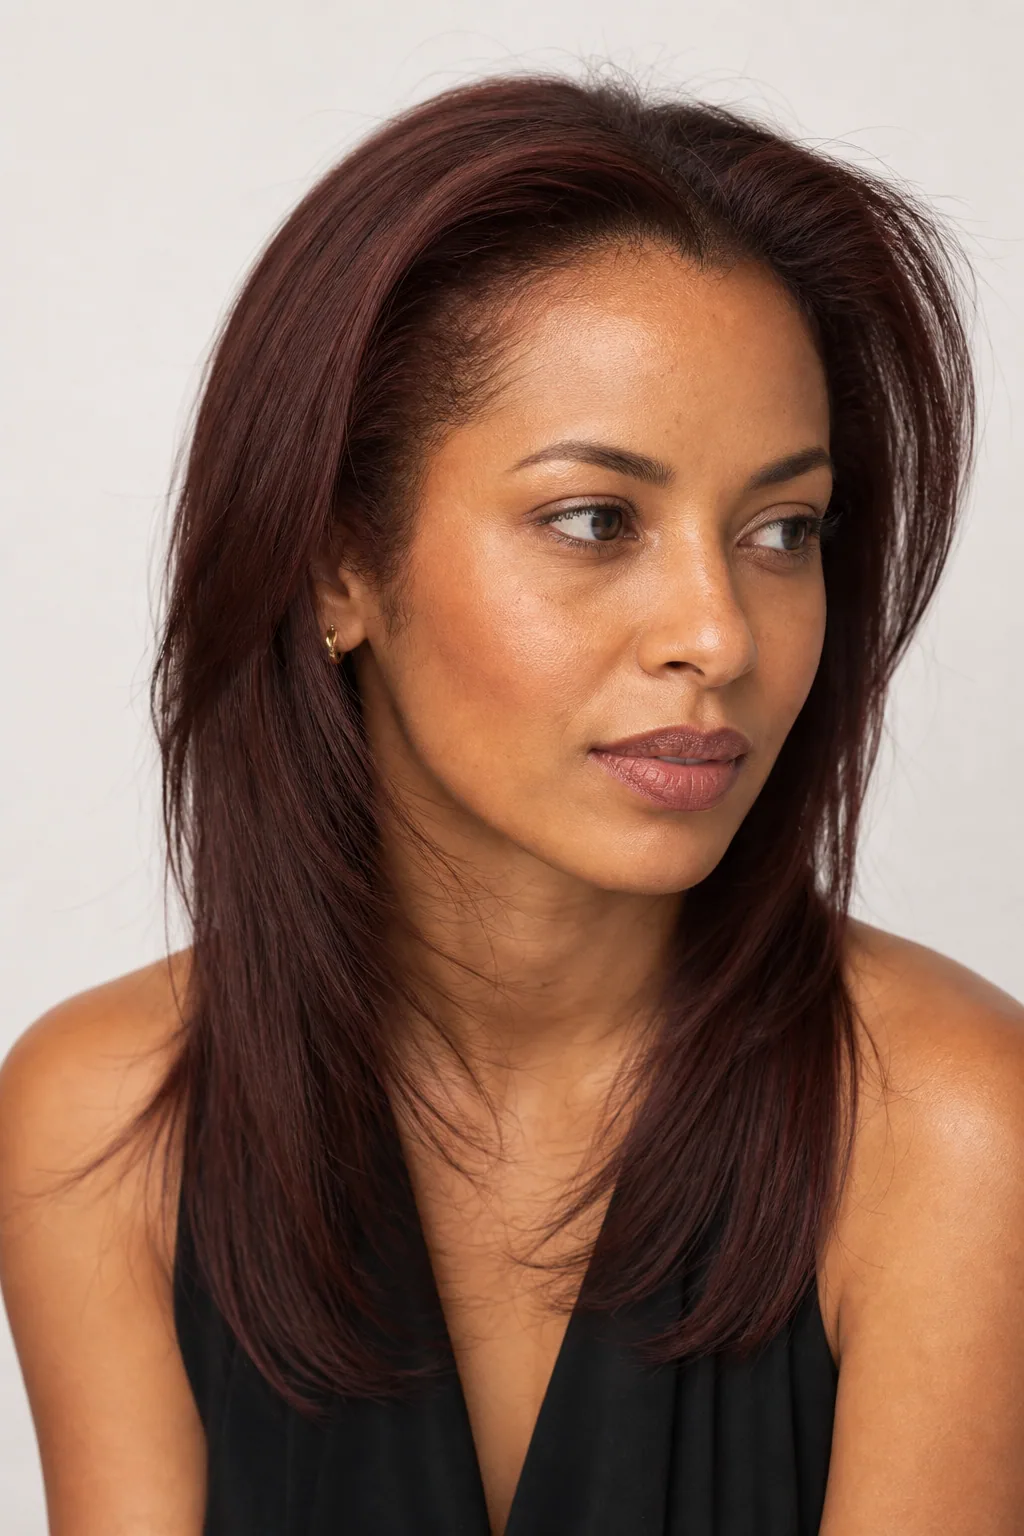
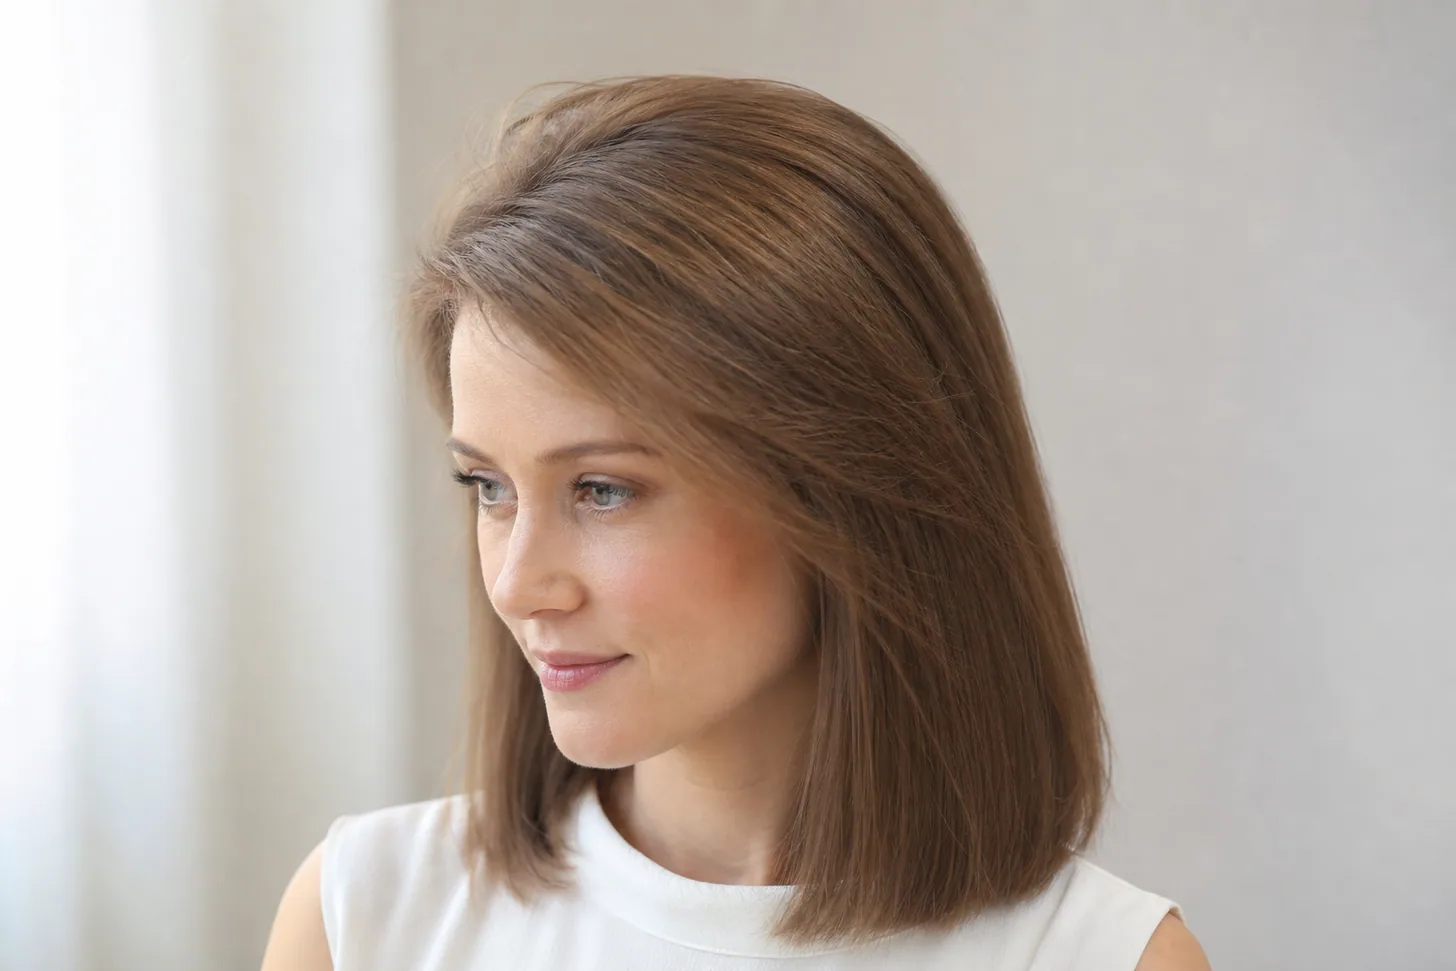
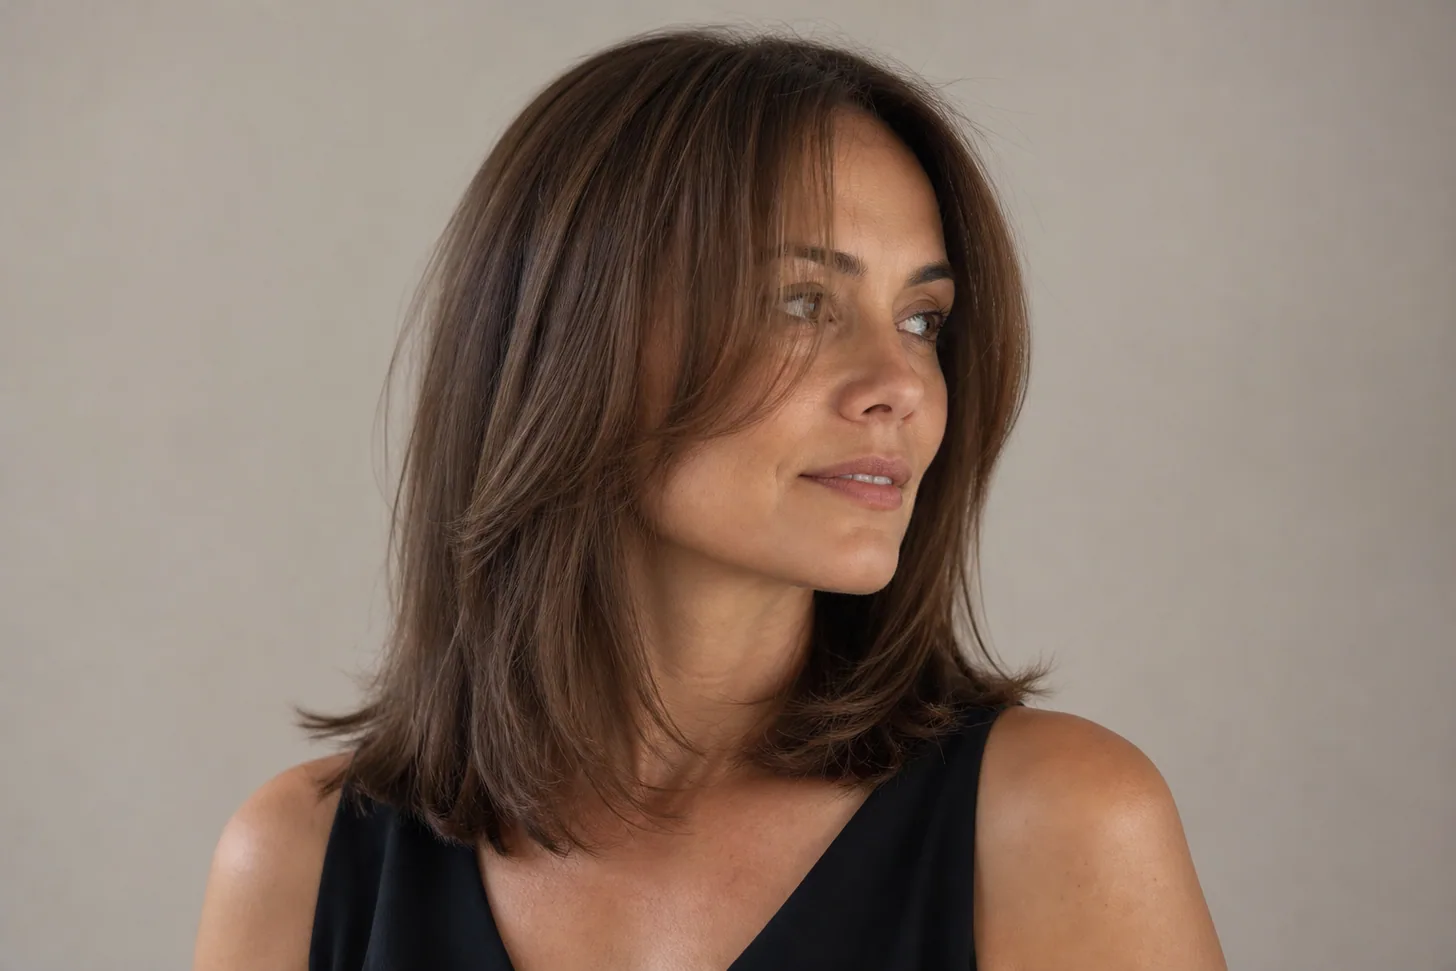
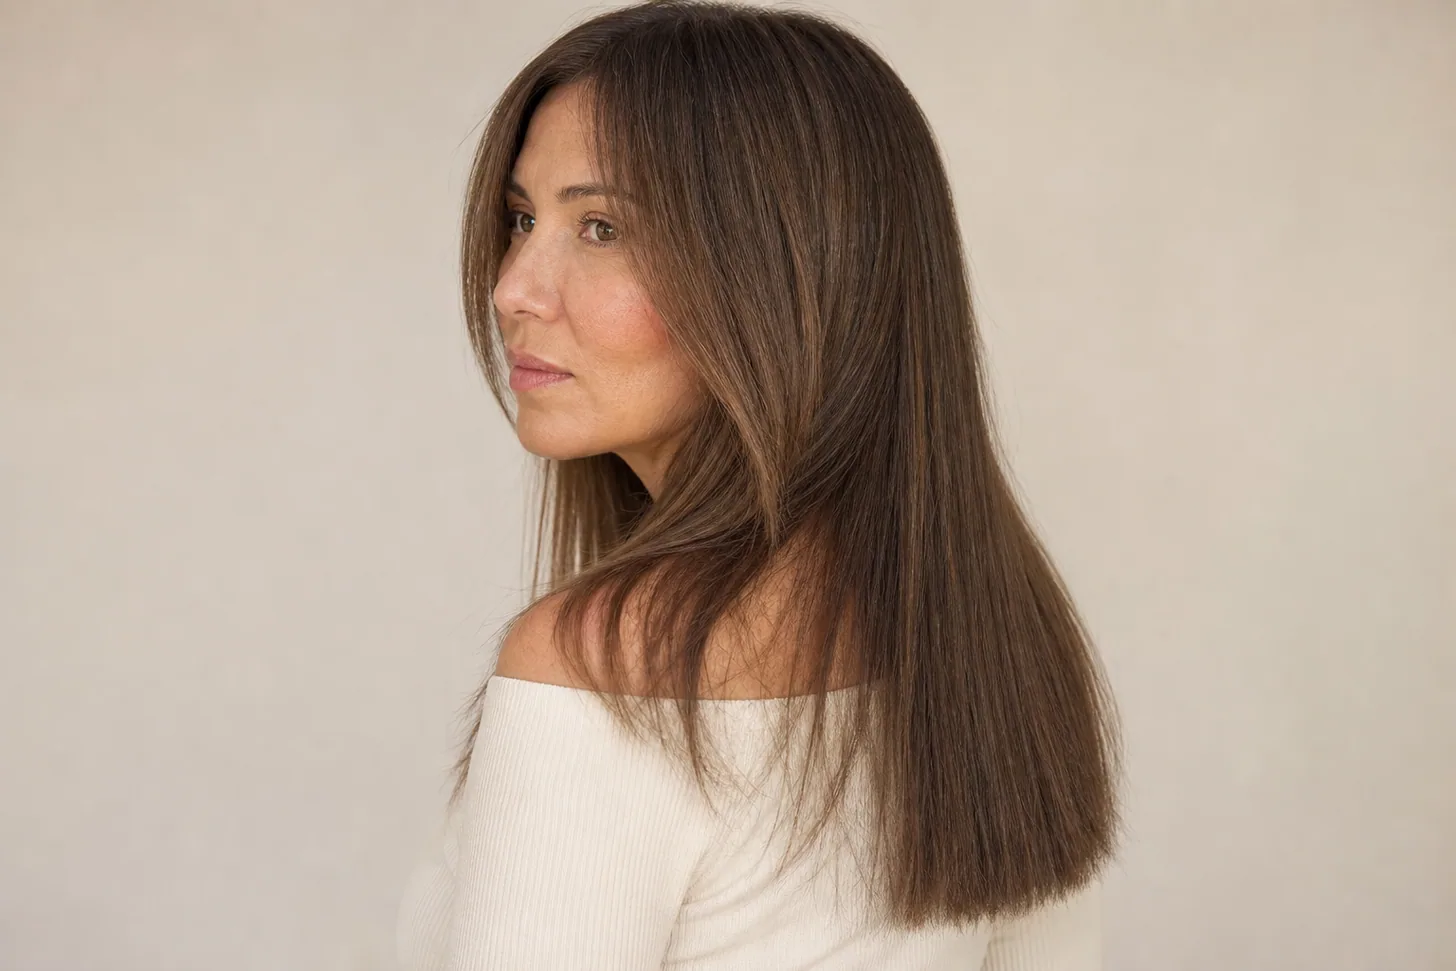
The frame is doing all its work in the front four inches — the rest of the cut is untouched.
What face-framing layers actually are
Three things get called face-framing in a salon and only one of them is, which is a large part of why people leave with something they didn't book.
Face-framing is a section taken at the hairline, at your temples, that never crosses your part. The hair in it is graduated so the piece nearest your face is shortest and each piece behind it is slightly longer, until the framing disappears into the length of your haircut.
Nothing is taken from the top of your head. That last point is the whole distinction, and it's what separates framing from a fringe: a curtain fringe is cut from a triangle sitting behind the hairline with its apex at your part, which means it genuinely borrows hair off your crown. Framing doesn't borrow anything.
The two things that get confused with it: interior layers, which are cut throughout the body of the hair and are a different decision with a real density cost; and a long side-swept fringe, which starts as a fringe and merges into framing, so it looks identical at month six and behaves very differently at month one.
Why this is the layering fine hair doesn't pay for
It's worth understanding the arithmetic, because it also tells you how much framing to ask for.
Interior layers spend density; a face-frame barely does
Picture your hair as a bundle of strands all reaching the same point at the bottom. That bundle is what makes the ends look solid. Every layer cut into the interior takes some of those strands and stops them short, so fewer arrive at the perimeter — which is exactly how layering creates movement, and exactly why fine hair so often looks thinner after a layered cut.
Face-framing removes strands from one narrow panel at the very front. In terms of total volume of hair affected, you're talking about a few per cent of the head. In terms of what you see in the mirror, you're talking about the part you look at first.
Connected beats disconnected, and it isn't close
A disconnected frame is a short front section with a visible step between it and the rest of the hair. A connected frame slides — the shortest piece travels gradually down over several inches until there's no line at all where it ends. On dense hair both work and disconnection can look deliberate and sharp.
On fine hair a step exposes the sparseness of both sections at once, and the frame reads as a straggly bit at the front rather than as a haircut. This is the single most common way fine face-framing goes wrong, and it's not a mistake so much as a default: the fastest way to cut framing is disconnected.
The shortest piece is the entire decision
Length at the front is adjustable at the next appointment. Where the shortest piece starts is not, because that's the piece that has to grow. Get it too short for your density and you have five months of a front section that doesn't have enough strands in it to look like anything.
Chair-side note
I've stopped asking fine-haired clients where they want the framing to start, because the honest answer is always "like the photo," and the photo has more hair in it than they do. What I do instead takes ten seconds: I gather the front section in my fingers, hold it out from the face, and slide my hand down it.
There's a point where the bundle stops feeling like a rope and starts feeling like a few strands. That's where the density actually is, and the shortest framing piece needs to sit above it. On a lot of fine hair that means the jaw, not the cheekbone — and when I show someone the difference on their own hair rather than arguing about it, they pick the jaw themselves every time.
SB
— Simone Baptiste, Senior Stylist
The numbers to ask for
Four specifics, and they're the difference between framing you notice and framing you don't.
Section width: from the front hairline back to the corner of your eye, no further. A wider panel doesn't give you more framing, it gives you interior layers with a different name.
Shortest piece: cheekbone if you're fine but dense, jaw if you're fine and sparse. When you're between the two, take the jaw — it's the one you can shorten next time.
Travel: at least four inches of graduation between the shortest piece and the point where the framing disappears into the length. Less than that and you have a step.
Finish: point-cut ends only. No razor, no thinning shears, no slide-cutting the last two inches into a taper.
The first four are the same idea at four different heights. It's the only variable that really changes the outcome, so it's worth seeing them next to each other.
1
The cheekbone frame
The shortest piece sits level with the top of the cheekbone and graduates down from there. It's the boldest of the four and the one in most inspiration photos, because it puts movement high on the face where it reads as lift. Choose it if your hair is fine but you still have decent density — it needs enough strands in that top piece to look intentional.
2
The mouth-corner frame
Starting at the corner of the mouth is the compromise almost nobody asks for and most fine hair should. It still lands above the widest part of the face, so it does the same softening work, but there's noticeably more hair in the shortest piece than there is two inches higher up.
3
The jaw-length frame
The version for genuinely sparse fine hair, and the one I cut most often. At the jaw there's enough hair in the front piece to hold a shape, and it still travels far enough to catch the light along its edge. It's also the most forgiving to grow out — at this length the frame just becomes longer framing rather than an awkward stage.
4
The collarbone frame
Barely a layer — an inch or two of angle taken off the front length so the hair falls away from the face instead of hanging straight down beside it. On long fine hair this is often all that's needed, and it's the one to ask for if you've been burned by layers before and don't trust anybody with scissors near the front of your head.
Face-framing with a fringe
Framing and a fringe are separate cuts that live next to each other, and how they meet decides whether the front of your hair looks like one idea or two. The bangs guide covers choosing the fringe itself; these four are about the join.
5
The curtain fringe that becomes the frame
The fringe is cut so its outer edge continues into the framing without a break, so there's no point where one stops and the other starts. It's the most flattering join and the most demanding to cut — ask for it explicitly as "connected all the way from the fringe into the length," because the default is to cut them as two separate sections.
6
The deliberate two-tier
The opposite approach: a short wispy fringe with framing that starts well below it, so the gap between them is obvious and intentional. It reads as styled rather than as a mistake, which is the trick — a step only looks like an error when it's small. Works best on hair with some natural texture to soften the two edges.
7
The side-swept merge
A long sweeping fringe on one side that runs into the framing on that side and leaves the other side unframed at the top. Asymmetry does useful work on fine hair — it stops the eye reading a symmetrical, and therefore measurable, amount of hair on each side. Pairs naturally with a deep part, which lifts the roots for free.
8
The grown-out fringe, re-cut as framing
The most useful cut in this whole article and the one nobody books, because it doesn't have a name. If you're partway through growing out a fringe, twenty minutes of connecting the old fringe into the length turns the worst stage into a finished haircut. Ask for "blend my grown-out fringe into face-framing" — don't ask for a trim, or it'll get cut back.
By the length of the haircut underneath
Framing behaves differently depending on how much hair is behind it. These four are the same detail on four different cuts.
9
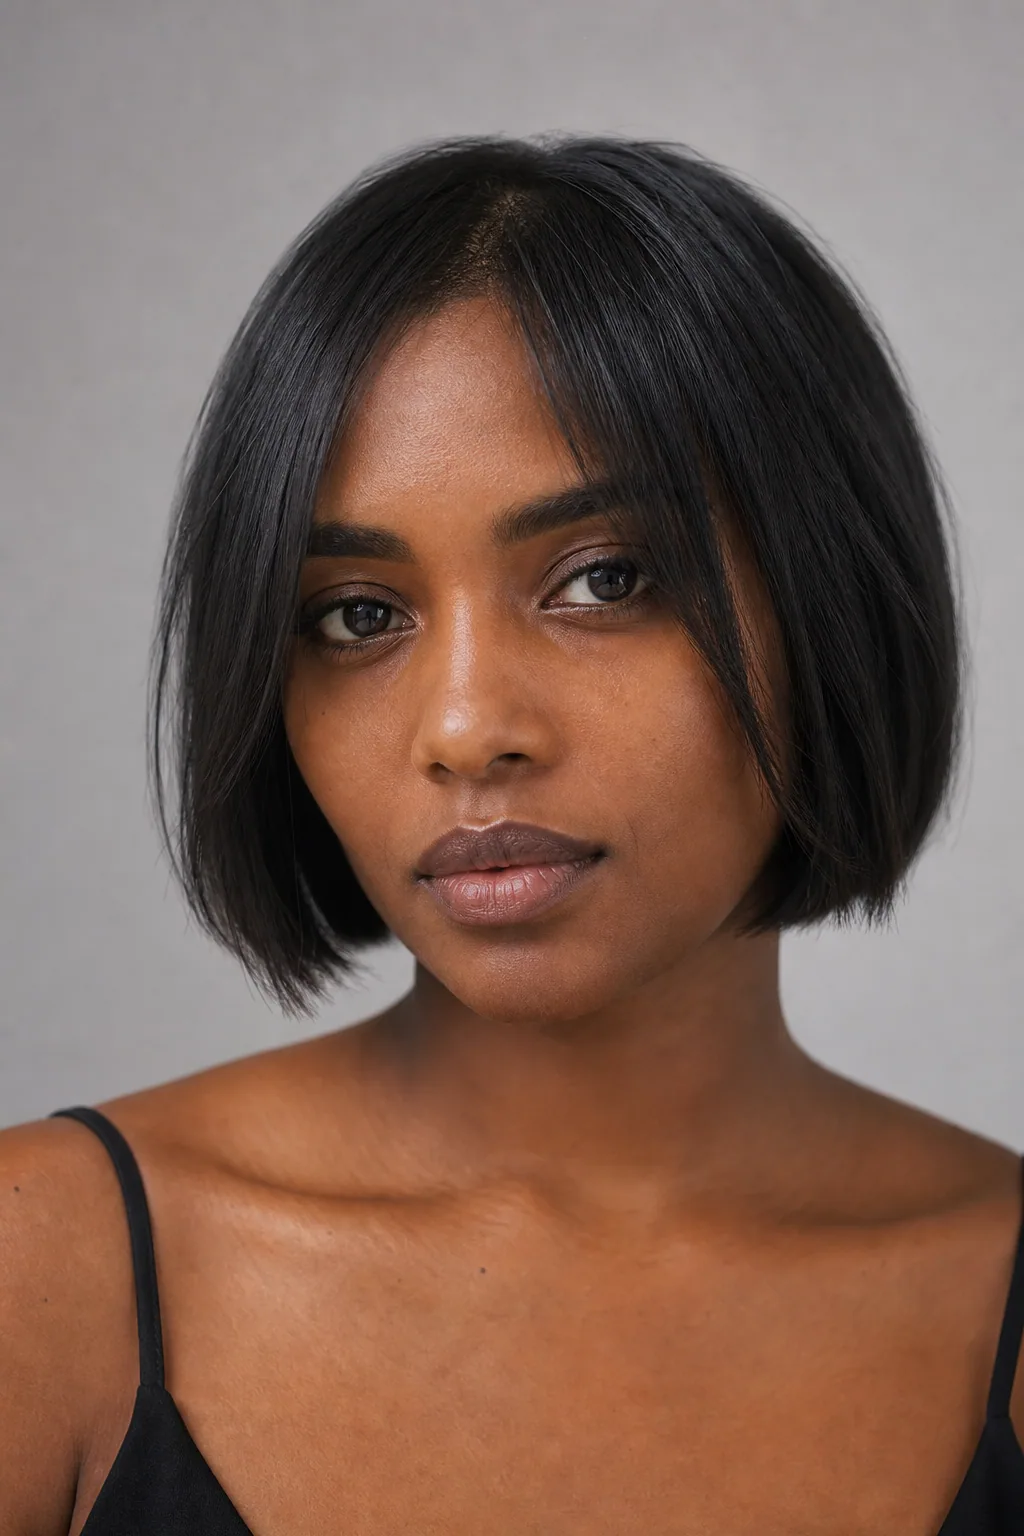
The two-inch frame on a blunt bob
On a bob you have very little travel to work with, so the framing is a short slide at the front two inches and nothing more. Keep the rest of the perimeter blunt — the solid line is what's giving a fine bob its density, and softening the whole edge spends it. The framing here is a detail, not a shape.
10
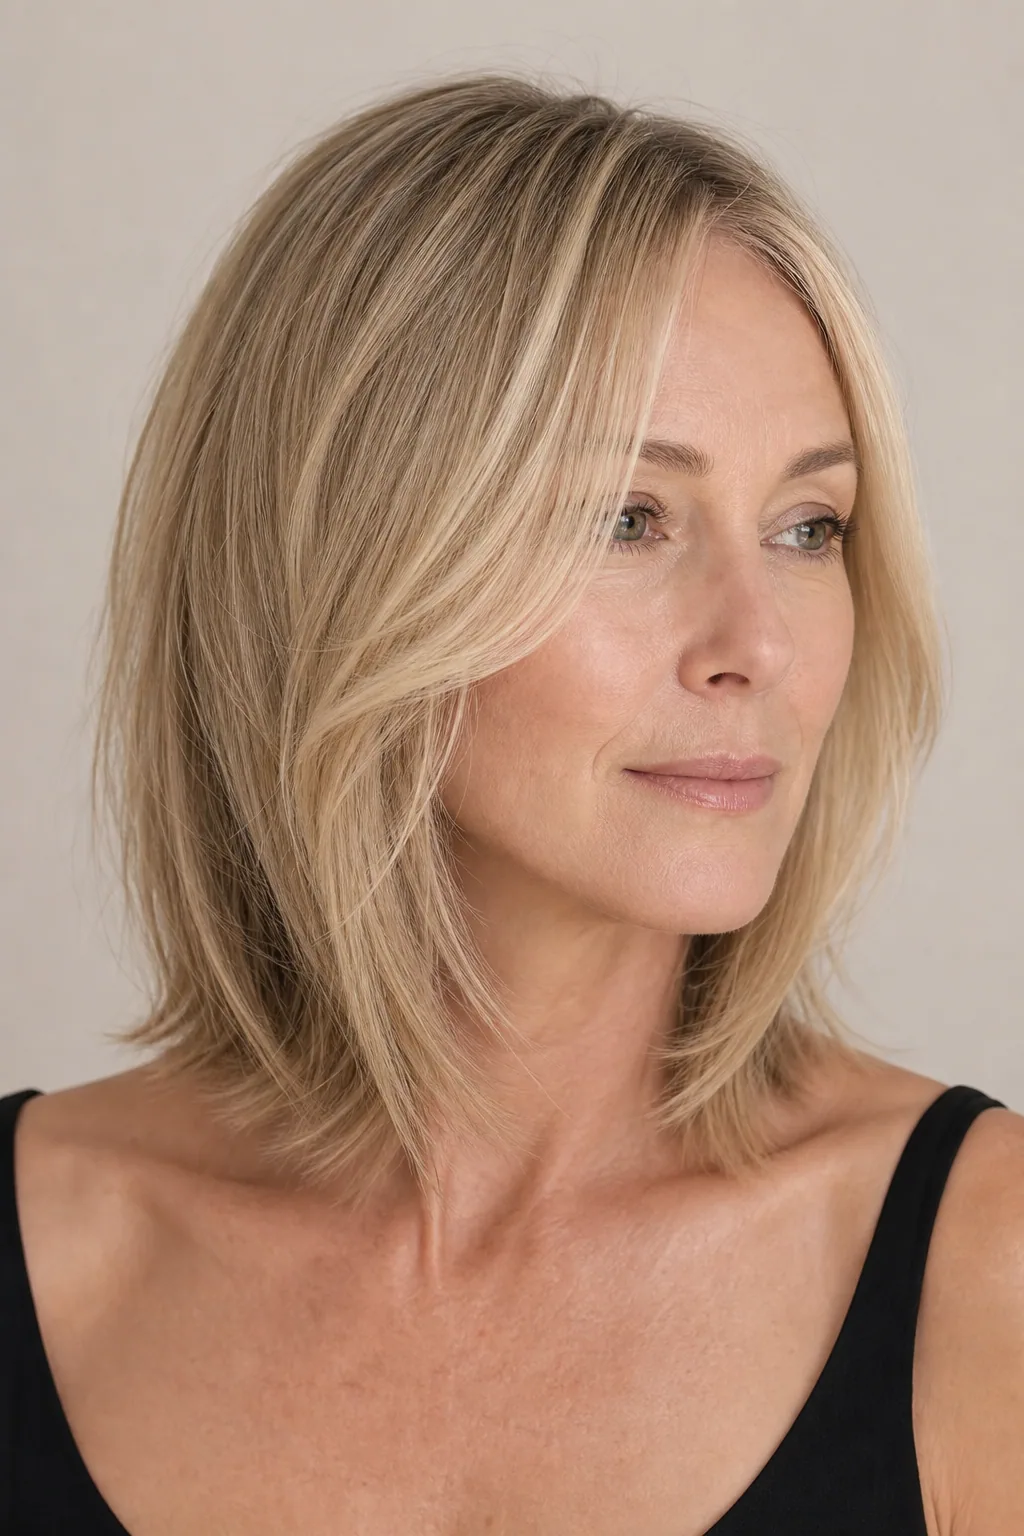
The framed lob
A lob is the length where framing has enough run to graduate properly — four or five inches from the shortest piece down into the perimeter. This is the combination I'd point most fine hair toward if it wanted one haircut to do everything: the length keeps weight, the frame supplies the movement.
11
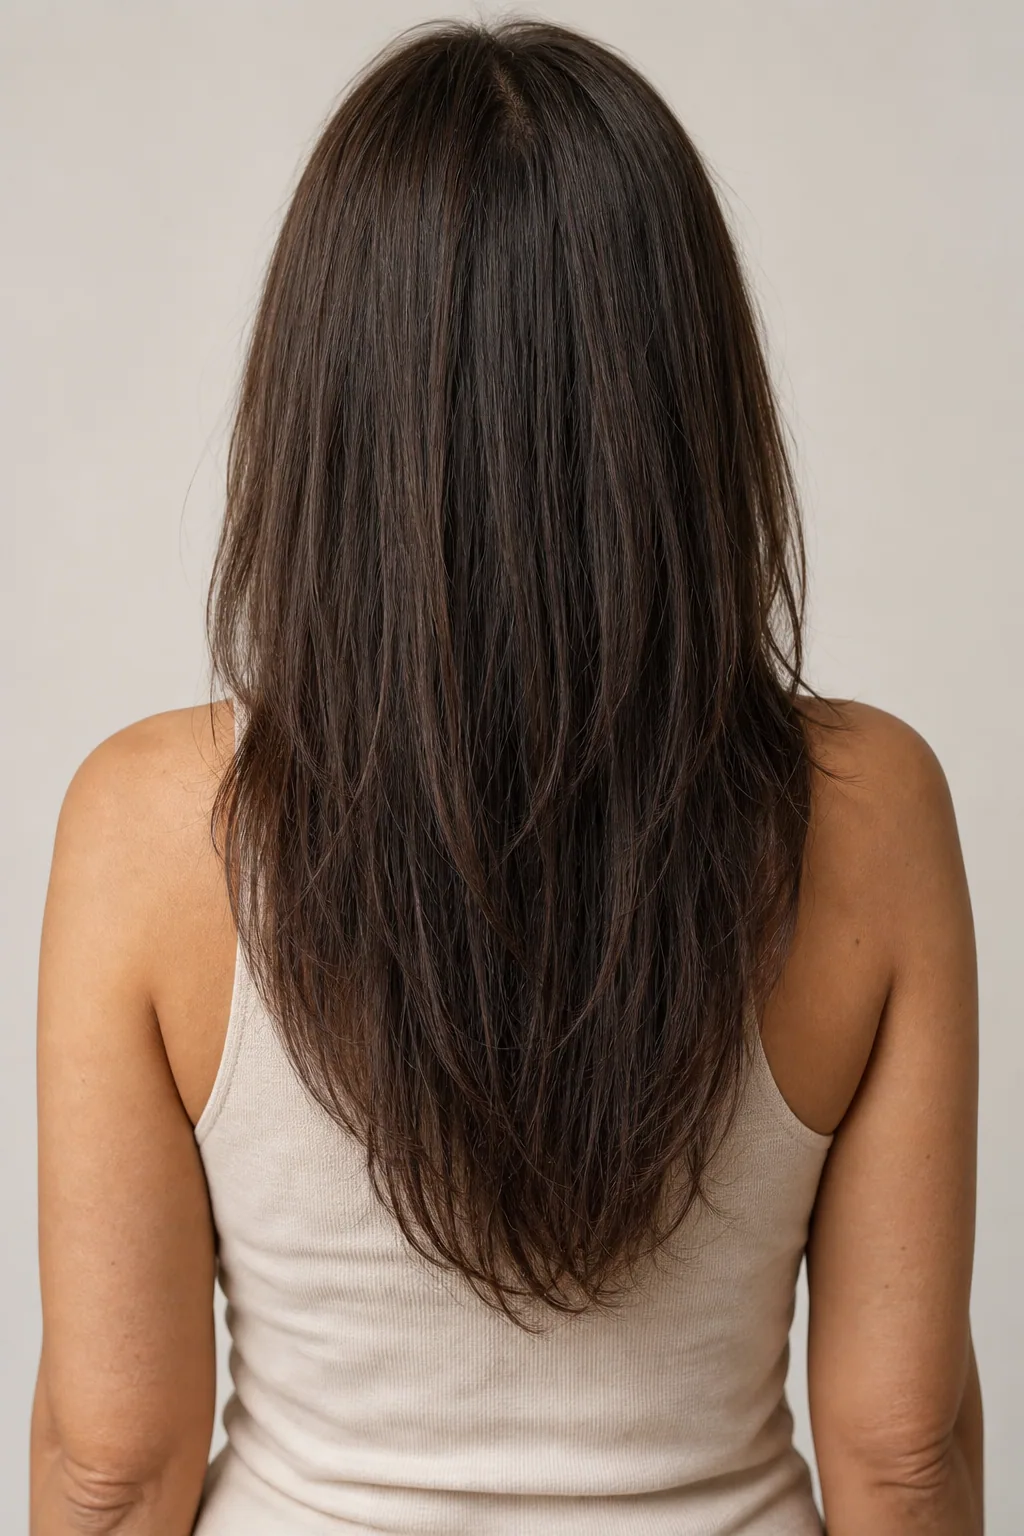
Long hair, framed at the front and one-length behind
The whole argument for long fine hair in one cut: a solid, unlayered perimeter so the ends stay dense, with all the shape taken at the front where you can see it. Nothing internal, nothing at the back. It's a harder sell in the chair than it should be, because it looks like a cut that hasn't been finished — until you see it from the front.
12
Framing over invisible internal layers
Pairs face-framing with ghost layers — internal layers cut short enough to sit underneath and prop the top up without appearing at the perimeter. The frame gives the front its shape, the hidden layers give the crown its lift, and the ends stay as thick as they started. It's more cutting than the others here and it needs a stylist who does it regularly.
Styled and colored versions
The last four aren't different cuts — they're what you can do with the same framing once it's there. This is where the detail earns its keep, because a face-frame is the easiest part of a haircut to restyle.
13
The flicked-back frame
Dried away from the face with a round brush and set with a shot of cool air, so the front pieces bend backward and stand slightly off the temples. It's the highest-volume thing you can do with two minutes and a brush, because the bend holds the hair away from the skull exactly where a face-frame sits. The technique is the same one in how to blow-dry fine hair, applied to four inches instead of a whole head.
14
The forward frame
The same cut worn the other way — dried forward so the pieces sit against the cheeks. It narrows the face rather than opening it, which is the version to use if width is what you'd like to soften. Honest note: it also lies flatter, so it's the lower-volume of the two directions. Most people want one on some days and the other on others, which is the point.
15
The brightened frame
A few lighter pieces placed along the framing only, so the front edge catches light and the graduation becomes visible. On fine hair this is color doing what density can't — a lit edge reads as depth. Keep it to the front panel and keep the contrast low; heavy brightness at the front is the fastest way to make fine hair look sparse. More in highlights for fine hair.
16
The frame left out of an updo
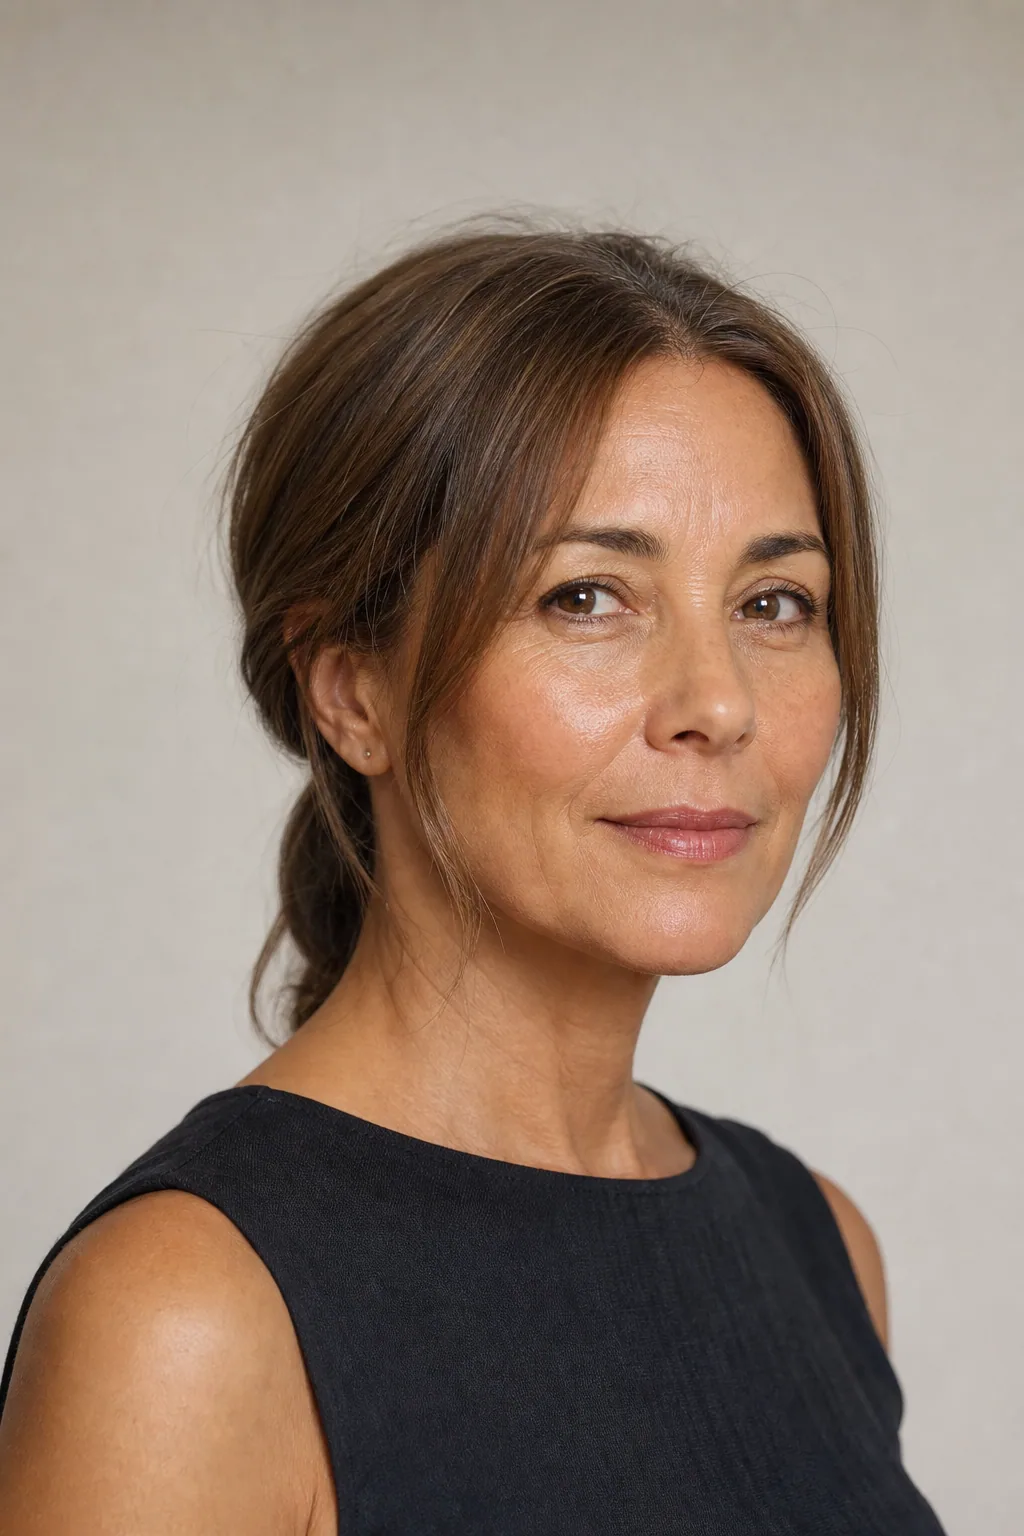
The reason to have framing even if you wear your hair up most days. Pulled-back fine hair exposes the hairline and the temples, which is where sparseness shows first; two soft pieces left down cover exactly that and make a ponytail look styled rather than scraped. Ask for the framing long enough to reach past your jaw so there's something to leave out.
Which version suits which face
The variable is where the shortest piece lands and which direction you dry it. Density still overrules all of this — if the two disagree, follow the density.
Face shape
Ask for
Avoid
Round
Shortest piece at the jaw or below, dried forward — a long vertical frame that adds implied length. See round faces
A short cheekbone frame flicked back, which widens exactly where you don't want width
Square
A soft graduated frame starting just above the jaw corner, ends point-cut so nothing lands hard on the strongest line of the face
A frame that stops level with the jaw corner, which draws a second line along it. See square faces
Long / oblong
Cheekbone start, dried back and out — width at the sides is the whole objective. See long faces
Long collarbone framing worn forward, which adds vertical to a face that has enough
Heart
Framing that starts at the mouth corner and gets fuller as it descends, adding weight low near the chin. See heart faces
Heavy short framing at the temples, which widens the already-wider top third
Any of them. Pick on density and on how much styling time you'll genuinely give it
Going shorter than your density supports because your face shape allowed it
The razor is the wrong tool here
Search for face-framing and you'll be told it should be razored for softness. It's the default technique in a lot of salons and it's the single most common way a fine face-frame is ruined, so it's worth being able to decline it with a reason.
A razor thins each strand as it cuts. Rather than severing the hair cleanly, it shaves along the fiber and tapers the last inch or two to a point. On coarse or dense hair that's exactly right — it removes bulk that has bulk to lose and leaves a soft, feathered edge.
Fine hair's ends are already narrow. Taper them further and they become genuinely translucent: you can see through the front of your own hair in daylight, at the part of your head you look at most.
There's a second cost that shows up later. Razoring roughens the cuticle along the length it shaved, and roughened fine ends tangle against each other, which means more brushing, which means more breakage. The frame looks soft in the chair and looks frayed at week five.
Point cutting does the same job without the cost. The shears are held vertically and cut a few millimetres into the ends, so the tips end at slightly different lengths. You get separation and a soft edge, and every strand keeps its full diameter. The sentence to use: "Point-cut the ends. No razor and no thinning shears." Say it before the cut starts, not when you see the razor come out.
Face-framing is not curtain bangs, and the difference is the grow-out
These get treated as interchangeable in inspiration photos because at month six they genuinely look the same. At month one they don't, and the reason is where the section came from.
A curtain fringe is cut from a triangular section taken behind your hairline, with the apex at your part — meaning the hair in it comes off the top of your head. On fine hair that's a real withdrawal from the least forgiving account you have, which is why our curtain bangs guide spends so long on section depth. Face-framing starts at the hairline itself and never crosses the part. Nothing is taken from the crown.
That single difference sets everything else:
Trim schedule. A fringe needs cutting every three to four weeks because a centimetre of growth puts it in your eyes. Framing can go eight to ten weeks, or indefinitely.
Grow-out. A fringe grows through a stage where it's too long to be a fringe and too short to tuck. Framing has no such stage — it just gets longer.
Crown density. A fringe visibly thins the top of your head for the nine months it takes to grow back. Framing doesn't touch it.
If you want the effect of a fringe and you're nervous, framing is the honest first step — and if you like it, you can add a fringe on top of it at the next appointment without undoing anything.
The maintenance reality
Three things, and the third is the one that changes how often people actually do this.
Reshaping takes about fifteen minutes. Only the front panel is being touched, so a framing trim isn't a haircut appointment — plenty of salons will do one between full cuts for very little or nothing. Ask at the time you book rather than calling later; it's a much easier yes when it's already in the diary.
It grows out kindly, and there's a number behind that. Scalp hair grows roughly a centimetre a month — an in vivo study of young adults across 24 ethnic groups put the range at about 272 to 426 micrometres per 24 hours, so a bit under a centimetre a month at the slow end and a bit over at the fast.
A piece cut at your cheekbone is at your jaw in roughly five months, and at your collarbone by the following spring. Nothing about that sequence is awkward.
It needs two minutes of drying to exist. This is the honest catch. Face-framing left to dry flat against the face does almost nothing — the shape only shows if the front pieces are dried in a direction.
Two minutes with a round brush on the front panel, done first while the hair is still properly wet, is the whole styling commitment. If that's not going to happen, take the collarbone version at number 4 instead, which works without being styled.
What to ask for
Five sentences, in this order:
"I'd like face-framing layers, and I'd like to keep the rest of my length and my perimeter exactly as they are."
"Take the section from my hairline back to about the corner of my eye — nothing from behind my part. My hair is fine and I don't want to lose anything off the top."
"Shortest piece at my [jaw / mouth corner / cheekbone]."
"Keep it connected — I'd rather it slid into the length over several inches than sat as a separate short piece."
"Point-cut the ends. No razor and no thinning shears."
And one to add at the end if you've been disappointed by framing before: "Can you dry the front section in front of me so I can copy the direction?" Most framing that "didn't work" was cut correctly and dried downward. If the reason you are considering a frame is a tall forehead rather than face shape, bangs for thin hair and a big forehead has the depth rule to settle first.
When face-framing isn't your best move
Your hair is fine and sparse at the temples specifically. The framing section is temple hair. If that's where you're thinnest, you'll be cutting the pieces that were covering it — coverage for thinning fine hair has better options.
You have a blunt bob you love for the weight of its line. Framing softens the perimeter, and the perimeter is what's making it look thick. Keep it to the front two inches or leave it alone.
You genuinely will not spend two minutes drying the front. Then take the barely-there collarbone version, which needs no styling, rather than a cheekbone frame that will hang flat.
You're mid-way through growing out layers and finally have one length. Framing is a small cut but it restarts the clock at the front. Wait until you're happy with the perimeter first — growing out fine hair has the staging.
Your hair is fine and curly. A graduated frame springs up when it dries, so the piece you agreed to at the jaw arrives at the cheekbone. It can be done, cut dry and longer than you think — thin curly hair covers it.
Someone has offered to razor it or thin it out. Not a face-shape problem, but the most common reason a fine face-frame disappoints. Decline both, and ask for point cutting.
FAQ
They're the layering with the best return for this hair type, and the reason is where the hair is removed from. Interior layers shorten strands throughout the body of the haircut, which is how you get movement — and on fine hair it's also how you get a thinner-looking perimeter, because every shortened strand is one that no longer reaches the ends. Face-framing works on a narrow panel at the very front, roughly the width of your temples, and the rest of the haircut is untouched. You buy the visible benefit of layering — shape and movement around the face — at the smallest possible cost in density. It's also the only layering you look directly at in the mirror, so a small amount of it reads as a lot.
Between the cheekbone and the jaw, and the choice between them is about how much hair you have rather than what shape your face is. If your hair is fine but reasonably dense, the shortest piece can start at the cheekbone and the frame will read full. If your hair is fine and sparse, start it at the jaw — a cheekbone-length piece on low density has too few strands in it to look like framing, and reads as a straggly bit at the front instead. The other rule matters more than either number: the shortest piece must be connected, meaning it slides gradually into the length below it rather than sitting as a separate short shelf.
Where the section is taken from, which decides how each grows out. A curtain fringe is cut from a triangular section behind the front hairline, on top of your head, with its apex at your part — so a fringe genuinely borrows hair from your crown. Face-framing layers start at the hairline at your temples and never cross the part; nothing comes off the top of your head at all. That difference is why a fringe grows into your eyes and needs trimming every three or four weeks, while face-framing just gets longer and stays wearable the whole way. On fine hair it's also why framing is the safer of the two — you're not donating crown density to your forehead.
No, and it's worth declining out loud in the chair, because a razored face-frame is the standard recommendation for softness and it's wrong for this hair type. A razor thins each strand as it cuts, tapering the last inch or two to a point. On coarse hair that removes bulk and leaves a soft edge. On fine hair the ends are already narrow, and tapering them further leaves them literally see-through — at the front of your face, in daylight, which is the worst possible place to have transparent ends. Ask for point cutting instead: shears held vertically, cut into the ends so the tips vary by a few millimetres. You get the separation and softness without losing any thickness from the strand.
Every eight to ten weeks to keep the shape exactly as cut, and it's a much smaller appointment than people expect. Only the front panel is reshaped, so it takes about fifteen minutes, and many salons charge little or nothing for it between full cuts — ask when you book. The honest version is that you can also just leave them. Scalp hair grows roughly a centimetre a month, so a piece cut at the cheekbone reaches the jaw in about five months and simply becomes a longer frame rather than an awkward stage. That forgiving grow-out is one of the real advantages over a fringe.
Only if they're cut disconnected, or cut with a razor or thinning shears. Disconnection means the short front pieces sit as a separate shelf with a visible step between them and the rest of the hair, and on fine hair that step shows the sparseness of both sections at once. A connected face-frame — where the shortest piece slides gradually down into the length over several inches — does the opposite: the graduated edge catches light along its whole run and reads as more hair, not less. The instruction that prevents it is short, and worth saying before the first cut rather than after: keep it connected, and point-cut it.
Yes, and on a bob it's often the one detail that stops the cut looking heavy. On anything chin-length or shorter the framing has to be shallower and shorter in run — two or three inches of travel rather than eight — so it becomes a soft slide from the corner of the mouth into the perimeter rather than a long sweep. The one caution is on a blunt bob you had cut for the density a blunt line gives you. Framing softens that line, and the line was doing your volume work. Keep the framing to the front two inches and leave the rest of the perimeter solid.
Dry the front pieces away from your face rather than down, and dry them first. Take the framing section while it's still properly wet, put a round brush under it, direct it back and up toward the top of your ear, and finish with a shot of cool air before you let go. Hair sets in the shape it's in as it cools and dries, so the direction you dry the frame in is the direction it keeps all day. Drying it downward — which is what happens if you leave it until last and it's already half-dried flat — is why face-framing so often looks like it did nothing. Two minutes on the front panel is worth more than ten on the back.
Eleven years cutting fine and thin hair. Simone's rule on this one: find where the density actually ends with your fingers before anyone picks a length off a photograph.
Results vary with hair type, density, and growth patterns. This guide is educational and not a substitute for an in-person consultation with a licensed stylist.
Hairstyle images in this guide are AI-generated illustrations, not photos of real clients or results. See our image policy.
Get the good hair intel
One honest, stylist-written guide in your inbox each week. No hype.

 SB
SB