Reviewed by Tara Sullivan · Updated July 2026 · 8 min read
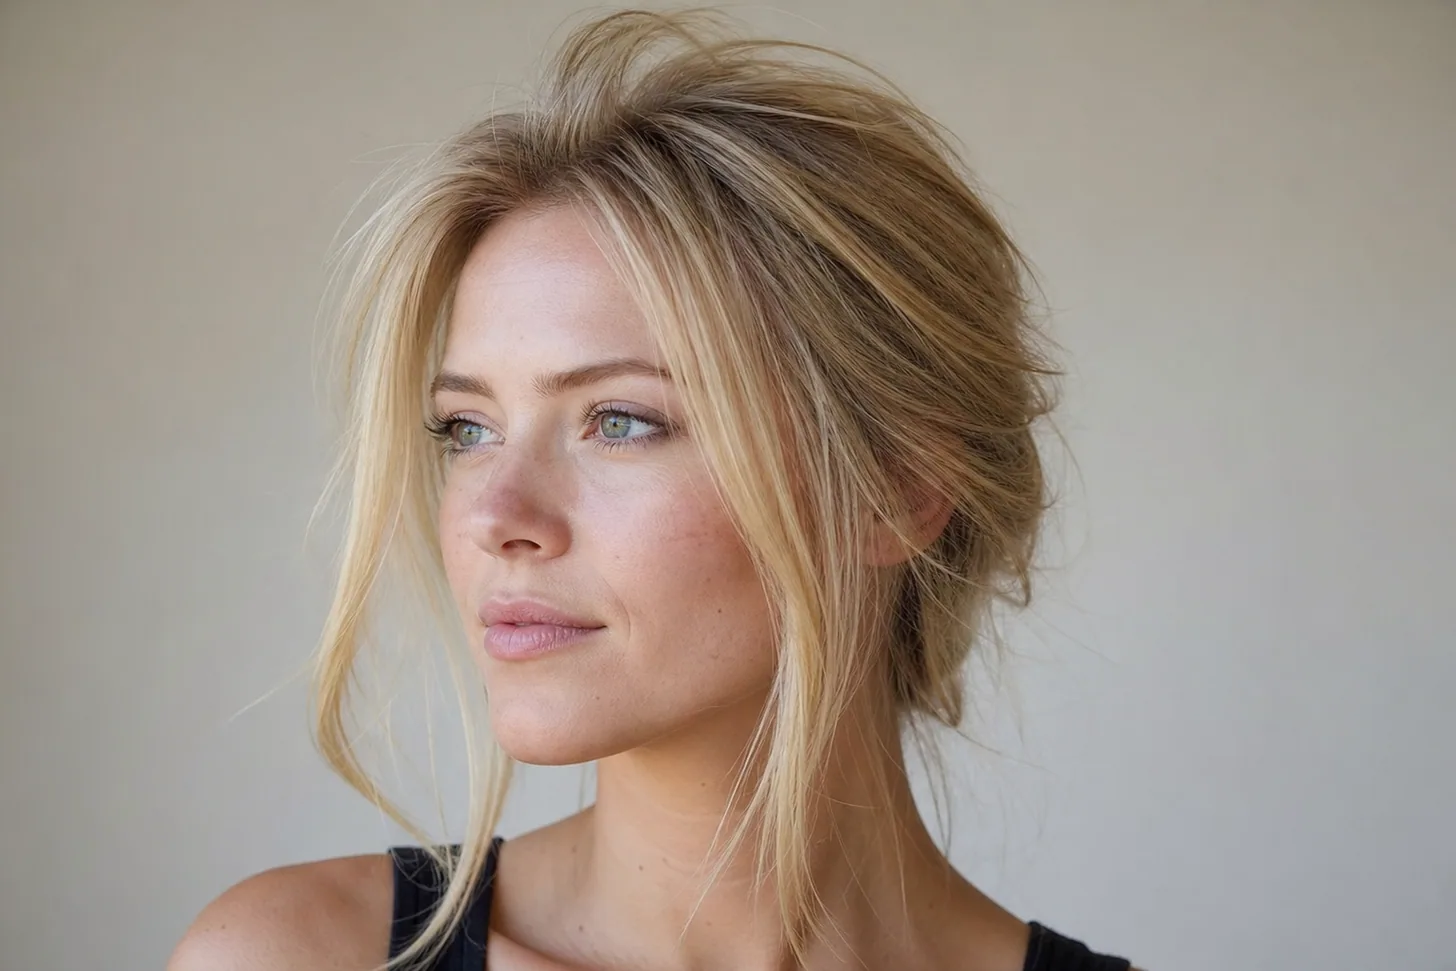
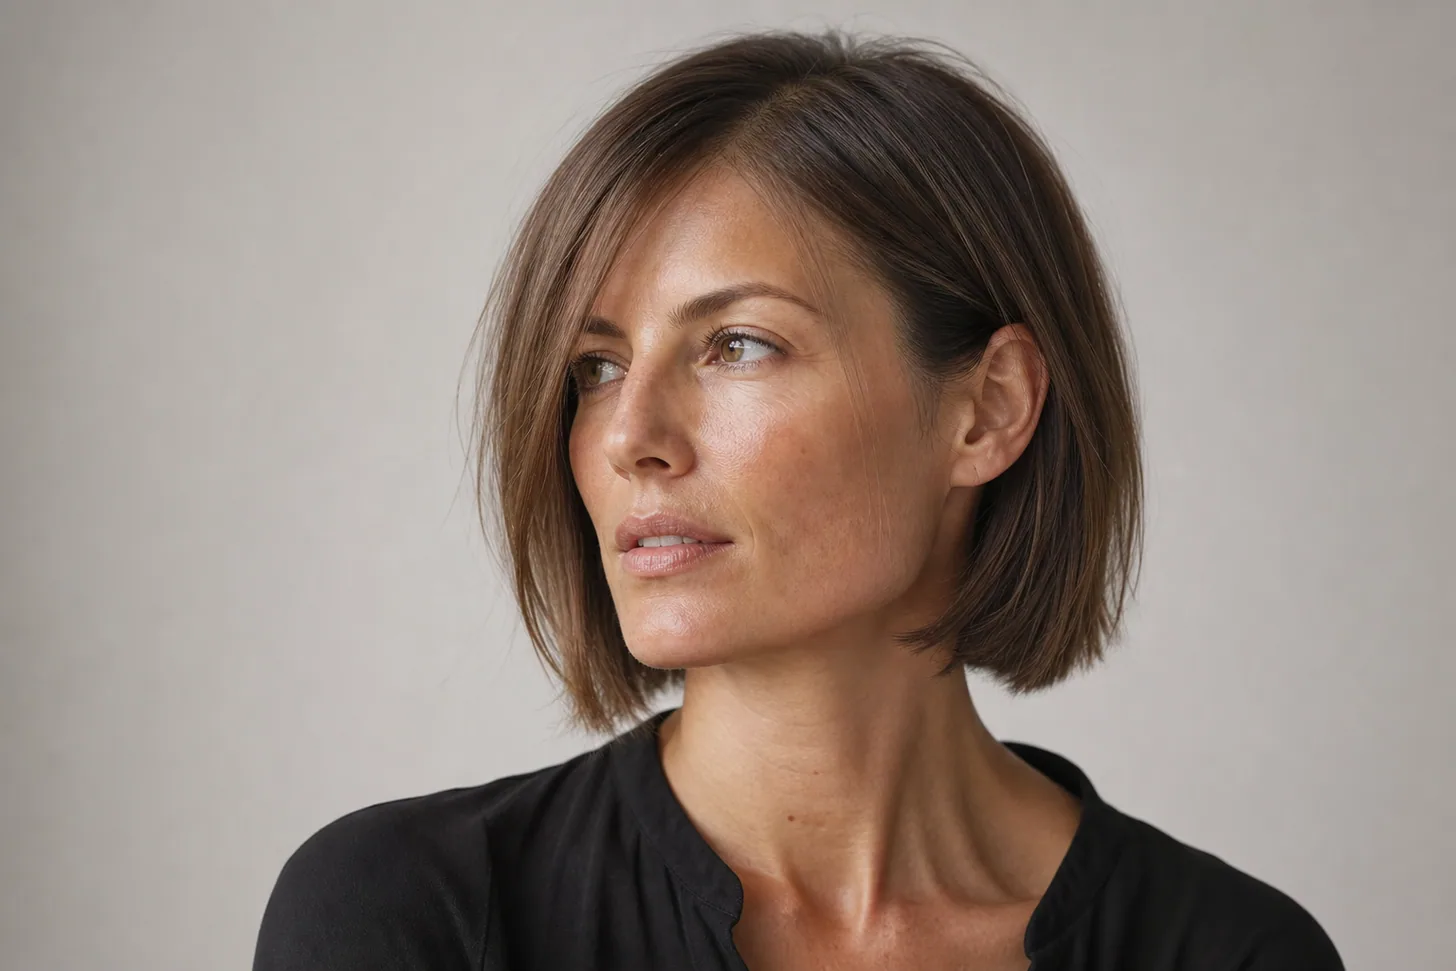
A volumizing blow-dry on fine hair comes down to two things: lift the roots while they're damp, and set them cold. A fine strand has no body of its own, so the shape you dry in is the shape you get — dry the roots lifted and over-directed, cool each section until it's genuinely cold, and the fullness holds.
Below is the six-step round-brush method I use in the chair, sized for real mornings, plus the handful of mistakes that flatten fine hair before you've left the house.
Chair-side note
The number one reason a home blow-dry falls flat isn't the dryer or the brush — it's releasing the section while it's still warm. Warm hair is soft and moves; it hasn't set yet.
If you unroll the brush and immediately reach for the next piece, you've just let a warm, lifted root relax straight back down. Cool every crown section on the brush until it feels cold to the touch, then let go. It adds thirty seconds and doubles how long your volume lasts.
SB
— Simone Baptiste, Senior Stylist
Why fine hair needs a specific blow-dry
Fine hair doesn't hold a shape on its own — it's soft, slippery, and gravity pulls it flat almost as fast as you lift it. That's actually good news, because it means volume is entirely within your control at the dryer: whatever position you dry the root in, and cool it in, is where it stays. The whole method below is built to lift the root away from the scalp and lock it there before it can fall.
If your flatness runs deeper than styling — if you're not sure whether you're dealing with fine strands, low density, or both — the two-minute guide to telling fine hair from thin hair is worth a read, and this blow-dry is one chapter of the bigger toolbox in how to add volume to thin hair. The same principle runs the other way when there's no dryer involved: air-drying fine hair sets the root in whatever position gravity left it in.
The 6-step volumizing blow-dry
About twenty minutes, front to back, once you're practised. The effort concentrates on the crown and the front, because that's where root lift actually reads.
Step 1: Prep damp hair for lift
What you need: a lightweight volumizing mousse, a weightless heat protectant.
How:towel-blot until hair is damp rather than dripping — pressing, not rubbing, and lifting the fabric off the roots rather than dragging it across them — mist a weightless heat protectant through the lengths, then work a golf-ball of mousse into the roots only, concentrating on the crown. Skip the mid-lengths and ends — product there just adds weight.
Why: mousse coats each strand with a thin film that dries stiffer than bare hair, giving a fine strand the backbone it lacks. A good volumizing mousse is the single most useful product here.
Step 2: Rough-dry to 80 percent
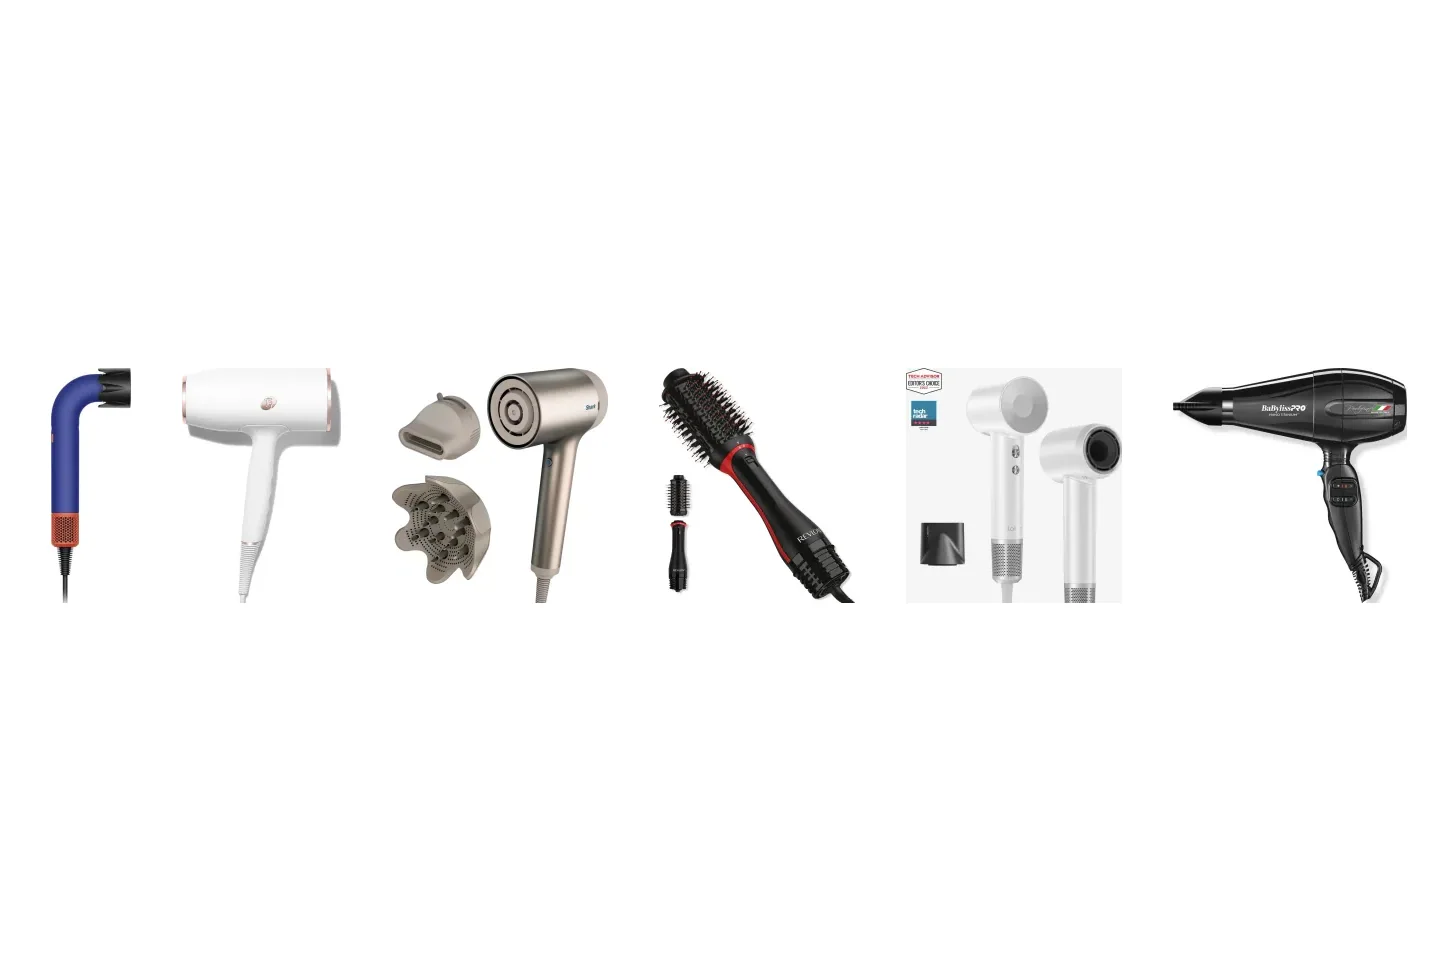
What you need: a dryer on medium heat with a concentrator nozzle.
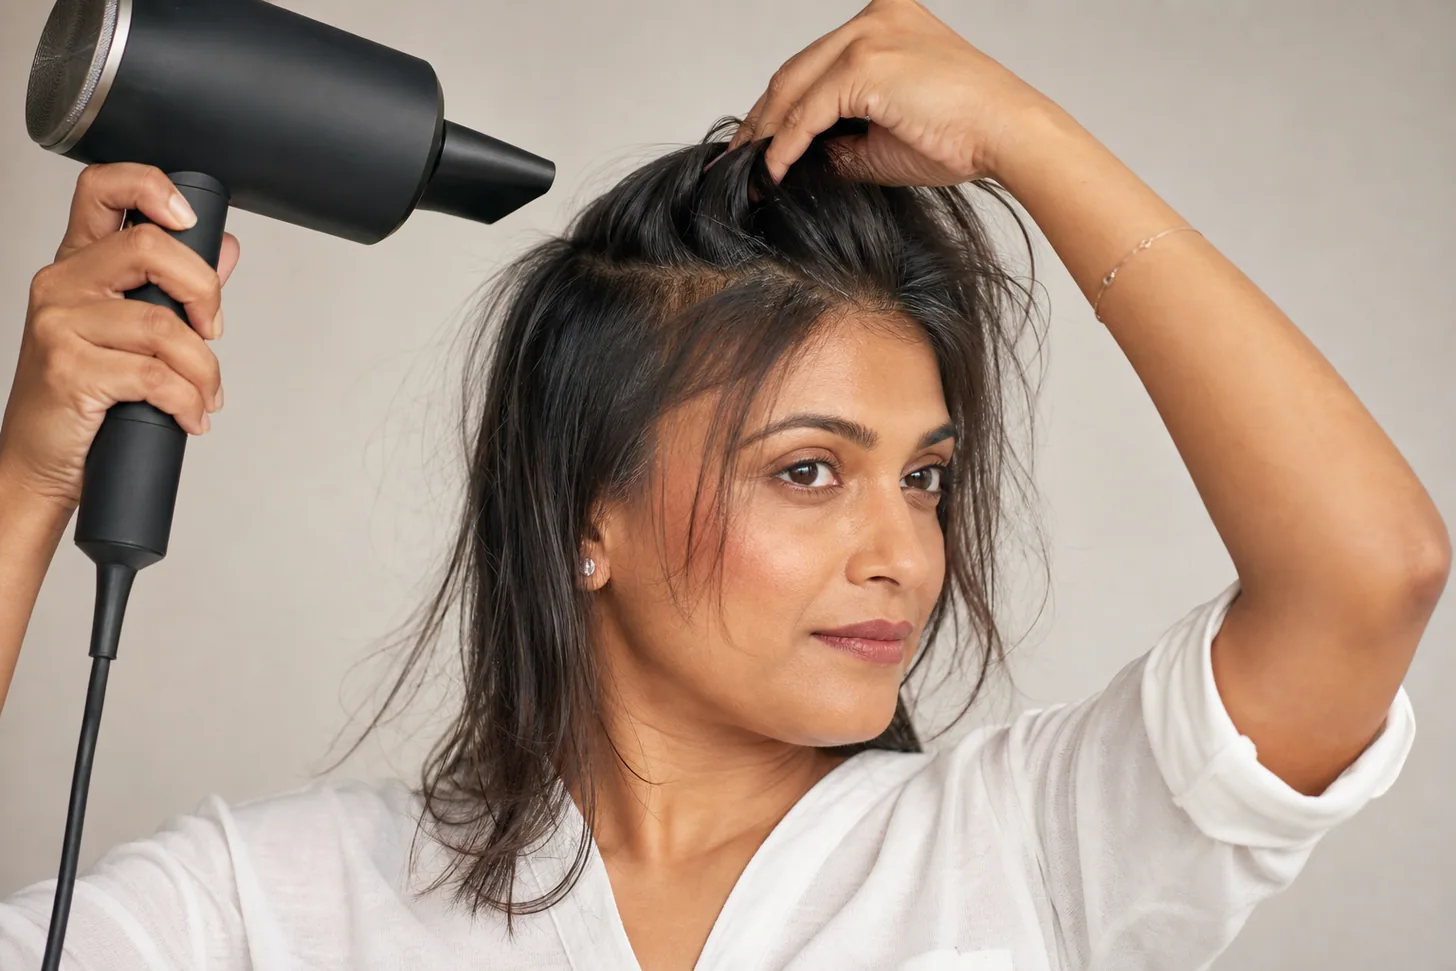
How: before you touch the round brush, rough-dry the roots with your fingers until they're about 80 percent dry, pushing the hair in the opposite direction to how it falls. Flipping your head over for this adds even more lift.
Why: round-brushing soaking-wet fine hair stresses fragile strands and keeps them under heat far longer than they need. Getting most of the water out first means the shaping pass is quick — and a dryer with honest medium heat is all fine hair should ever see.
Step 3: Section the hair
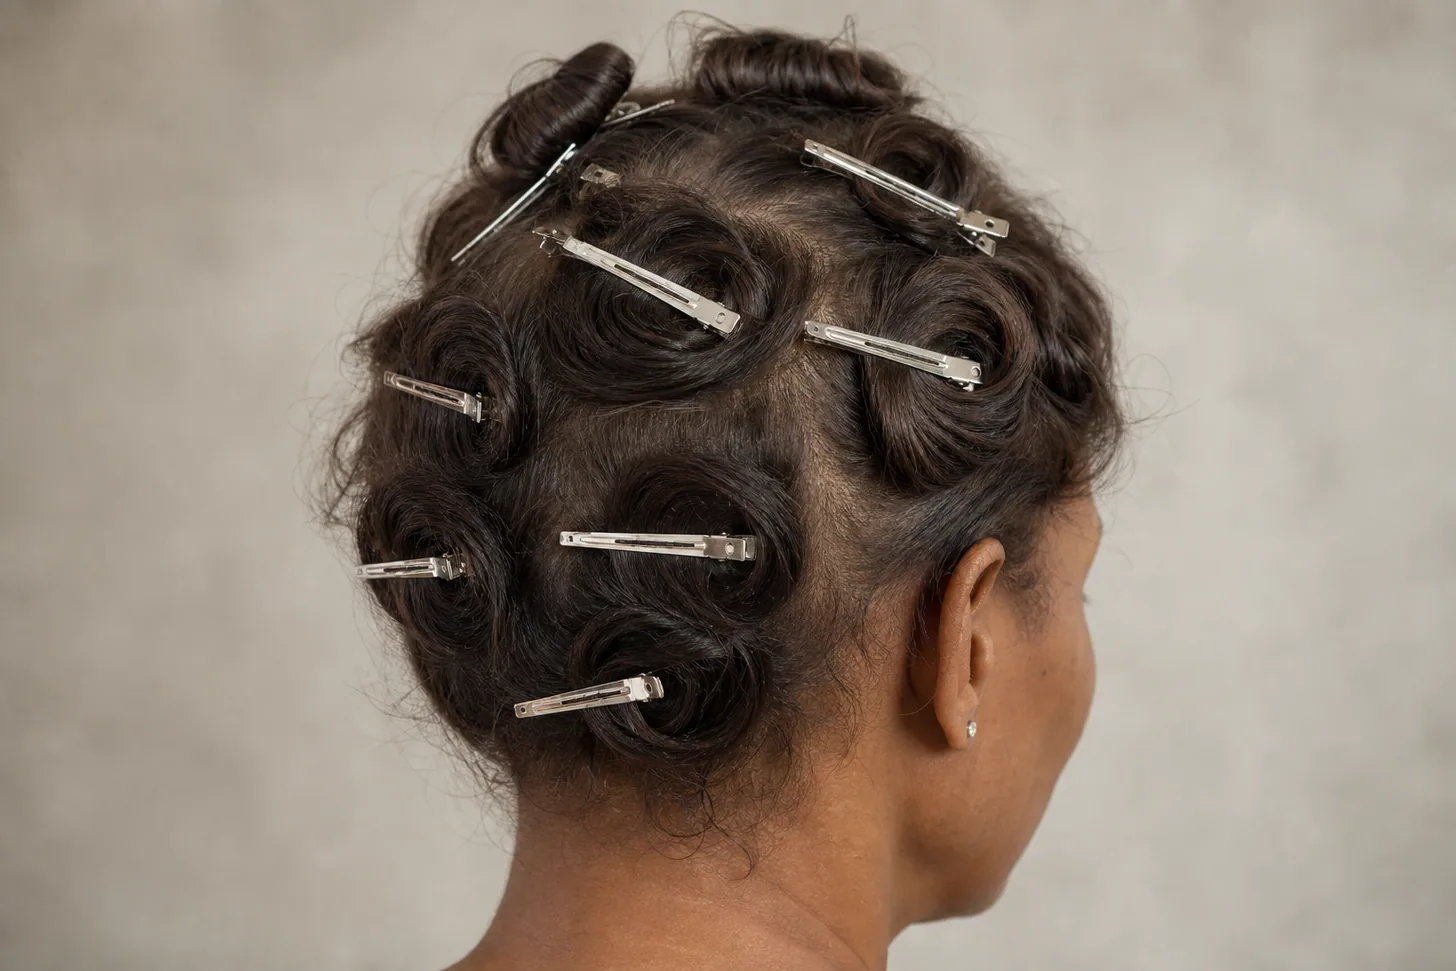
What you need: a few sectioning clips.
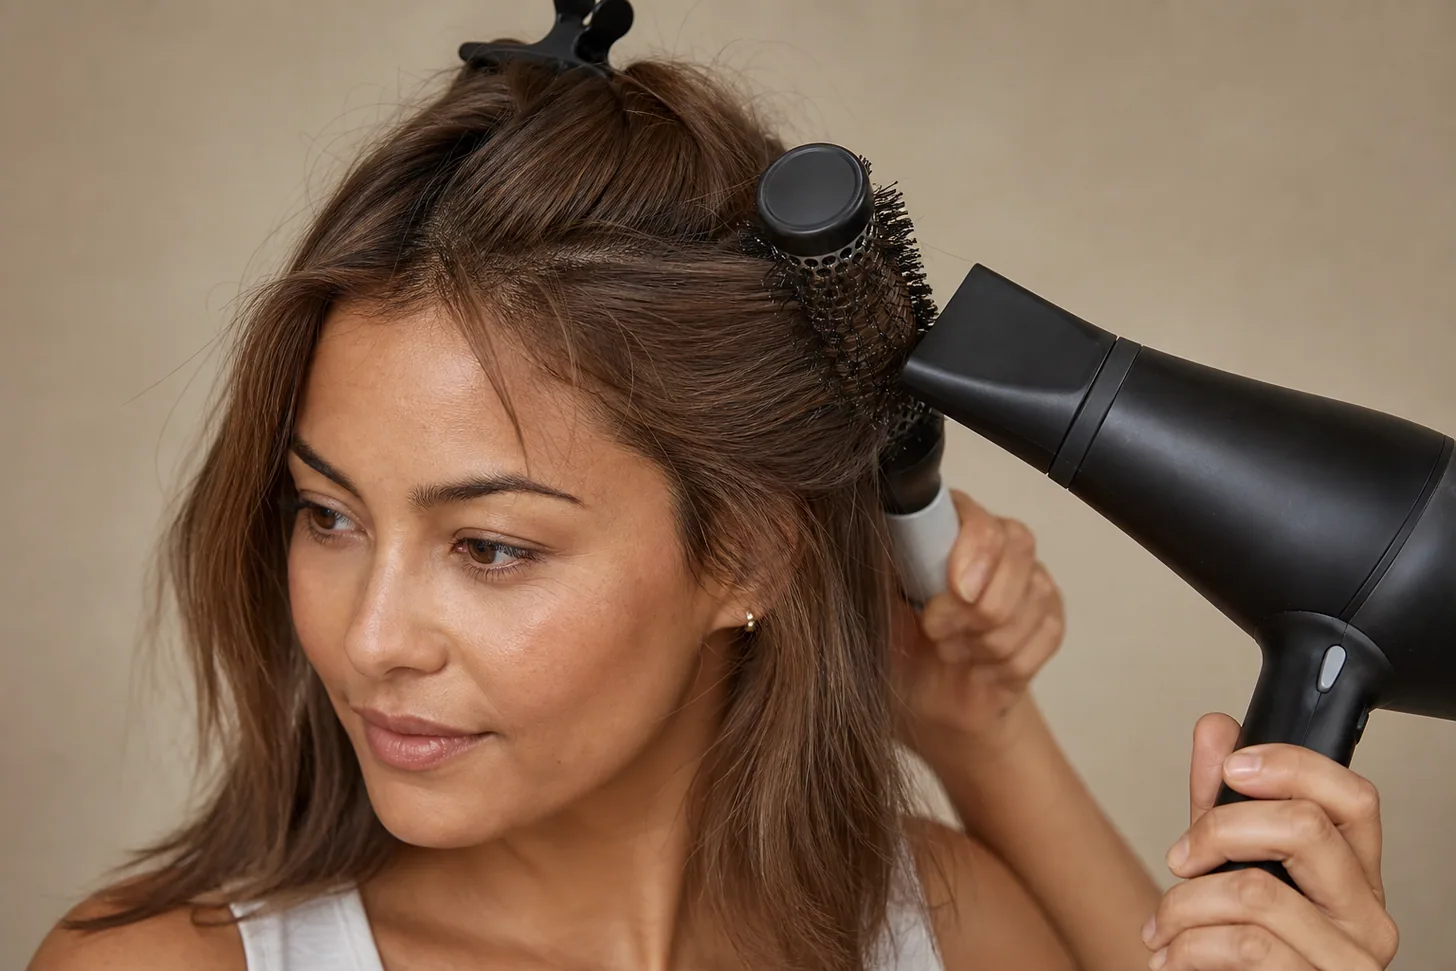
How: clip the top and crown up out of the way and start at the nape, working in horizontal sections about an inch or two deep. Dry the bottom layers first, then drop the next section down and work up to the crown last.
Why: a section that's too big can't be lifted properly — the brush just skims the surface. Small sections let you get the brush right under the root of each one, which is the only way fine hair gets real lift. It feels slower; it's the step that separates a flat dry from a full one.
Step 4: Round-brush each section from the root
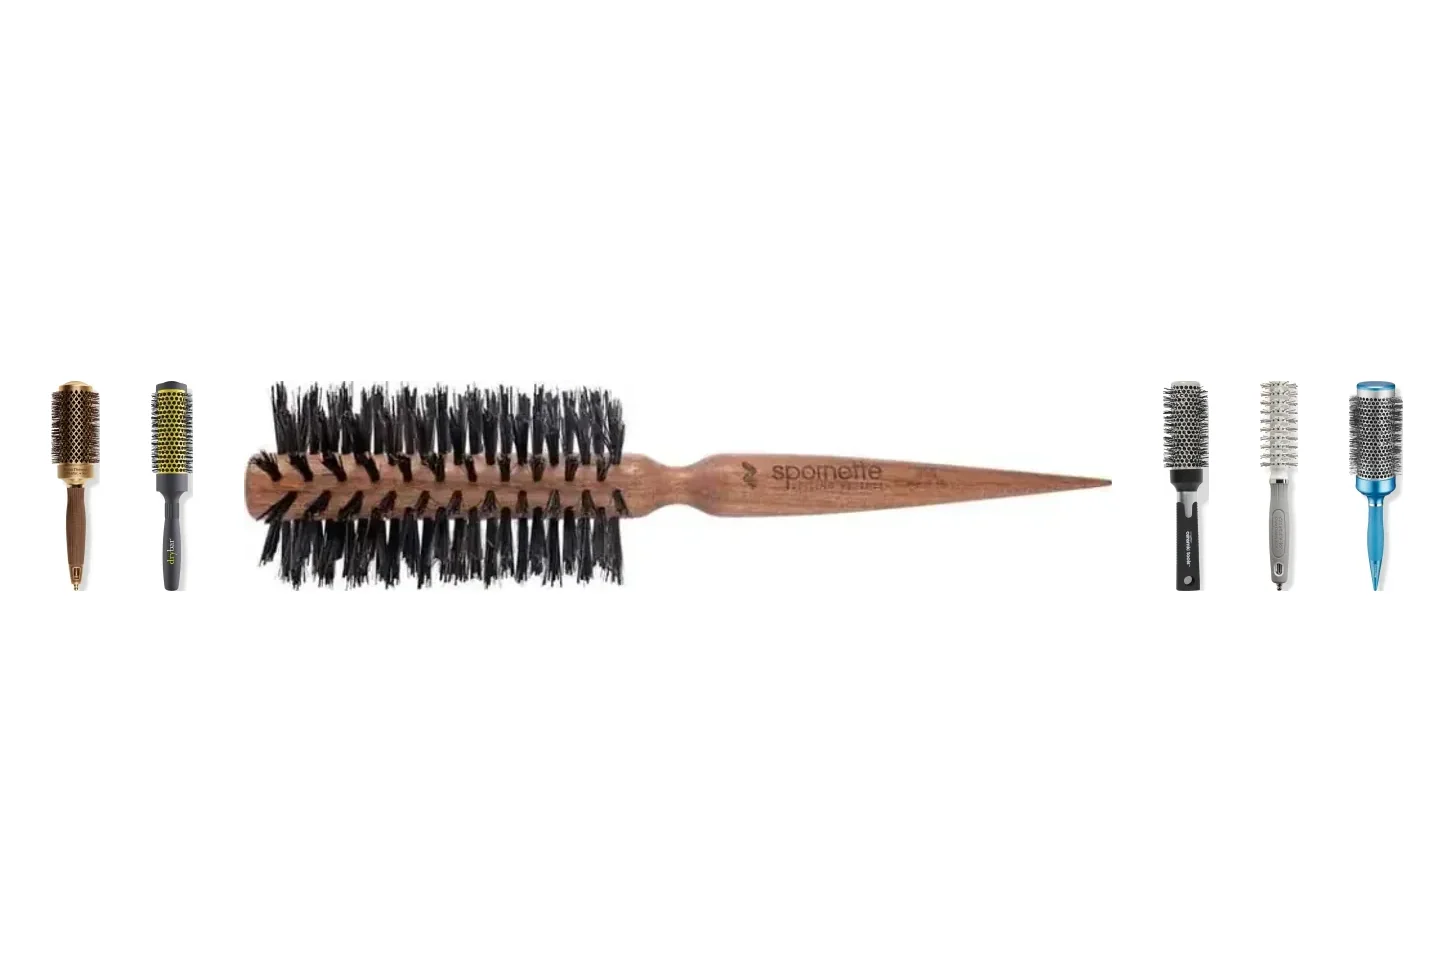
What you need: a ceramic round brush sized to your length (a size smaller than you'd pick for thick hair).
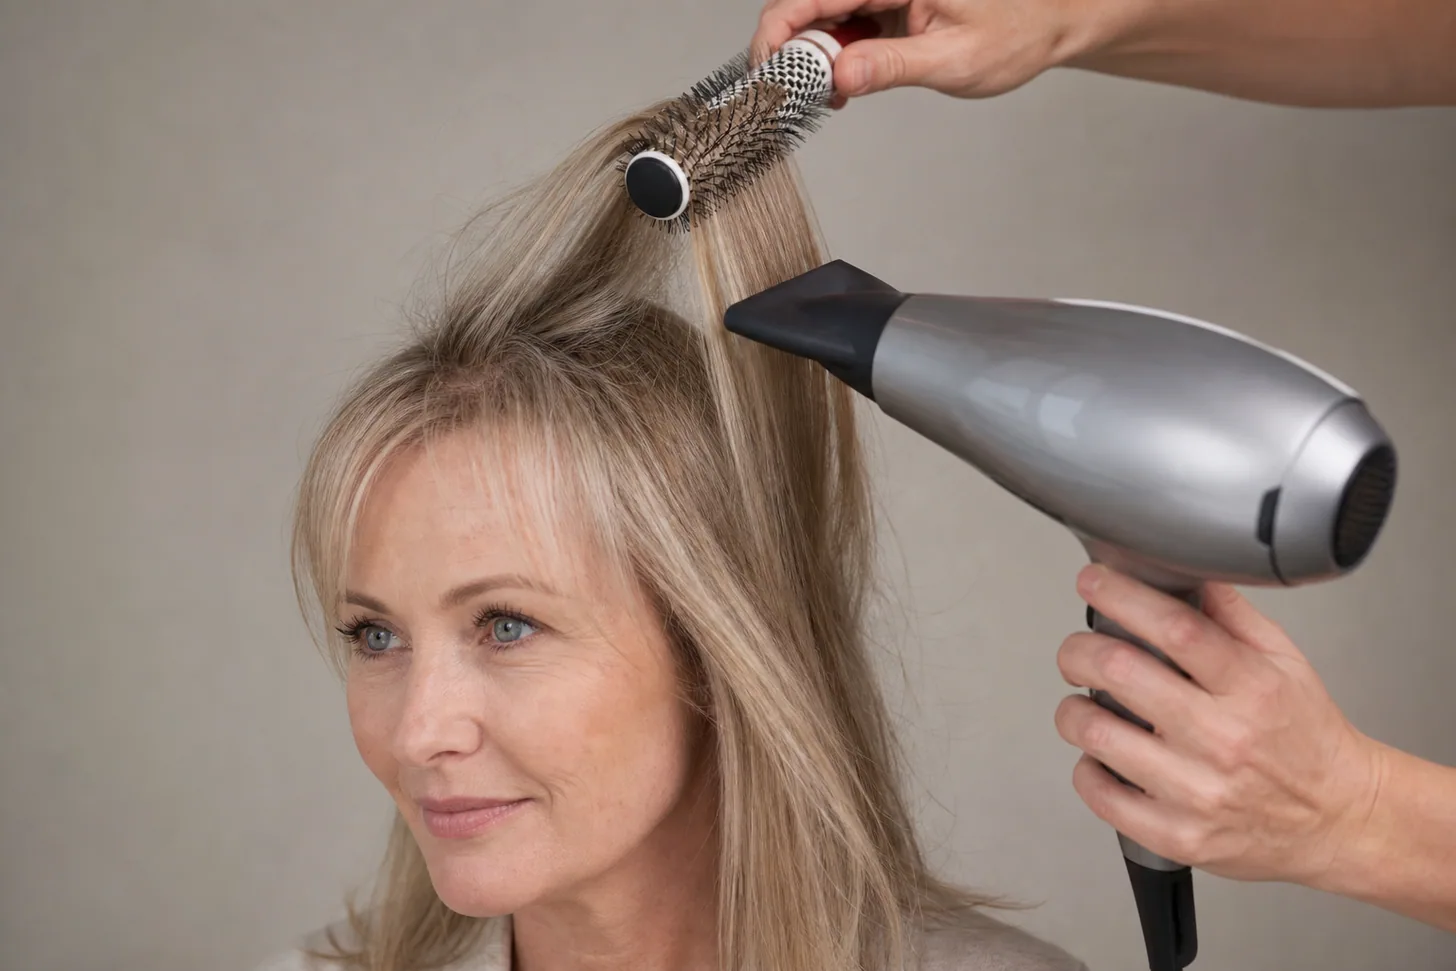
How: set the brush underneath a section at the root, lift it up and away from the scalp — past 90 degrees at the crown, over-directing it forward or back — and dry the base up and over the brush with the nozzle following the brush down. Then roll through to the ends and bend them under. Aim the airflow with the cuticle, root to tip, for shine.
Why: the brush is a lever, not a comb — its job is to hold the root at a lifted angle while the dryer sets it there. The right barrel matters: our pick of the best round brush for fine hair covers sizes and bristles that grip slick strands without tearing.
Step 5: Set every section with the cool shot
What you need: the cool-shot button — the most important button on the dryer.
How: with the section still wrapped on the brush at the root, hold the cool shot on it until the hair feels cold to the touch, then unroll and move on. Do this on every section, and give the crown and face-framing pieces extra attention.
Why: heat softens the bonds that hold hair's shape so you can move it; cooling re-sets them in the new, lifted position. This one step is the difference between volume that lasts all day and volume that's gone by your commute.
Step 6: Finish for grip and separation
What you need: a texture spray or a light, flexible hairspray.
How: once everything is dry and cool, flip your head over and back once for a burst of root lift, mist a little texture spray or light hairspray at the roots and through the lengths, then break the surface up with your fingers. Resist over-brushing — brushing a finished fine-hair blow-dry drags the volume back out.
Why: fine hair is slippery, and slippery strands slide flat. A little product adds friction — grip — that holds the lift, and finger-separation gives the piece-y fullness a brush erases. On day two, refresh at the roots rather than restarting; the full playbook is in reviving second-day fine hair. The method assumes a few specific tools; which styling tools fine hair actually needs covers the shortlist.
Blow-drying a short cut or a bob
Short fine hair is also where a small-barrel hot air brush earns its place, because a two-inch barrel can still complete a wrap on chin-length hair — see blow-dry brushes for fine hair.
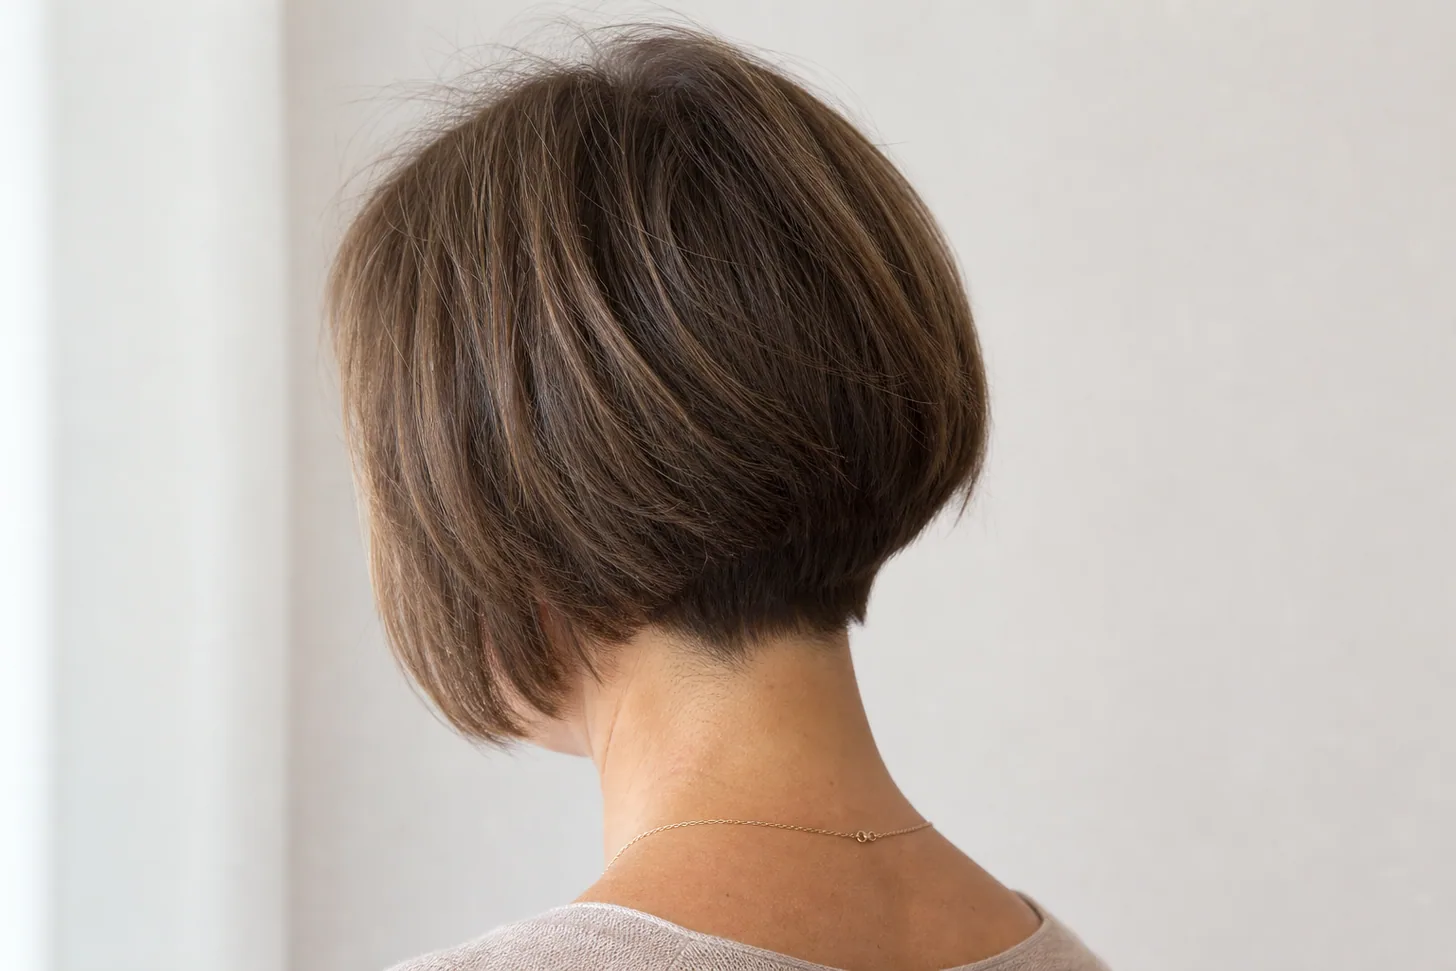
The method is the same on short hair, with one change: drop to a smaller barrel so the brush can actually grab a short section, and spend proportionally more time on the crown, where a bob shows flatness most.
If a bob is your cut, the section-by-section walk-through in how to blow-dry a bob at home is tailored to that length. A pixie or very short crop often does better with just fingers and a nozzle, lifting the roots by hand and setting them cold.
And if your fine hair has any natural bend to it, a round-brush blow-dry is the wrong tool for a different reason: the tension that creates volume is also what pulls a wave straight.
When your blow-dry keeps falling flat — and it isn't the technique
Your roots are oily by midday. Oil is weight, and it re-flattens the crown no matter how well you dried it — timing and dry shampoo matter, see how often to wash fine hair.
Product build-up is coating the root. If lift won't take even on clean hair, clarify — a coated strand can't be lifted.
You're skipping the cool shot. The most common cause by far. Great for ten minutes, then collapses? It was never set cold. More on why in why hair keeps falling flat.
Your cut fights you. Heavy, one-length long hair drags the crown down; internal layers or a shorter shape give the blow-dry something to lift.
FAQ
Build the volume at the roots and set it cold. Prep damp roots with a light volumizing mousse, rough-dry to about 80 percent against the hair's natural fall, then round-brush small sections by lifting each root straight up and drying it over the brush away from the scalp. Finish every section with the cool shot held until the hair is cold — that's what makes the lift last. Keeping the roots lifted and the ends bent under, rather than flat, is what reads as thicker hair.
Medium heat with high airflow, not high heat. Fine strands are delicate and scorch easily, and you don't need high heat to shape them — you need enough airflow to dry them and enough control to set the root. Keep the dryer moving, hold it a few inches from the scalp, and always mist a heat protectant first. The lift comes from over-directing the root and cooling it, not from cranking the temperature.
Almost always because the root was never set cold, or there's weight at the scalp. If you release each section while it's still warm, the lift relaxes straight back down within the hour — the cool shot is what locks it in. Heavy conditioner at the roots, product build-up, or too much styling product also drag fine hair flat. Wash with a lightweight shampoo, keep conditioner off the scalp, and set every crown section with cold air before you let go.
Rough-dry it to damp first, then round-brush. Dragging a round brush through soaking-wet fine hair stresses fragile strands and wastes time under heat. Get the hair to about 80 percent dry with your fingers or a nozzle, pushing the roots against their fall, and only pick up the round brush for the final, shaping pass. Less total time on the brush means less heat on hair that has little to spare.
A ceramic or ceramic-ionic round brush with a barrel matched to your length — a size smaller than you'd choose for thick hair, so it actually grips the slick root. Roughly one inch for pixies and bangs, one to one-and-three-quarter inches for bobs and lobs, and one-and-a-half to two inches for longer hair. A solid thermal barrel grips and holds better than a vented one for volume. A brush that's too big just slides out without ever lifting the root.
A well-set blow-dry lasts one to two days on fine hair if you protect it. The single biggest factor is cooling each section fully before releasing it; the second is grip, from a light texture spray or dry shampoo at the roots. Sleep on a silk pillowcase, avoid touching or re-wetting the roots, and refresh on day two with dry shampoo and a blast of cool air rather than starting over. Oily roots and heavy product are what cut it short.
Eleven years behind the chair, specializing in short shapes and fine-hair texture. Simone believes the best haircut is the one you can style yourself in ten minutes.
Results vary with hair type, density, and growth patterns. This guide is educational and not a substitute for an in-person consultation with a licensed stylist.
Images in this guide are AI-generated illustrations, not photos of real clients or results. See our image policy.
Get the good hair intel
One honest, stylist-written guide in your inbox each week. No hype.

 SB
SB