Reviewed by Tara Sullivan · Updated July 2026 · 9 min read
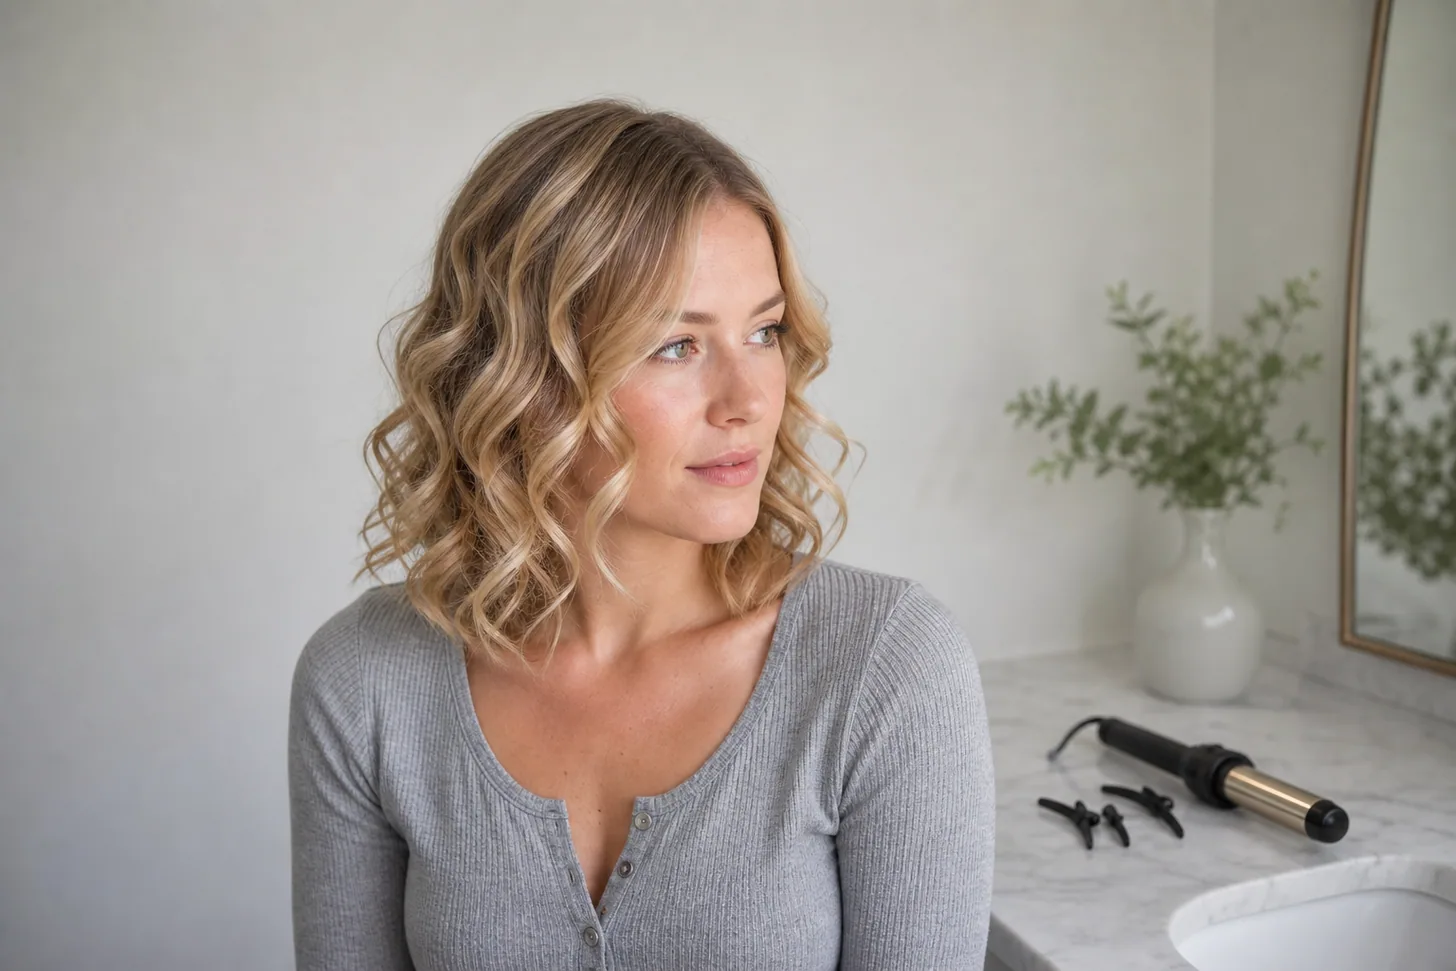
Your curls fall out in an hour because you let them go while they were still warm. A curl sets as the hair cools, not while it's hot — the heat softens the strand so it can take a new shape, and the shape locks in only once the strand goes cold in that shape.
Release a hot curl and it stretches straight down under its own weight before it ever sets, and on fine hair that happens fast. The fix is one step almost nobody does at home: catch each curl as it comes off the iron, pin it flat against your head, and don't touch a single pin until the whole head is cold.
Below is the full seven-step method, plus what temperature to actually use, why a fresh wash is working against you, and how far a curl on fine hair can honestly be expected to go. If you'd rather build shape without an iron at all, the heatless volume methods use the same cooling principle, and the volumizing blow-dry is the companion to this one.
Chair-side note
When a client tells me her curls never last, I ask one question: what do you do with the curl the second it leaves the iron? Nine times out of ten the answer is "nothing — I let it drop." That's the whole problem. A curl coming off a hot barrel is soft, warm and heavy, and gravity gets to it before it can set.
In the salon I never let a curl hang while it cools; it goes straight into my palm and gets clipped to the head. It looks ridiculous for twenty minutes and then it holds all night. If you only change one thing about how you curl fine hair, change that.
SB
— Simone Baptiste, Senior Stylist
Why curls fall out of fine hair
The mechanism behind all of this — why a style sets on cooling rather than on heating — is worked through in why fine hair won't hold a style. This page is the curling-iron method; if you reach for a straightener instead, curling fine hair with a flat iron is a different technique that sets a bend rather than a coil.
Hair holds a temporary shape because of the weak hydrogen bonds inside each strand. Heat and water break those bonds so the strand can be moved into a new position; as the strand dries and cools, the bonds re-form and hold whatever shape it was in at that moment.
Hydrogen bonding is one of the forces that holds hair in its shape, alongside ionic and disulfide bonds, and it's the only one a curling iron touches. That means the iron isn't what makes the curl — the iron only unlocks the strand. The cooling is what makes the curl.
Fine hair takes a curl quickly and loses it just as quickly, and both come down to the same property: a fine strand has a small diameter, so there is very little of it.
It heats all the way through in a couple of seconds, which is why long holds and high temperatures buy you nothing but damage. And once it's off the iron, it has almost no internal mass to hold the new shape against gravity — a coarse strand is stiff enough to sit in a coil on its own, a fine one simply hangs.
One more thing works against you: fine hair is slippery, so a curl slides through itself and drops unless there's something on the strand to create friction. Everything below is built around those facts — less heat, less time, more grip, and a cooling step that does the actual work. Curling is one route to fullness among several; the broader toolbox is in how to add volume to thin hair.
Curling iron, wand, or flat iron — which one fine hair should be in
Before the method, the tool. This page teaches the curling iron, and for a good part of the audience that is the wrong instrument — not because the technique below fails, but because the two tools set two different shapes, and only one of them degrades gracefully on fine hair.
A barrel wraps the strand into a coil, so every turn of the spiral is holding up the weight of everything beneath it. A flat iron folds the strand over a fixed radius as it travels, producing an S-bend that only has to keep pointing the way it was set. There is no spiral to unwind, which is why a bend on fine hair relaxes into a soft wave rather than into nothing.
Tool
Shape it sets
How it fails on fine hair
Choose it when
Curling iron (clamp)
A defined, uniform coil
The coil unwinds under its own weight — defined by 9am, a slight wave by 2pm, gone by evening unless it was cooled properly.
You want distinct, round curls, or you find the clamp easier to control than a folded flat iron.
Wand (no clamp)
A looser, less uniform coil
Same as above, slightly slower — less uniformity means less obvious drop.
You want a more undone look and are comfortable holding the strand by hand.
Flat iron
An S-bend running down the strand
It softens rather than falls — a defined wave becomes a loose one, which still reads as intentional.
You want the result to last all day, or you want one tool that can also smooth the hair when it drops.
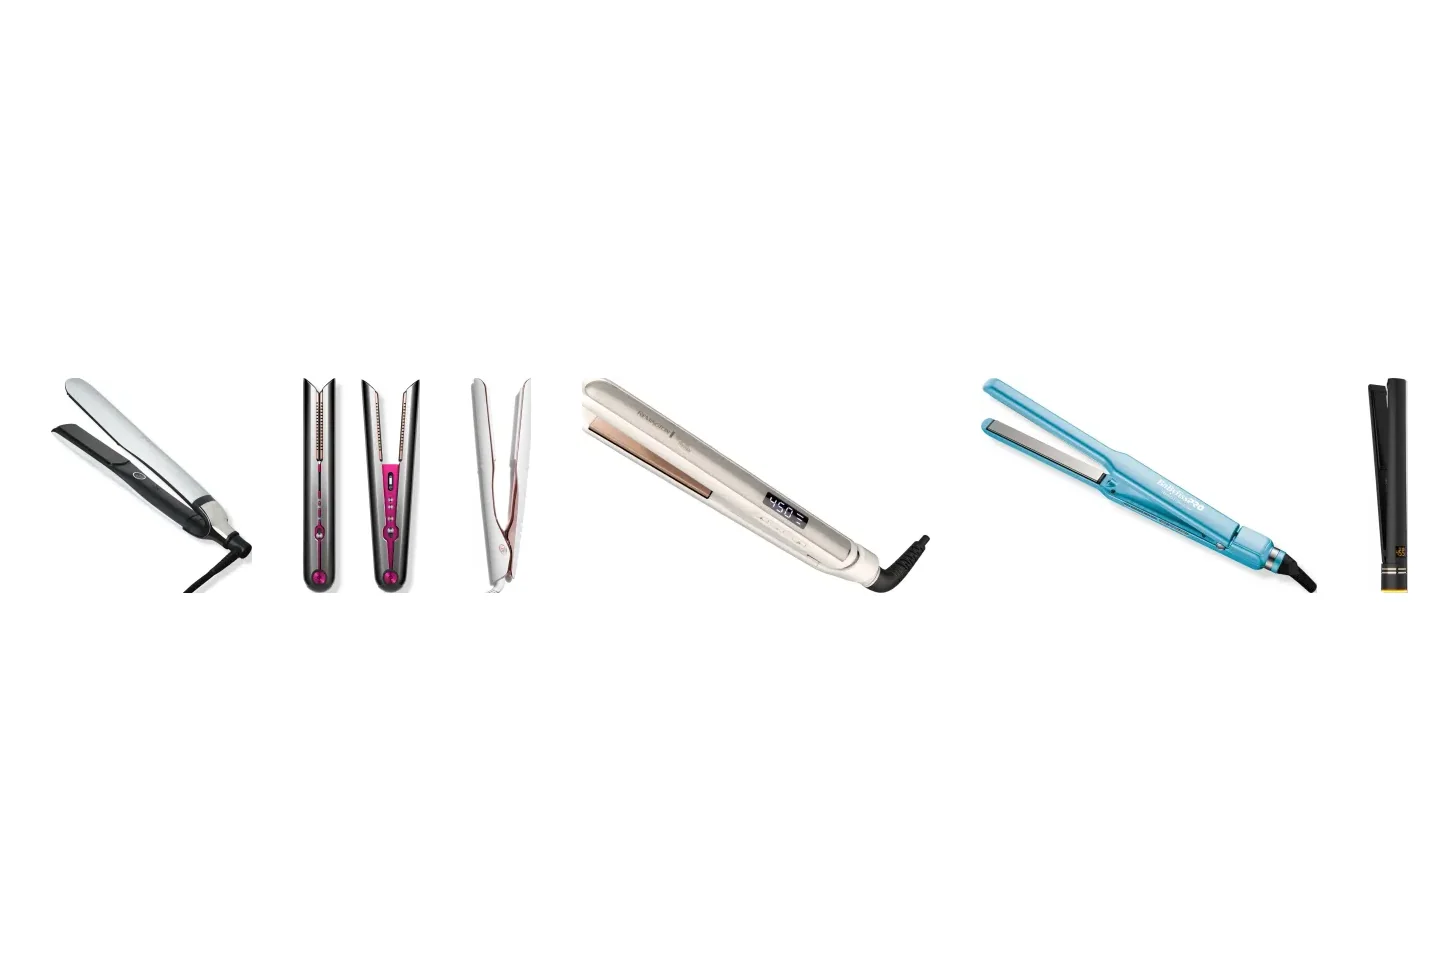
The honest summary: if you want curls — round, separate, defined — the barrel is the only tool that gives you them, and the seven steps below are how to make them survive past lunch. If what you actually want is movement that lasts, take the bend instead; how to curl fine hair with a flat iron is the full method for it, including the three flat-iron curls and which to learn first.
And if you would rather not put heat on fine hair at all, heatless volume methods use the same cooling principle with none of the thermal cost — worth knowing that gray and colour-treated fine hair in particular has less to spare.
The 7-step method
Budget about thirty minutes the first few times, less once the sectioning becomes automatic. The steps are in order for a reason — each one removes a way the curl can fail, and step six is the one that turns a one-hour curl into an all-day one.
Step 1: Curl on day-two or grip-prepped hair, not a fresh wash
How: plan the curl for the day after you wash. If you have to curl on wash day, don't curl bare clean hair — work a lightweight mousse through damp hair before you dry it, or mist a texture spray through dry hair and rake it in with your fingers.
Why on fine hair: a freshly washed fine strand is soft, smooth and slippery, and a curl needs friction to hold its own shape. Day-two hair carries a trace of natural oil and yesterday's product, and both act as grip. This is the single easiest change most people can make, and it costs nothing.
Honest note: there's a limit — genuinely oily, weighed-down roots drag a curl flat just as effectively as slippery clean hair. Day two is the sweet spot; day four is not.
Step 2: Prep damp hair with a light mousse, dry fully, then add heat protectant
How: on damp hair, work a golf-ball of lightweight volumizing mousse through the mid-lengths and roots. Dry the hair completely — a curling iron on damp hair scorches it. Once it's bone dry, mist a weightless heat protectant over the sections you're about to curl.
Why on fine hair: mousse dries into a thin film that gives a fine strand stiffness it doesn't have naturally, so the curl has structure to sit in. Protectant goes on dry hair here, not damp, because the water in a damp strand turns to steam under the barrel and blisters the cuticle.
Honest note: use less product than you think. Anything creamy, oily or rich at this stage weighs a fine curl down before you've even made it, and no amount of technique recovers from that.
misting a weightless heat protectant over dry, sectioned fine hair before curling, clips holding the top section away
Step 3: Set the iron lower than you think and raise it only if the curl won't take
How: start at the lower end of your iron's range rather than its default. Curl one test section, let it cool, and see whether it holds. Only if that test curl refuses to take should you move up one setting and test again.
Why on fine hair: higher heat does not equal longer hold. A fine strand heats through in a second or two, so past the point where the strand is fully softened, extra temperature is doing nothing to the curl and everything to the cuticle. Most irons default far higher than fine hair ever needs.
Honest note: if a curl won't hold even at a higher setting, the temperature was never the problem — it's almost always slippery hair, a section that's too thick, or a curl that was dropped warm. Raise the heat once, then go back and check those three.
Step 4: Take small sections no thicker than the barrel
How: clip the hair into four panels — two sides, back, top. Working from the bottom up, take sections roughly an inch wide and, more importantly, no thicker than the diameter of your barrel. If you can see through the section when you hold it up, it's about right.
Why on fine hair: a fat section only heats on the outside. The hair in the middle never softens, so it never takes the shape, and it pulls the curl loose from the inside. On fine hair a too-thick section produces a bend, not a curl — which is why "my hair just goes wavy" is such a common complaint.
Honest note: smaller sections mean more sections and more time. Twenty minutes of small sections beats ten minutes of big ones that have dropped by lunch, but it is genuinely slower and worth knowing before you start.
Step 5: Curl away from the face and hold only a few seconds
How: hold the iron vertically, clamp or wrap the section near the root, and wind it around the barrel away from your face, keeping the ends flat and untwisted so they don't kink. Count a few seconds, not ten, then release. Alternate the direction on a few random sections through the back so the finished set looks like hair rather than a wig.
Why on fine hair: curling away from the face opens the shape up around the cheekbones instead of collapsing it inward, and a short hold is all a fine strand needs to soften completely. Leaving the iron on longer doesn't set the curl harder; it just cooks it.
Honest note: never re-curl a section that didn't take. Running a hot iron over the same fine strand twice is how heat damage starts, and the second pass rarely fixes what the first one missed.
close-up of a thin one-inch section of fine hair wrapped around a curling iron barrel, wound away from the face
Step 6: Pin each curl to cool — the step that changes everything
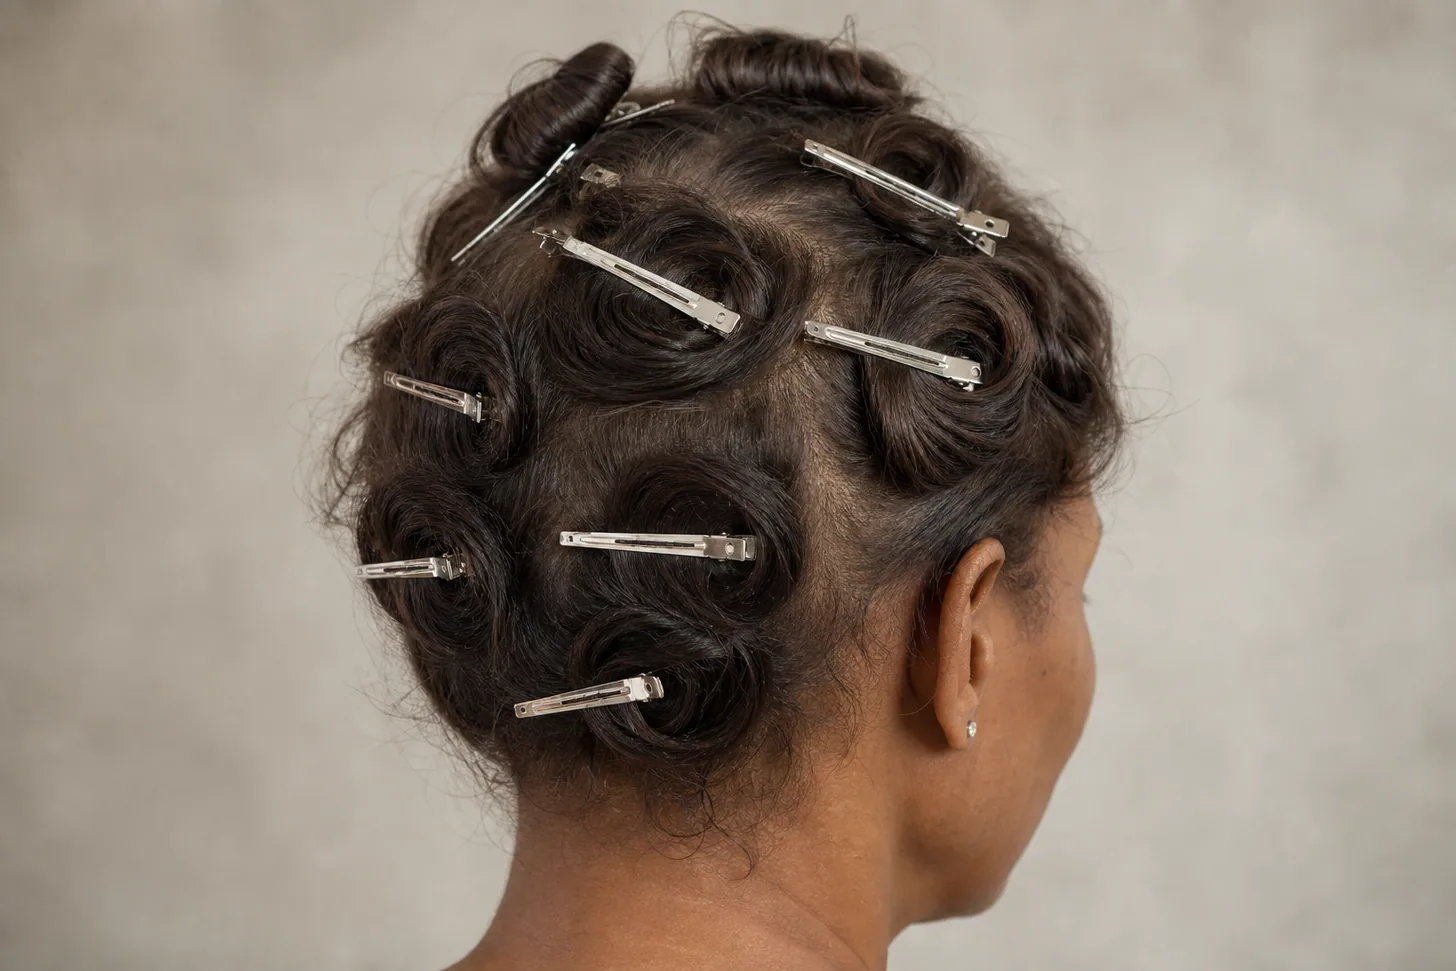
How: as you release the iron, catch the curl in your open palm so it doesn't drop and stretch. Roll it up into a flat coil, lay that coil against your head, and pin it there with a duckbill or flat clip. Work through the whole head this way and leave every pin in. Do something else for fifteen or twenty minutes — makeup, coffee, getting dressed.
Why on fine hair: this is where the curl is actually made. The hydrogen bonds re-form as the strand cools, so whatever shape it cools in is the shape it keeps. Cooled hanging, it sets as a loose wave; cooled coiled, it sets as a curl. On fine hair, which has no mass of its own to resist gravity, this single step is the difference between a curl that's gone by noon and one that's still there at dinner.
Honest note: it adds ten to fifteen minutes and it looks absurd while you wait. There is no shortcut — a fan or a cool shot speeds the cooling but the curl still has to be held coiled while it happens.
fine hair pinned in flat cooling pin curls all over the head with silver duckbill clips, mid-styling
Step 7: Cool completely, then break the curls with your fingers and set with a light flexible spray
How: test a pin curl with the back of your hand — if there's any warmth left, wait. When the whole head is cold, unpin from the bottom up, let the curls fall, then separate them by running your fingers through and gently pulling each coil apart. Finish with one light pass of a flexible-hold hairspray held well away from your head.
Why on fine hair: a brush drags a fine curl straight out; fingers break it into soft, piece-y sections that read as more hair. A light, flexible hairspray adds friction so the curls hold each other up, which is exactly what fine hair needs.
Honest note: heavy, high-hold spray is the classic mistake here. It coats fine hair with weight, and weight pulls curls down — you end up with stiff, straight-ish hair that also can't be touched.
What temperature to curl fine hair
Lower than the number your iron defaults to. Many curling irons are built around a 400°F top end, which exists for coarse, dense, resistant hair — not for fine strands that soften almost the moment the barrel closes.
Start at the low-to-mid end of whatever range your iron offers, curl one section as a test, let it cool fully, and judge from that. If the test curl holds, stay there for the whole head. If it genuinely won't take, move up one setting and test again rather than jumping to the top.
The professional bodies are consistent on the principle even where they don't name numbers: the American Academy of Dermatology's guidance on hair care habits that damage hair is to use the lowest heat setting, limit how long a curling iron touches the hair, and use hot tools less often — and its general healthy-hair advice pairs low or medium heat with a product that protects against it.
That's the whole temperature strategy for fine hair in one line: lowest setting that works, shortest contact, protectant every time.
A weightless heat protectant is non-negotiable, and on fine hair the format matters as much as the fact of it: a fine mist covers dry hair evenly without loading the strand, where a cream or serum adds the weight that kills the curl you're about to make.
How to make the curls last into day two
Protect the set overnight and refresh rather than rebuild. Sleep on a silk or satin pillowcase so the curls slide instead of dragging — fine hair creases and flattens against cotton, and a night of friction undoes a careful set.
If your hair is long enough, gather it into a loose pineapple on top of your head with a silk scrunchie, high enough that the curls sit above the pillow. Don't tie it tight; a tight elastic leaves a dent that no amount of morning styling hides.
In the morning, tip your head over, shake the roots out with your fingers, and put the effort at the scalp rather than the ends. A little dry shampoo or a mist of texture spray at the roots absorbs the oil that re-flattens the crown and restores the grip that holds the curl pattern up.
Then leave the lengths alone — day-two curls that have softened into waves usually look better than day-one curls, and over-handling is what turns them into frizz. The rest of the day-two playbook is in reviving second-day fine hair.
Resist re-curling the whole head on day two. If a few pieces have dropped completely, curl only those, on the lowest setting that works, and pin them to cool as before — running the iron through everything again doubles the heat exposure for a set that won't last any longer than the first one did.
Chair-side note
The other thing I'd change about most home curling routines is the finish. Clients spend twenty careful minutes on the iron and then brush the whole set out, or drown it in a stiff hairspray, and both undo the work — a brush pulls a fine curl straight and a heavy spray weighs it down until it hangs.
Wait until the hair is genuinely cold, then use your fingers only: rake through once, then pull each curl apart into two or three softer pieces. Fine hair looks fuller broken up than it does in defined ringlets, because separated pieces occupy more space than tidy ones do.
SB
— Simone Baptiste, Senior Stylist
When curling fine hair isn't the answer
Your ends are already dry, splitting, or snapping off. Fine hair has little to spare, and regular iron work compounds breakage that ends up looking like more thinning. Give it a break and set the shape without heat — the heatless volume methods use the same cooling principle with no hot tool at all.
Your hair is fragile, shedding more than usual, or thinning at the part. Styling can't fix a density change, and heat on already-stressed hair makes the loss more visible. Work out what you're dealing with first with our guide to fine hair versus thinning, and speak to your doctor about sudden or patchy shedding.
You want curls that survive three days. On very fine hair, no technique delivers that. Expect a good day-one curl and softer, more workable second-day waves — anyone promising more is selling you something.
You need the look for one evening and don't want a full set. Curling the whole head is a lot of heat for a couple of hours. A half-up style with just the visible face-framing sections curled gives the same effect for a fraction of the exposure.
FAQ
Almost always because the curl was released while it was still warm. Heat breaks the weak hydrogen bonds inside each strand so the hair can take a new shape, but the shape only sets as the hair cools — drop a hot curl straight down and it relaxes on the way. Fine hair makes this worse in two ways: it heats through in seconds, and it has very little internal mass to hold a new shape once the heat is gone. Pin each curl flat against your head, let the whole head go cold, then take the pins out.
Lower than the iron's default. Most curling irons top out around 400°F, and fine hair does not need anything close to that — a fine strand heats through almost instantly, so the extra heat cooks the cuticle without buying you any more hold. Start in the low-to-mid range your iron offers, curl one test section, and only raise it a single setting if that curl genuinely won't take. Always mist a heat protectant first, and keep the iron moving through each section rather than parking it.
Second-day hair curls better than a fresh wash. Freshly washed fine hair is slippery and soft, and a curl slides out of it within the hour because there is no friction for the shape to grip. Day-two hair carries a little natural oil and residual product, and that is grip, not dirt. If you have to curl on wash day, build the grip back in with a light mousse on damp hair or a mist of texture spray once it's dry. Keep conditioner off the roots and skip oils and creams through the mid-lengths.
For most fine hair, a one-inch to one-and-a-quarter-inch barrel is the useful range. A smaller barrel makes a tighter curl that reads as more hair, which is why fine hair often looks fuller off a one-inch iron than a one-and-a-half-inch one. Larger barrels aren't wrong, but on fine hair they tend to produce a soft bend that drops fast. Whatever size you use, the rule that matters more is the section: never take a section thicker than the barrel itself, or the heat won't reach the middle of it.
It depends on whether you want definition or endurance, because the two tools set different shapes. A curling iron wraps the strand into a coil, so every turn of the spiral holds up the weight of everything below it — and a fine strand has almost no mass to anchor that, so the coil starts relaxing the moment it is released. A flat iron folds the strand over a fixed radius as it passes, setting an S-bend that only has to keep pointing the way it was set. There is no spiral to unwind, so it degrades into a soft wave rather than into nothing. Choose the barrel for round, distinct curls and follow the cooling method on this page to make them survive. Choose the flat iron if you want movement that lasts all day, and use the method in curling fine hair with a flat iron.
A light, flexible spray helps; a heavy one hurts. The spray's job is friction — giving slippery fine strands something to hold onto — not stiffness. Heavy, high-hold sprays coat fine hair with enough weight to drag the curl straight down, which is the opposite of what you want. Mist a flexible-hold spray from a distance in one light pass, after the hair is completely cool and you've broken the curls apart with your fingers. Spraying a warm curl sets it damp, heavy and flat.
Use less heat, less time, and fewer passes. Set the iron low and raise it only if a test curl won't take, mist a heat protectant over dry hair before the first section, and hold each curl for a few seconds rather than counting to ten. The rule that saves the most hair is never re-curling the same section — if a curl didn't take, fix the temperature or the section size instead of running the iron over it again. On fragile or shedding hair, use a heatless set instead.
Simone has spent eleven years getting curls to hold in fine hair that would rather go straight, and pin-curl cooling is the first thing she teaches every client who asks. She believes the best haircut is the one you can style yourself in ten minutes.
Results vary with hair type, density, and growth patterns. This guide is educational and not a substitute for an in-person consultation with a licensed stylist.
Hairstyle images in this guide are AI-generated illustrations, not photos of real clients or results. See our image policy.
Get the good hair intel
One honest, stylist-written guide in your inbox each week. No hype.

 SB
SB