Reviewed by Tara Sullivan · Updated July 2026 · 9 min read
A half-up is the highest-payoff style fine hair has, because it fixes the exact thing fine hair struggles with — a flat top. Take the section from the crown, roughly ear to ear across the top, back-comb the underside of the roots into a small hidden cushion, smooth the top layer over it, secure it, then slide the whole section forward about half an inch.
That forward slide is what turns tension into height. Skip it and you get a half-up that lies flat against the scalp and collapses within twenty minutes. There is a second, quieter payoff too: pulling only the top half means the tail underneath keeps the visual density a full ponytail would have lost.
Below are 14 half-up styles for fine and thin hair — five-minute everyday versions, volume-first builds, softer occasion looks, and options for bobs and mid-lengths — plus the exact method that makes them hold. If flatness at the roots is your real complaint, start with root volume for fine hair; if you want the full pinned-up version, our updos for fine hair that hold covers it.
Chair-side note
The half-up is the style I teach clients most often, and almost every failure I see is the same one: the section gets pulled back instead of up. She gathers the top, drags it tight against the scalp, clips it, and the crown ends up flatter than when she started.
Here is the fix I show in the chair. Once the section is clipped, put a flat hand on the clip and push it forward toward your forehead about half an inch.
The hair in front of the clip has nowhere to go but up, and you get a soft dome instead of a slick pull. It takes two seconds, it costs nothing, and it is the difference between a half-up that flatters fine hair and one that exposes every flat patch.
SB
— Simone Baptiste, Senior Stylist
Why half-up styles flatter fine hair more than a full updo
A half-up works on fine hair because it does two jobs at once, and both of them target where fine hair looks thinnest. First, it lifts the crown. The top of the head is where light hits the parting and where a fine head reads flattest, so any style that builds height there buys you more perceived fullness than the same effort spent anywhere else.
A full updo pulls everything up and back, which can be lovely, but it takes the hair off the crown entirely and leaves the shape resting on the density you have. A half-up keeps a layer of hair sitting over the crown and props it up from underneath.
Second, it disguises a thin ponytail. If your ponytail looks like a wisp when you gather all of it, gathering only the top half changes the math — the tail is thinner in absolute terms but reads the same width, because there is no full head of hair beside it for comparison.
What makes or breaks it is the section. Take it from the crown, running roughly ear to ear across the top of the head, and keep it shallow — an inch or two deep is plenty. That shape lifts the whole top surface. A narrow section taken straight up from the middle of the head does the opposite: it pinches a tall spike of hair off the scalp and opens the parting on both sides of it.
Underneath that section, a small cushion of light back-combing at the roots is what stops the whole thing collapsing after twenty minutes; you back-comb only the underside, never the top layer, then smooth the top layer over the cushion so the teasing never shows.
One more thing worth naming, because the two get blurred constantly: fine describes the diameter of each strand, and thin describes how many strands you have. A half-up helps both, but for different reasons. Fine strands lack the stiffness to stand a crown up on their own, so they need the cushion and the forward slide.
Low density means scalp shows more readily at the part, so the section wants to stay shallow and soft-edged rather than clean and severe. If you are not sure which you are working with — plenty of women have both — our guide to telling fine hair from thin hair sorts it out in a couple of minutes.
Five-minute half-ups for everyday
These are the versions you can do without a mirror behind you: one section, one piece of hardware, done. The everyday rule for fine hair is grip first — clean, freshly blow-dried hair is slippery and slides out of everything, so these all behave better on second-day hair or with a light mist of texture spray at the roots. The four below are ordered from fastest to slightly more considered.
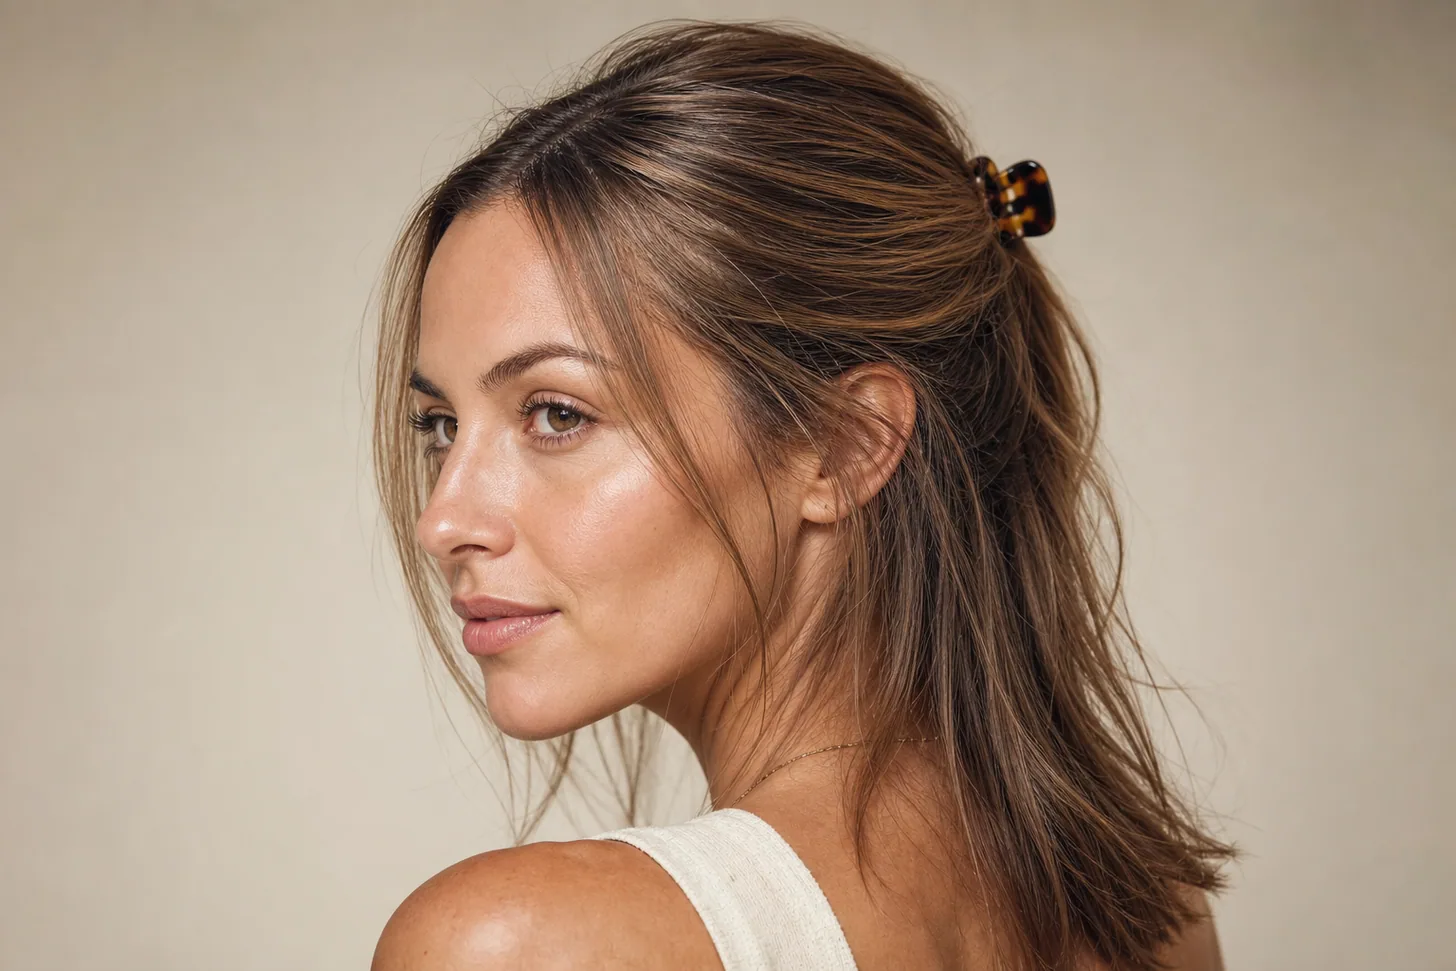
claw-clip half-up with a small tortoiseshell clip and soft crown lift, on fine straight ash-blonde hair
1
The small claw-clip half-up
The fastest half-up there is, and the one most often ruined by the wrong hardware. Gather a shallow ear-to-ear crown section, twist it once, and close a small or medium claw clip over it — an oversized clip cannot get its teeth to meet on a fine section, so it loses tension and travels down the back of your head within the hour. Clips with ridged or rubberized teeth grip fine hair noticeably better than smooth polished plastic.
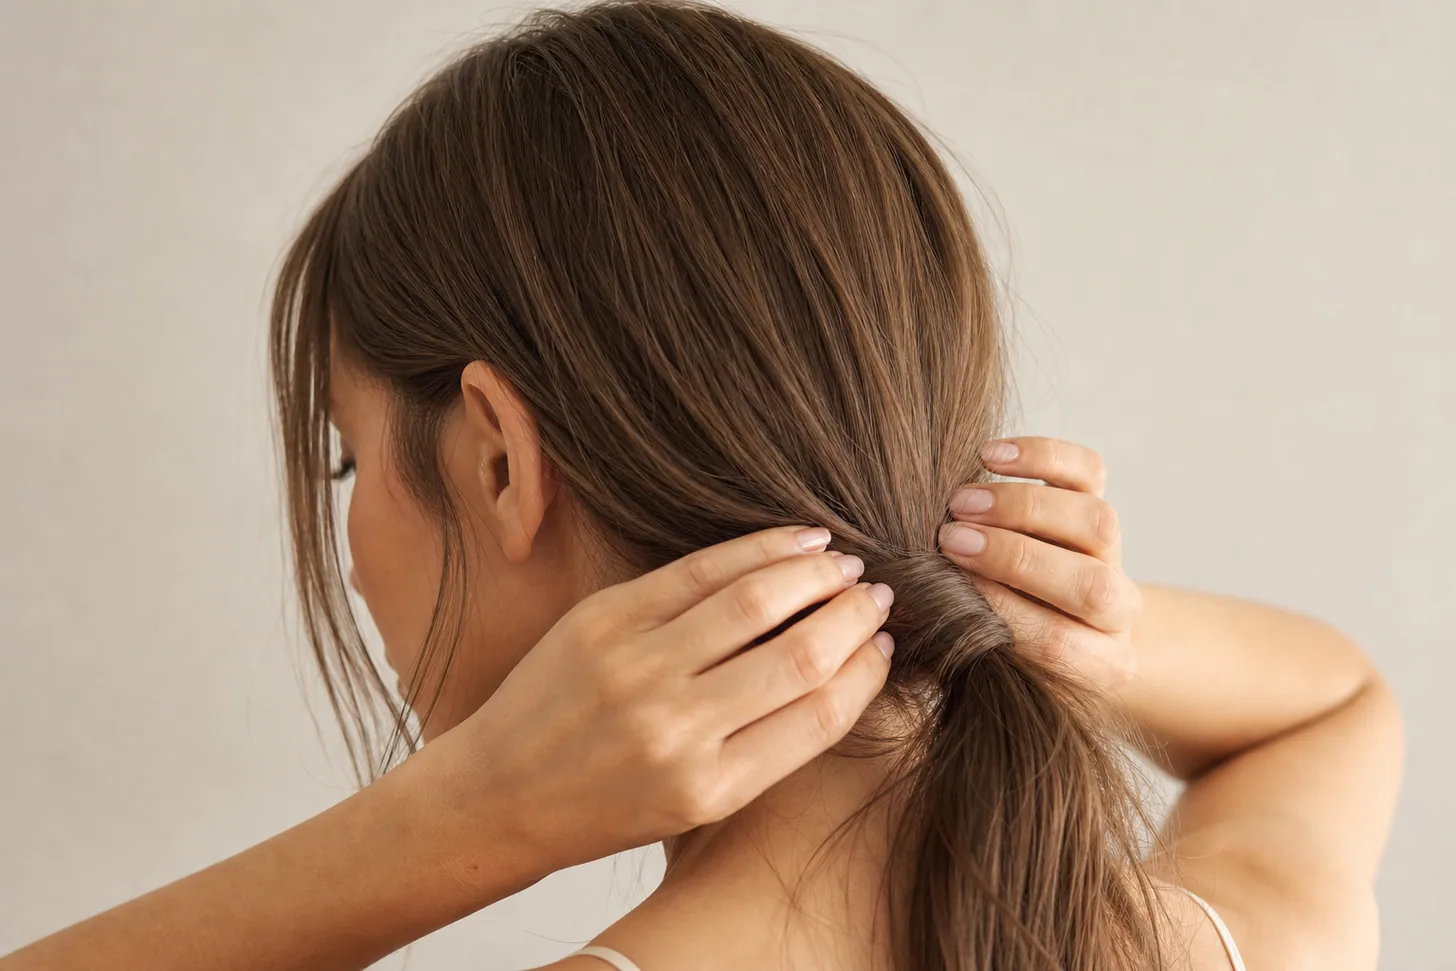
half-up ponytail with a hidden backcombed bump at the crown, elastic wrapped with a strand, on fine mid-brown hair
2
The half-up ponytail with a hidden bump
Everyday, but built properly. Back-comb the underside of the crown roots for three short strokes, smooth the top layer over the cushion, then secure the section with a thin elastic and slide it forward half an inch. To finish it cleanly, take a pencil-width strand from underneath the tail, wrap it around the elastic, and pin the end up underneath — the elastic disappears and the whole thing looks deliberate rather than functional. Good for work, school runs, and the gym alike. The same wrapped-strand finish works on a full ponytail — see fuller-looking ponytails for fine hair.
twisted half-up with two side sections twisted back and pinned at the crown, soft lift, on fine wavy light-brown hair
3
The twisted half-up
Instead of one gathered section, take a strand from each side above the ear, twist each one back and slightly upward, and pin them together at the crown. The twists add width and surface texture on the way back, which is exactly what fine hair lacks. Because the tension is spread across two anchor points rather than one, this sits lighter on the scalp and is a good choice on days when a single tight elastic gives you a headache.
knotted half-up with two crown sections tied in a loose knot, lifted at the top, on fine straight dark-blonde hair
4
The knotted half-up
Split the crown section into two, tie them in a single loose knot, then pin the tails down underneath so the knot sits proud. No elastic touches the hair, which is why this one is kind to fragile fine strands and easy to take down. The knot itself creates a little bulk at the back of the crown, so the style has some visual weight without borrowing density. It does need grip: on freshly washed hair the knot works itself loose, so this is a second-day hair style or a texture-spray one.
Half-ups built for crown volume
When the goal is height rather than speed, the half-up stops being a way to tie your hair back and becomes a volume technique. Everything here is built on the same foundation — a hidden cushion under the crown section, and the forward slide after securing — and each one takes it a little further. Budget five to eight minutes and a texture spray for grip.
backcombed half-up bun with a small looped bun at the crown and visible height at the roots, on fine straight brown hair
5
The backcombed half-up bun
The workhorse of this section. Back-comb the underside of the crown roots, smooth the top, then loop the section into a small bun rather than pulling it all the way through the elastic. Looping keeps the bun light so it does not drag the crown back down, which is the usual reason a half-up bun sags on fine hair by mid-afternoon. Two crossed bobby pins at the base take the weight off the elastic entirely.
bouffant half-up with a rounded dome of crown height above a smooth top layer, on fine straight dark hair
6
The bouffant half-up
The most height available without adding anything foreign to your hair. The section is taken deeper than usual — three or four inches back from the hairline — and back-combed in stacked layers, each one lifted and teased at the root before the next is dropped over it. Smooth the very top layer with a bristle brush held almost flat, so the surface stays glossy and the structure stays hidden. Best on medium to long fine hair; it needs length to cover the teasing.
pinned-back half-up with side sections swept up into a lifted crown and hidden bobby pins, on fine light-brown hair
7
The pinned-back half-up with a lifted crown
No elastic and no clip — the whole style is held on four bobby pins, crossed in pairs against the direction of the pull. Because pins can be placed exactly where you want them, you can set the height first and pin second, rather than fighting an elastic that drags everything backward. Push the crown forward with your free hand, hold it, then pin. Matte pins hold fine hair better than shiny ones, and they vanish against most colors.
half-up with a small hidden hair pad under the crown creating a smooth rounded lift, on fine straight blonde hair
8
The half-up over a hidden bump
If back-combing bothers you, or your hair is fine enough that teasing is a losing battle, a small hair pad does the same job without touching the cuticle. Pin a low-profile pad flat at the crown, comb the section back over it, and secure below it so the pad is completely covered. Choose one a shade close to your color and no bigger than a matchbox — anything larger shows its edges through fine hair. It is also the gentler option if you are protecting fragile lengths; more on that in our guide to adding volume to fine hair. A single well-chosen barrette does this more discreetly than a claw clip; our barrette picks for fine hair cover which mechanisms actually hold.
Softer half-ups for occasions
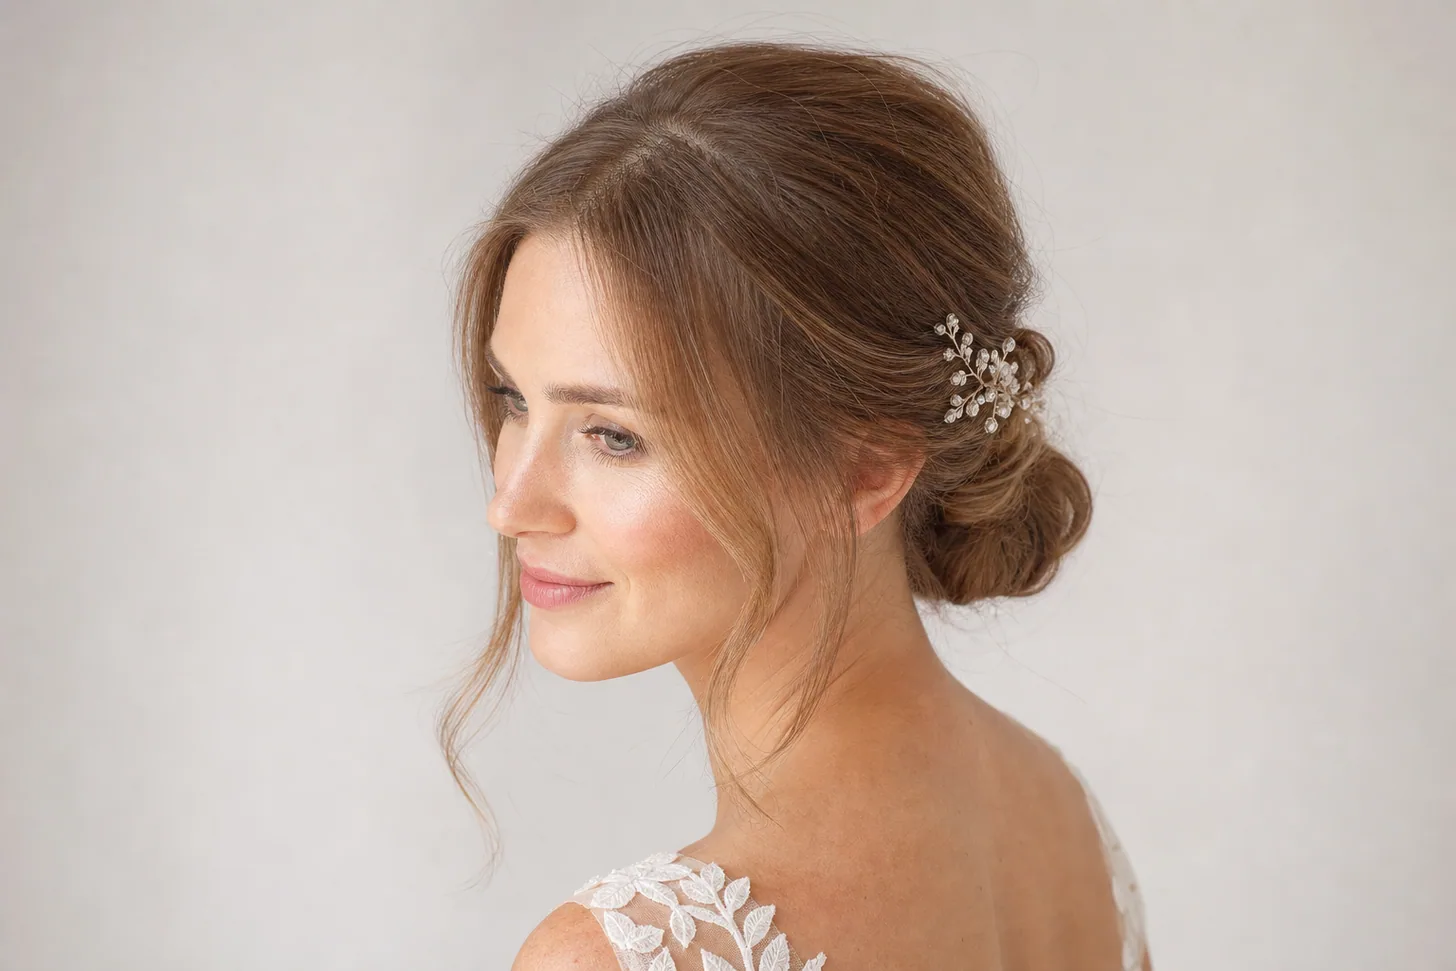
For a wedding, a dinner, or anything photographed, the brief changes slightly: you want the same crown lift, but with a softer edge and something interesting happening in the tail.
All three below still start with the ear-to-ear section and the cushion — nothing here works on a flat, scraped-back base — and all three benefit from being set on hair that was washed the day before. If the occasion is someone else’s wedding and you are in the party, bridesmaid hairstyles for fine hair covers the half-up that has to survive a whole day of it.
bubble half-up with three elastic-spaced bubbles down the tail and a lifted crown, on fine mid-length brown hair
9
The bubble half-up
Space three or four thin elastics down the half-up tail and gently pull each segment outward until it rounds into a bubble. On fine hair this is unusually effective, because each bubble is fanned to a width your hair could not hold on its own — the style creates volume rather than displaying it. Keep the bubbles small and close together; widely spaced ones expose how little hair is running between them.
braided half-up with two loose braids from the temples joined at the crown above soft waves, on fine wavy blonde hair
10
The braided half-up
Two loose braids taken from the temples and joined at the back of the crown, with the rest left down in soft waves. Once the braids are tied off, pancake them — pinch and tug each outer loop sideways until the braid doubles in width. That single step is what makes a braid read full on fine hair rather than pencil-thin. Our gallery of braids for fine hair goes deeper on the pancaking technique and which braid patterns hold best.
half-up with the elastic hidden under a wrapped strand and soft face-framing pieces left loose, on fine straight chestnut hair
11
The wrapped half-up with face-framing
The dressed-up version of the everyday ponytail: same crown section, same cushion, but the elastic is hidden under a wrapped strand pinned underneath, and two soft pieces are pulled out at the temples before you secure anything. Pull those face-framing pieces before the section goes up, not after — tugging them free afterward loosens the crown you just built. A light curl on the loose pieces and a flexible-hold mist finishes it.
Half-ups that work on short and mid-length fine hair
Short hair is not a disqualifier — the section just gets smaller and the hardware gets smaller with it. On a bob, the goal shifts from a tail to a shape: you are pinning the top back to open the face and lift the crown, and whatever is too short to reach simply gets pinned rather than gathered. The last entry in this gallery is the one to avoid, at any length.
bob half-up with the crown twisted back and pinned at jaw-length, soft lift at the top, on fine straight silver-brown hair
12
The bob half-up
On chin-to-jaw length, twist the crown section back rather than gathering it into a tail — a twist takes up less length and lies flatter against the head, so nothing sticks out at the sides. Secure with two pins or one small clip just past the crown. The crown lift matters more here than on long hair, because a bob has no length below to distract from a flat top, so do not skip the cushion or the forward slide.
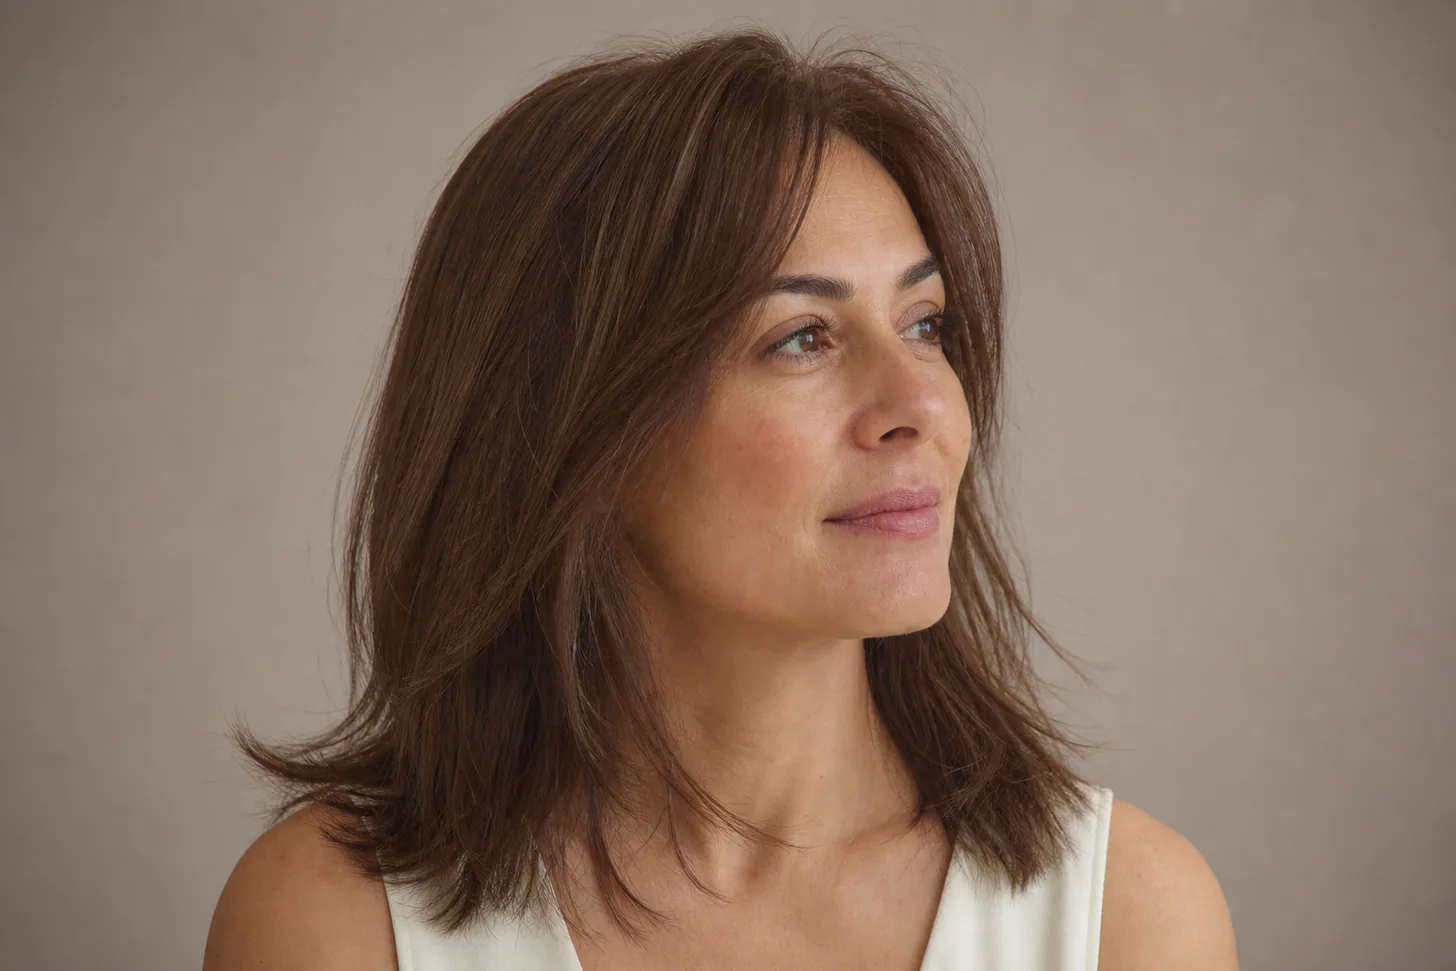
mini claw-clip half-up holding back a grown-out fringe with soft crown height, on fine shoulder-length brown hair
13
The mini claw-clip half-up for grown-out bangs
The most useful half-up in the awkward fringe stage. Take only the front section — the grown-out bangs plus an inch behind them — push it back with a little lift, and close a mini claw clip about two inches long over it. Two small clips set an inch apart hold better than one on very fine hair, and they read as intentional rather than as a fix. Because the section is tiny, this is the one half-up that works when everything else is still too short.
tight high scraped-back half-up shown as the look to avoid, flat crown and visible part line, on fine hair
14
The tight, high, scraped-back half-up — the one to skip
Worth including so you can spot what is going wrong. Pulling a narrow section straight up from the middle of the head and dragging it tight does three unhelpful things at once: it flattens the crown instead of lifting it, it opens the part line where the scalp is most visible, and it puts sustained tension on the same few roots every day. If your half-up is slipping and your instinct is to pull it tighter, that is the trap — go wider, shallower, and looser, and let the cushion underneath do the holding instead of the tension.
How to build a half-up that holds on fine hair
The method is the same whichever style you picked. It takes about five minutes once you have done it twice, and the two steps people skip — the cushion and the forward slide — are the two that decide whether it survives the afternoon. If you want the full-up versions of the same techniques, updos for thin hair sorts them by what goes wrong rather than by occasion.
Prep for grip. Work on second-day hair if you can. On clean hair, mist a texture spray or a light dry shampoo at the roots across the top of the head and rub it in with your fingertips. Freshly blow-dried fine hair is slick, and nothing grips slick.
Take the section from the crown, ear to ear. Use the arch of each eyebrow as a rough guide for where the section starts at the sides, and keep it shallow — an inch or two deep. Wide and shallow lifts the top; narrow and deep exposes the part.
Back-comb the underside only. Lift the section straight up, hold it taut, and take two or three short strokes with a fine-tooth comb at the roots on the underside. Stop while it still feels soft. This is a cushion, not a beehive.
Smooth the top layer over it. With a soft bristle brush held almost flat to the surface, sweep the top layer back over the teased roots. Do not brush through — you are laying hair over the cushion, not combing it out.
Secure it. Thin elastic, small claw clip, or crossed bobby pins, depending on the style. Whatever you use should close comfortably; if the hardware is straining or gaping, it is the wrong size for your density.
Slide the section forward. Put a flat palm on the elastic or clip and push it toward your forehead about half an inch. The hair in front lifts into a soft dome. This is the step that makes the difference — height, not tension.
Hide the elastic and pin the base. Wrap a pencil-width strand from underneath the tail around the elastic and pin the end up under the base. Add two bobby pins crossed in an X at the base to take the weight off the elastic.
Set it lightly. Mist a flexible-hold hairspray over the crown from about ten inches away, and let it dry without touching. A stiff freeze-hold spray snaps the height flat as soon as it sets, which is the opposite of what fine hair needs.
Chair-side note
A hardware confession, because it costs clients more grief than any technique: most of the claw clips being sold right now are far too big for fine hair. They photograph beautifully on thick hair and they simply cannot function on a fine section, because the teeth need a certain volume of hair to bite into before the spring holds.
If your clip creeps down the back of your head, you have not done anything wrong — you bought the wrong tool. Go down a size or two, or use two small clips instead of one large one. And check the teeth: ridged or rubberized teeth grip fine strands, glossy plastic ones let go. I keep a jar of two-inch clips at my station purely so clients can feel the difference before they leave.
SB
— Simone Baptiste, Senior Stylist
When a half-up isn't the right call
Your scalp shows clearly along the part when the hair is dry. A half-up opens the parting rather than covering it. Keep the section much shallower, soften the front edge, and try a zigzag part so there is no clean line — and read our guide to coverage for thinning on top before you make it your daily style.
You would be wearing the same tight half-up every day, in the same spot. Repeated daily tension on the same roots is worth avoiding. Vary the section depth and the placement day to day, keep it loose enough to slide a finger under, and alternate with hair worn down.
Your hair is shorter than about three inches at the crown. There is not enough length to take a section and still cover the cushion underneath. Build root lift with a blow-dry and a volumizing product instead, and use a couple of pins at the temples if you want the face open.
You need it to survive a long, humid, hands-on day. A half-up has one anchor point and a loose tail, so it loosens faster than a pinned style. For a full day of movement, a low twisted bun or a secured updo holds better with the same crown lift built underneath.
FAQ
Half-ups are one of the best styles for fine hair, because they lift the crown — the exact place fine hair reads thinnest — and they disguise a thin ponytail by pulling only the top section, so the tail carries the same visual density it would in a full ponytail. The catch is construction. Take the section from the crown, roughly ear to ear across the top, backcomb the underside lightly for a cushion, and lift it before you secure it. Built that way it holds all day. Scraped flat against the head, it does the opposite.
Build height at the crown before you secure anything. Lightly backcomb the underside of the crown section — two or three short strokes at the roots, never the top layer — then smooth the top layer over the cushion so the teasing is completely hidden. Secure it, then slide the whole secured section forward about half an inch to push the crown up into a soft dome. Widen the section slightly at the sides so the style reads broad rather than pinched, and finish with a flexible hairspray rather than a stiff one that snaps the height flat.
Small to medium. Oversized claw clips are built to close around a lot of hair, so on a fine section the teeth never meet properly, the clip loses tension, and it slides down within an hour. A clip roughly two to three inches long grips a fine crown section far better. If you want a bigger look, use two small clips set side by side rather than one large one. Clips with rubberized or ridged teeth also hold slippery fine hair better than smooth polished plastic.
Grip is the whole problem. Freshly washed fine hair is slippery, so a half-up built on a clean blow-dry slides out; second-day hair, or clean hair prepped with a texture spray at the roots, holds far longer. Backcombing the underside of the crown section gives the clip or elastic something with body to close on. Pin against the direction of the pull, with two bobby pins crossed in an X at the base, and mist a flexible hairspray over the crown once the style is set.
Wider and shallower usually wins. A section taken ear to ear across the crown, but only an inch or two deep, lifts the top without stripping density from the hair left down. A narrow, deep section pulls a tall pinch of hair off the head, which exposes the part and leaves the rest looking sparse. If your scalp already shows at the part, go shallower still and keep the front edge soft, so the section covers the parting rather than opening it up.
Yes, and it is often more flattering on a bob than a full updo. On chin-to-jaw length, take a smaller crown section, twist it back rather than pulling it into a ponytail, and secure it with a small clip or two pins so nothing sticks out at the sides. Anything too short to reach the back gets pinned rather than gathered. Leave the front pieces out to keep it soft, and expect to use a little texture spray, since short fine hair has less weight holding the section down.
Eleven years behind the chair, specializing in fine-hair texture and styles that survive past lunchtime. Simone teaches the forward-slide trick to every client who asks why her half-up goes flat by noon.
Results vary with hair type, density, and growth patterns. This guide is educational and not a substitute for an in-person consultation with a licensed stylist.
Hairstyle images in this guide are AI-generated illustrations, not photos of real clients or results. See our image policy.
Get the good hair intel
One honest, stylist-written guide in your inbox each week. No hype.

 SB
SB