Reviewed by Tara Sullivan · Updated July 2026 · 9 min read
A bun slides down fine hair because the elastic is the only thing holding it, and an elastic sized for average hair has almost nothing to grip. Anchor it instead: once the bun is formed, push two bobby pins in through its edge, catch the hair at the scalp underneath, and drive them back up into the bun in a crossed X. Those two pins hold the bun to your head rather than to itself, and they are the difference between a bun that survives a working day and one that is sitting on your neck by lunchtime.
The second rule is weight — loop the ponytail instead of winding it tight, because a dense bun drags itself down and a light one doesn't. Below are 14 buns for fine and thin hair: two-minute everyday versions, buns built to look fuller, softer occasion styles, and options for bobs and shoulder-length hair, plus the pinning method underneath all of them. For a single bun taken step by step, our 10-minute twisted bun walks through one; if you want the tied-back-but-not-up version, see fuller-looking ponytails for fine hair.
Chair-side note
Every fine-haired client who tells me buns "don't work" on her hair is pinning into the bun and nowhere else. Pins pushed into the bun hold the bun together — they don't hold it to your head, so the whole assembly migrates south all afternoon.
Here's the fix I demonstrate at the mirror. Take a bobby pin, open end first, and push it into the outer edge of the bun; angle it down so it bites the hair growing at your scalp underneath; then push it back up into the bun so it finishes buried.
You've stitched the bun to your head. Do it twice, crossing the two pins into an X at the base, and the elastic becomes a backup rather than the main event. Clients often tell me afterward that they can finally wear a bun without checking it in every window they pass.
SB
— Simone Baptiste, Senior Stylist
Why buns slide out of fine hair — and what actually holds them
Three forces work against a bun on fine hair, and knowing which one is beating you tells you which fix to reach for. The same problem across every style that goes up, sorted by which of the three ways it fails, is in updos for thin hair.
Grip. Fine strands are smooth and slim, so there is less surface friction holding one hair against the next. Freshly washed, freshly blow-dried hair is at its most slippery, which is exactly when most people attempt a bun and conclude it doesn't work. Second-day hair holds a bun dramatically better; on clean hair, a mist of texture spray or a little dry shampoo through the mid-lengths gives the strands something to catch on.
Anchoring. An elastic and a handful of pins buried in the bun hold the bun's own shape. Nothing in that arrangement fastens it to your head. The crossed-pin anchor described above is what does, and it takes ten seconds.
Weight. This is the one people get backwards. The instinct is to wind the ponytail tightly so the bun feels secure — but a tightly wound bun is a dense, heavy lump hanging off fine roots, and gravity works on it all day. Looping instead of wrapping keeps the same amount of hair in a lighter, airier shape that stays where you put it. It also looks fuller, because a loose bun occupies more space than a compressed one.
There's a fourth factor that isn't about holding at all, but about how the bun reads: placement. A bun at the nape lies flat against the head and disappears in profile. A bun set mid-height — just above the bony ridge at the back of the skull — is visible from the side and keeps some crown height in front of it, which is where fine hair needs the volume most.
If you aren't sure whether you're working with fine strands, low density, or both, our guide to telling fine hair from thin hair sorts it out quickly; it changes how much bulk you can expect a bun to have on its own.
Two-minute everyday buns
The versions worth having in your hands without thinking. All four use the crossed-pin anchor, and all four are easier on hair that wasn't washed this morning.
looped mid-height bun with the ponytail pulled partway through the elastic, light and airy, on fine straight ash-blonde hair
1
The looped bun
The everyday default for fine hair. Make a mid-height ponytail, and on the final pass of the elastic pull the hair only halfway through so it folds into a loop with the ends tucked under. Pin the loop into a round shape with two U-pins, then anchor the base with crossed bobby pins. Because nothing is wound tight, the bun stays light enough that the roots aren't dragged down — the usual reason a bun sags by three o'clock.
twisted rope bun coiled flat at mid-height with pins hidden at the base, on fine mid-brown hair
2
The twisted rope bun
Twist the ponytail into a rope, coil it around the base, and pin. The twist matters more than it sounds: rope-twisting compacts the tail into something with enough structure to coil neatly, which is otherwise hard on slippery fine hair that wants to slither apart. Don't twist to the point of tension — a rope wound too tight springs back and unravels. Loose enough to keep some softness, tight enough to hold its rope shape.
low knotted bun tied from two sections without an elastic, soft at the nape, on fine straight dark-blonde hair
3
The knotted low bun
Split the hair into two sections at the nape, tie them in a single knot, then tie again and pin the tails underneath. No elastic touches the hair, which is why this is the kindest option for fragile lengths and the easiest to take down at the end of the day. It sits low and neat under a collar. On very slippery clean hair the knot works itself loose, so this is one to save for second-day hair.
claw-clip bun with the hair twisted up and held in a medium claw clip, soft and undone, on fine light-brown hair
4
The claw-clip bun
Twist the hair upward against the back of the head and close a claw clip over the twist, letting the ends fan out above it. The lowest-tension bun there is — nothing is tied, so nothing pulls. Size is everything: an oversized clip can't get its teeth to meet on a fine twist, loses tension, and slides down within the hour. A clip around three inches, with ridged or rubberized teeth, holds fine hair far better than a large smooth-plastic one — the sizing logic is worked through in our clip picks for fine hair.
Buns built to look fuller
A fine bun is small by default, and the instinct — winding it tighter — makes it smaller still. Everything in this section works the other way: add internal bulk, then spread the outer surface so the bun covers more area. Give these five to eight minutes.
wide spread bun with the outer surface pancaked outward to cover more area, on fine straight brown hair
5
The spread (pancaked) bun
The single highest-return technique here. Build any bun you like, pin it, then take the outer surface between your fingertips and pull it outward in small increments — half an inch at a time, working around the whole circumference — until the bun covers noticeably more area. It's the same principle that widens a braid, and it works because a fine bun's problem is footprint, not substance. Pin any loop that pulls too far, and finish with a flexible mist so it stays spread.
bun built over a small color-matched hair donut, hair spread thinly and evenly over the whole surface, on fine blonde hair
6
The donut bun, sized properly
A donut gives fine hair a shape to cover, which is honest and useful — the failure is buying one built for thick hair. Choose the smallest donut that gives you the silhouette you want, in a shade close to your color so any thin patches vanish rather than flashing mesh. Thread the ponytail through, spread the hair evenly over the entire surface before you secure the ends, and tuck the loose ends under with U-pins rather than a second elastic.
bun with a lifted bouffant crown above it, smooth top layer over a hidden backcombed cushion, on fine dark hair
7
The bun with a lifted crown
Half the impression of fullness comes from in front of the bun, not the bun itself. Backcomb the underside of a shallow crown section, smooth the top layer over the cushion with a bristle brush held nearly flat, and hold that dome in place with one hand while you gather with the other. Then set the bun mid-height so the silhouette runs high at the crown and full at the back. This is the version to use for anything where you'll be seen in profile.
double-stacked bun made from two sections tied one above the other and merged into a single wide bun, on fine light-brown hair
8
The stacked double bun
Borrowed from the stacked ponytail trick. Split the hair horizontally ear to ear, build a small looped bun from the lower half, then build a second from the upper half directly above it so the two merge into one tall, wide shape. Spread both outward and pin them together at the join. You end up with a bun that has genuine depth front to back — far more presence than one small bun made from the same amount of hair.
What makes a chignon a chignon — and why it suits fine hair
A chignon is a bun, but not every bun is a chignon, and the difference is one fine hair should care about. A chignon is gathered low — at or below the nape — and it is folded or coiled flat against the head rather than stacked out from it.
That is the whole definition: placement plus profile. A high, round, ball-shaped bun on the crown is a bun; the same hair folded low and wide at the neck is a chignon. The word is French, from the older chignon du cou, the nape of the neck, which is why placement is the part that is not negotiable.
Both halves of that definition happen to favour fine hair. Low placement removes the weight problem: a bun mounted high is holding itself up against gravity all day, and fine hair has neither the bulk to build a stable base nor the friction to keep pins from migrating — which is why high buns are the ones that have slid an inch by mid-afternoon.
A chignon is already resting where gravity wants it to be, so nothing has to be held. And a flat, folded profile is wider than a coil, so the same small amount of hair covers noticeably more outline. That is the trick behind every “how is her hair so thick” chignon: it is not more hair, it is the same hair spread across a broader shape and pinned through folds instead of around a coil.
Three chignons appear on this page — the soft chignon and the braided bun below, and the low coiled bun further down — and the classic version is the first of them.
For the dressed-up ones, wedding and mother-of-the-bride styles carries the formal low chignon and easy updos for fine hair the deliberately undone one; this page is where the technique lives. If your hair is shorter than the nape, a chignon is not available to you yet and the bob-length shapes further down are the answer instead.
Softer buns for occasions
If the occasion is a wedding, the timing and the trial run matter more than the style you pick — that page has the schedule.
For a wedding, a dinner, or anything photographed, the goal shifts to a soft edge and a considered finish that still holds for six hours. All three start on day-old hair and finish with a flexible-hold spray — a freeze-hold finish makes fine hair look brittle in photographs and collapses the softness you just built.
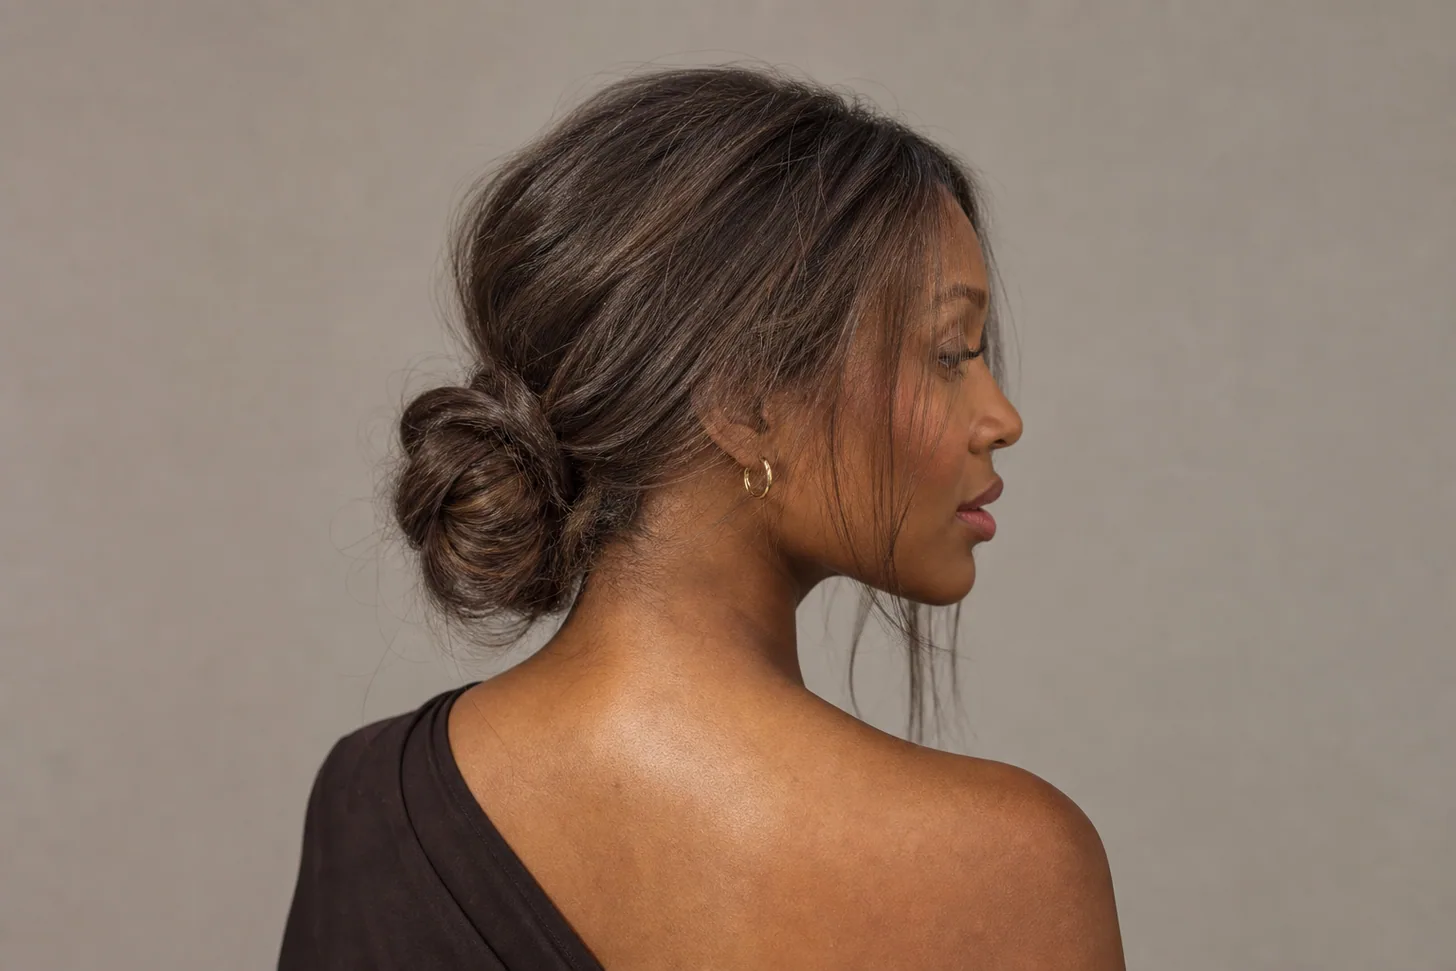
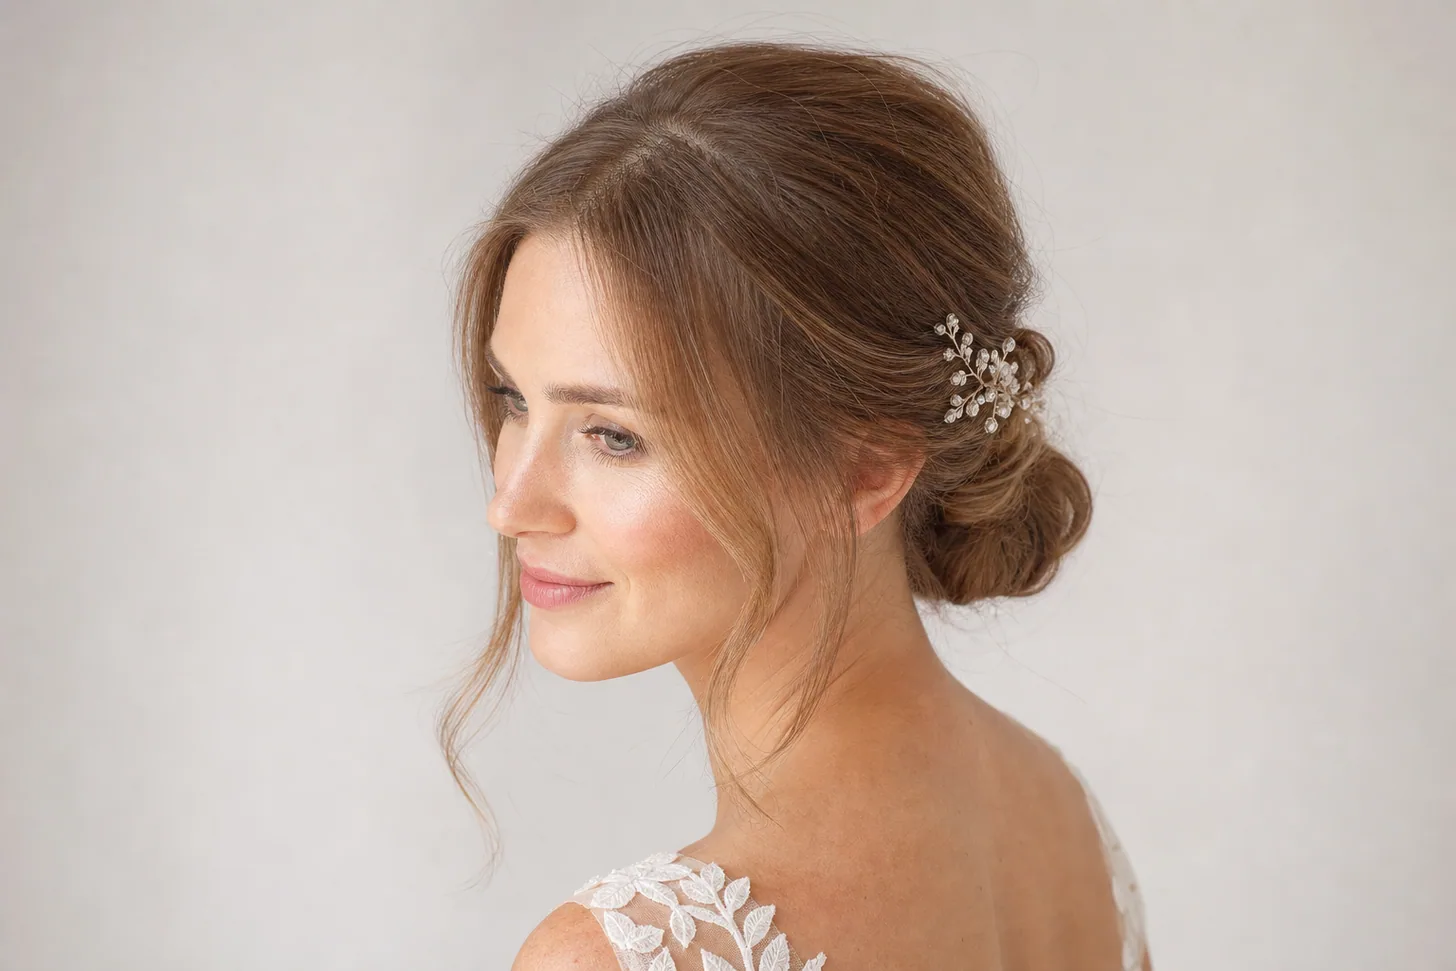
soft undone chignon at the nape with loose tendrils at the temples, on fine chestnut hair
9
The soft chignon
A low, folded bun rather than a coiled one: gather at the nape, fold the tail up against the head, and pin the fold in place so the shape is wide and flat rather than round. Because it's built from folds instead of wraps, it reads soft without being messy, and it holds better than it looks — the folds give the pins several layers to bite through. Pull two fine tendrils out at the temples before you pin, never after.
braided bun with a pancaked braid coiled around the base, on fine wavy blonde hair
10
The braided bun
Braid the ponytail, pancake the braid until it's twice its original width, then coil the flattened braid around the base and pin. Pancaking first is the whole trick — a fine braid coiled unpancaked makes a thin, wiry little bun, while a widened one makes a full, textured coil. It also holds unusually well, because a braid can't slither apart the way loose fine hair does. More on the technique in our guide to braids for fine hair.
half-up bun with the crown section in a small looped bun and the rest of the hair worn down in soft waves, on fine mid-brown hair
11
The half-up bun
Only the crown section goes up, so the length underneath keeps the density it would have lost in a full updo. Take a shallow ear-to-ear section, build a small looped bun from it, and leave the rest down in soft waves. It suits fine hair better than most full updos because it lifts the top without asking a small amount of hair to fill a large shape — and it's the softest option if you want your hair up but not away. More versions in half-up hairstyles for fine hair.
Buns for bobs, shoulder-length hair, and long days
Short lengths need a smaller shape and a different pin. The final entry is the version to recognize and stop doing.
small low coiled bun on a fine shoulder-length cut with U-pins holding the coil flat, shorter pieces pinned at the sides, on fine silver-brown hair
12
The low coiled bun for shoulder-length hair
At shoulder length there isn't enough tail to loop, so coil instead: gather low, twist into a rope, wind it flat against the head, and hold it with U-pins slid in horizontally rather than bobby pins forced through. U-pins ease into a small coil without compressing it, which is what keeps a short bun from turning into a hard knot. Pin the side pieces that won't reach rather than pulling them in.
partial mini bun on a fine chin-length bob with the top half up and the rest of the bob left down, on fine straight brown hair
13
The mini bun for a bob
On chin-to-jaw length, a full bun isn't available — a partial one is. Take the top section only, twist it up into a small bun at the crown, and leave the bob hanging underneath. It opens the face, lifts the top where a bob has no length below to distract from a flat crown, and takes about forty seconds. Two small pins hold it; anything heavier drags a short section straight back down.
very tight small high bun shown as the look to avoid, scraped flat crown and visible scalp at the temples, on fine hair
14
The tight, high, scraped-back bun — the one to skip
Included so you can name what's going wrong. Winding a fine ponytail as tightly as possible into a small high knot compresses the bun to its smallest possible size, flattens the crown into the scalp, and puts constant pull on the temples where fine hair is most fragile. It is the exact opposite of every fix in this article. If your bun looks small, the answer is to loosen, loop, and spread — never to wind it tighter.
How to build a bun that holds on fine hair
This is the looped mid-height bun, which is the one worth defaulting to. Around five minutes the first time, two once it's familiar.
Work on second-day hair, or add grip. On clean hair, mist texture spray or a little dry shampoo through the roots and mid-lengths and work it in with your fingertips. A bun built on a fresh blow-dry has almost nothing to hold onto.
Build crown height before anything is tied. Backcomb the underside of a shallow crown section and smooth the top layer over it, or lift the roots with a round brush and a shot of cool air. You cannot add this once the bun is in. The full technique, including how to take it out without paying for it, is in how to tease fine hair.
Gather mid-height. Just above the bony ridge at the back of the skull. Hold the crown dome in place with your free hand as you gather so it isn't dragged flat.
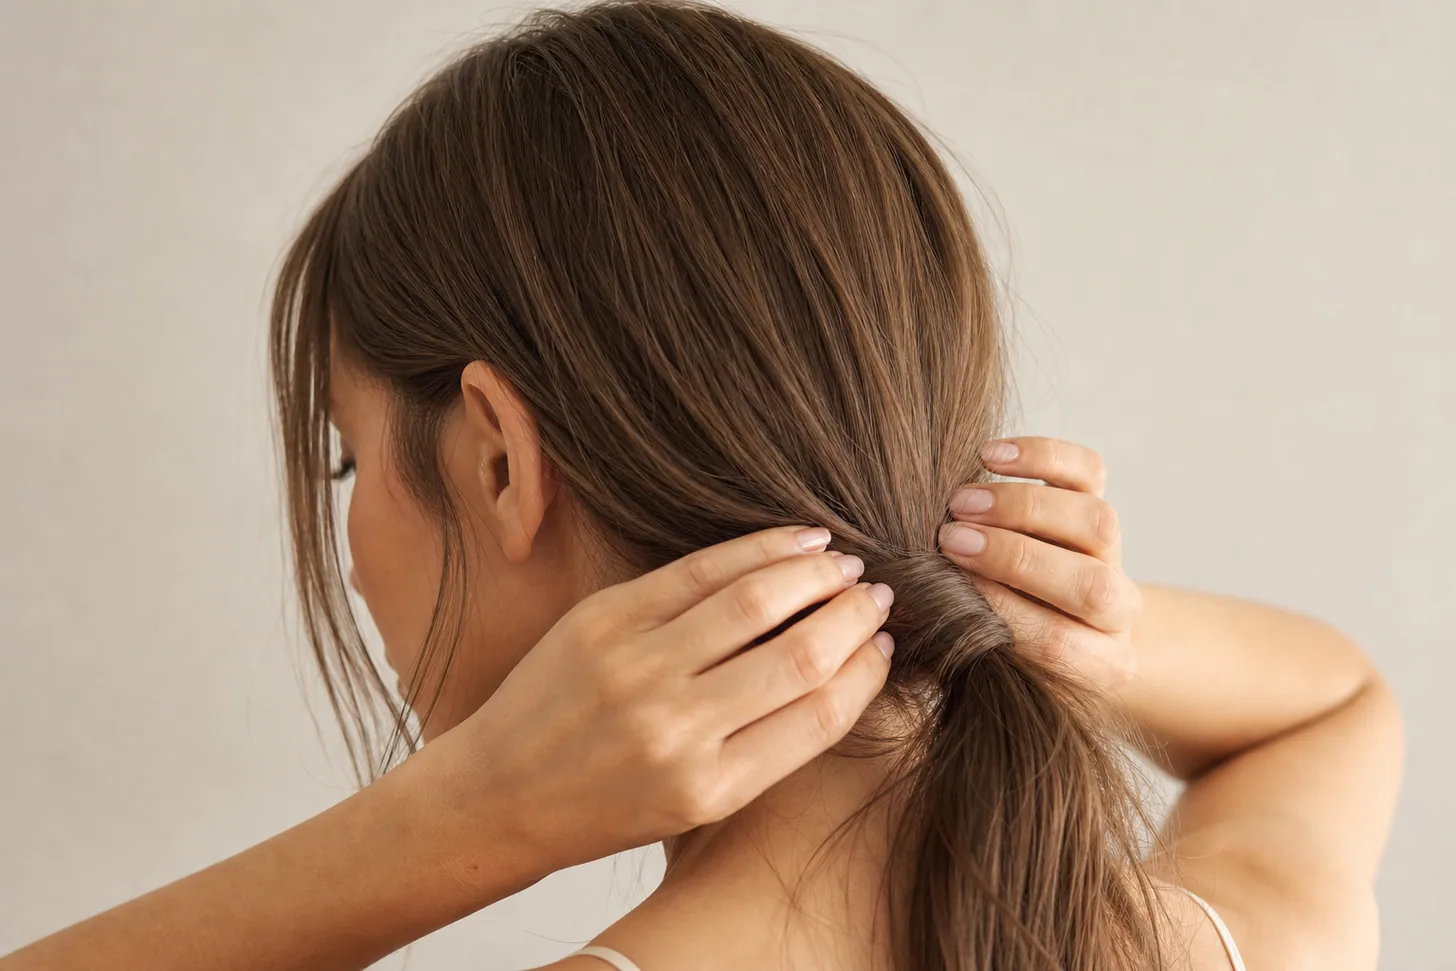
Loop, don't wind. On the last pass of the elastic, pull the tail only halfway through so it folds into a loop with the ends tucked underneath. Keep it airy.
Shape with U-pins. Slide two or three U-pins into the loop to set the round shape. These hold the bun's form, not its position.
Anchor with crossed bobby pins. Push a bobby pin in through the edge of the bun, angle it to catch the hair at your scalp underneath, then drive it back up into the bun. Repeat from the opposite side so the two cross in an X. This is the step that stops it migrating.
Spread the surface. Pull small sections of the outer bun outward with your fingertips, working around the whole circumference, until it covers more area.
Set it lightly. Flexible-hold spray from about ten inches, over the crown and the bun, then leave it alone while it dries. Stiff sprays snap the height flat as they set.
Chair-side note
A word on pins, because most people are using one type for two jobs and losing on both. Bobby pins — the flat ones with a closed end — are anchors. They're for stitching the bun to your head, pushed in against the direction of the pull.
U-pins, the open hairpin shape, are shapers: they slide into a bun to hold a loop or an edge without squashing it, and they come out at the end of the day without taking hair with them. On fine hair, buy matte or ridged pins rather than shiny lacquered ones; the surface texture is the entire reason one holds and the other slides straight out.
And use fewer than you think — four pins placed deliberately, two anchoring and two shaping, hold better than a dozen jabbed in wherever there's room, and they're far quicker to take out. If pins are what keep failing you, a hinged barrette across the base holds better on fine hair — see barrettes that stay put.
SB
— Simone Baptiste, Senior Stylist
When a bun isn't the right call
Your scalp shows clearly along the part when your hair is dry. Taking all the hair up opens the parting rather than covering it. A half-up bun keeps length over the top, a deep side part reduces the exposed line, and our guide to coverage for thinning on top covers the rest.
You'd be wearing the same tight bun in the same spot every day. Sustained daily tension on the same roots and the same hairline is worth avoiding. Move the placement, keep it loose enough to slide a finger under the base, and alternate with clips and hair worn down.
Your hair is shorter than about four inches at the back. There's nothing to coil. Pinned-back sides or a small crown twist will look deliberate where a forced bun looks like it's escaping.
You get headaches from pulled-back styles. That's tension, and a heavy wound bun is the worst offender. A looped bun weighs less, a claw clip removes the pull entirely, and lower placement reduces it further.
You need it to survive a physically active day. A bun with one anchor point loosens under movement. Add a second crossed pair of pins on the opposite side, or braid the tail before you coil it — a braided bun can't slither loose the way a smooth one can.
FAQ
Because the elastic is doing all the work. On fine hair an elastic has very little to grip, so the bun slowly slides down as the hair relaxes into it. The fix is to anchor the bun to the hair underneath rather than to itself. Once the bun is formed, push two bobby pins through the edge of the bun, catch the hair at the scalp beneath it, and drive them back up into the bun, crossing them in an X. Those pins hold the bun to your head independently of the elastic. Grip helps too — a bun built on second-day hair, or on clean hair prepped with texture spray, stays put far longer than one built on a fresh blow-dry.
Spread it rather than tighten it. Once the bun is pinned, use your fingertips to pull small sections of the outer surface outward and upward, half an inch at a time, until the bun covers more area — the same pancaking technique that widens a braid. A loosely looped bun always reads fuller than a tightly wound one, because winding compresses the hair into the smallest possible shape. Backcombing the ponytail lightly before you form the bun adds internal bulk, and placing the bun where it is seen in profile, at mid-height rather than flat against the nape, gives it a visible silhouette.
A looped bun rather than a wrapped one, placed mid-height. Looping means you pull the ponytail only part way through the elastic on the final pass and pin the folded loop into shape, which keeps the bun light and airy instead of dense and heavy. Weight is the enemy on fine hair, because a heavy bun drags on the roots and pulls itself down over the course of a day. Mid-height placement — sitting just above the bony ridge at the back of the skull — reads fullest in profile and keeps some crown height in front of it, where a nape bun lies flat.
They work well if the size is right and the color matches, and badly otherwise. A donut gives fine hair a shape to cover, which is genuinely useful when there is not enough hair to build a bun with volume of its own. The mistake is buying one sized for thick hair — if you cannot cover it completely, the mesh shows through and the bun looks padded rather than full. Choose the smallest donut that gives you the shape you want, pick one close to your hair color so any gaps disappear, and spread the hair thinly and evenly over the whole surface before you secure the ends underneath.
Build it low and let the short pieces stay out. On shoulder-length hair, gather a low ponytail, twist it into a rope, and coil it flat against the head, pinning as you go with U-pins rather than bobby pins — U-pins slide into a small coil without forcing it. On anything shorter, a partial bun works better than a full one: take the top half into a small looped bun and leave the underneath down. Pieces too short to reach get pinned back with two crossed bobby pins rather than dragged in, which is what creates the lumps along the sides.
Both, for different jobs. Bobby pins, with their flat closed ends, are the anchors — use them crossed in an X through the base of the bun and into the hair at the scalp to hold the whole thing to your head. U-pins, the open hairpin shape, are the shapers — they slide into the bun to hold loops and edges in place without compressing the shape. On fine hair, matte or ridged pins grip far better than shiny smooth ones, and pins pushed in against the direction of the pull hold better than pins pushed in with it. Four well-placed pins beat a dozen scattered ones.
A chignon is a bun gathered low, at or below the nape of the neck, and folded or coiled flat against the head rather than stacked out from it. Placement and profile are what separate it from an ordinary bun: a round bun sitting high on the crown is a bun, while the same hair folded low and wide at the neck is a chignon. The word comes from the French chignon du cou, meaning the nape, which is why the low placement is the part that is not optional. Both features suit fine hair — a low bun is not fighting gravity all day, and a flat folded shape covers more width than a tight coil of the same amount of hair.
Usually, yes, for two mechanical reasons rather than aesthetic ones. A high bun spends the whole day held up against gravity, and fine hair gives pins very little friction to grip, so high buns are the ones that have slipped by mid-afternoon. A chignon sits where the hair already wants to fall, so nothing has to be supported. And because a chignon is folded flat rather than coiled round, the same quantity of hair occupies a wider outline, which reads as more hair in a mirror and considerably more in a photograph. The one requirement is length: you need enough to gather at the nape, so on a bob or shorter a low chignon is not yet available.
Eleven years behind the chair, specializing in fine-hair texture and styles that survive past lunchtime. Simone teaches the crossed-pin anchor to every client who has given up on buns.
Results vary with hair type, density, and growth patterns. This guide is educational and not a substitute for an in-person consultation with a licensed stylist.
Hairstyle images in this guide are AI-generated illustrations, not photos of real clients or results. See our image policy.
Get the good hair intel
One honest, stylist-written guide in your inbox each week. No hype.

 SB
SB